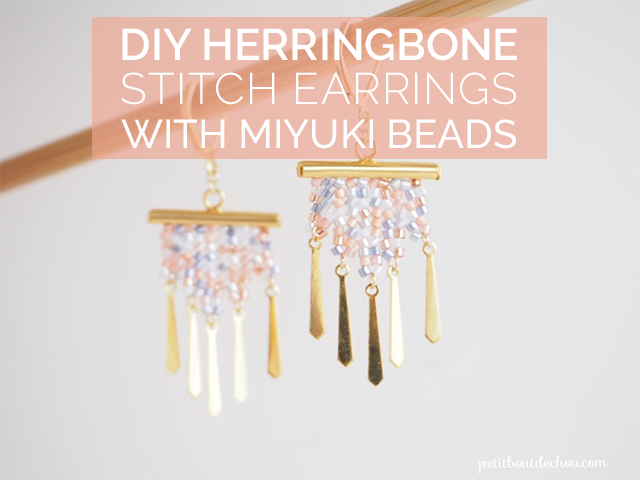
 I have spotted this pretty beading stitch some time ago on Pinterest and just found the opportunity to try it by making these earrings with Miyuki delica beads. Here is a step by step tutorial to learn how to make this amazing stitch.
This tutorial was prepared in collaboration with perlesandco.com. You can find the french version of this tutorial on their website here.
SUPPLIES NEEDED:
- Miyuki delica beads – moonstone mix from perlesandco.com or the following colours (same as used in this tutorial) :
- DB 0851 Matte transparent cristal AB
- DB 2151 Silver lined rose copper Duracoat
- DB 0242 Silver grey ceylon
- DB 1481 Salmon luster
- DB 0231 White pearl
- DB 0232 Grey luster
- DB 0622 Silver lined Peach
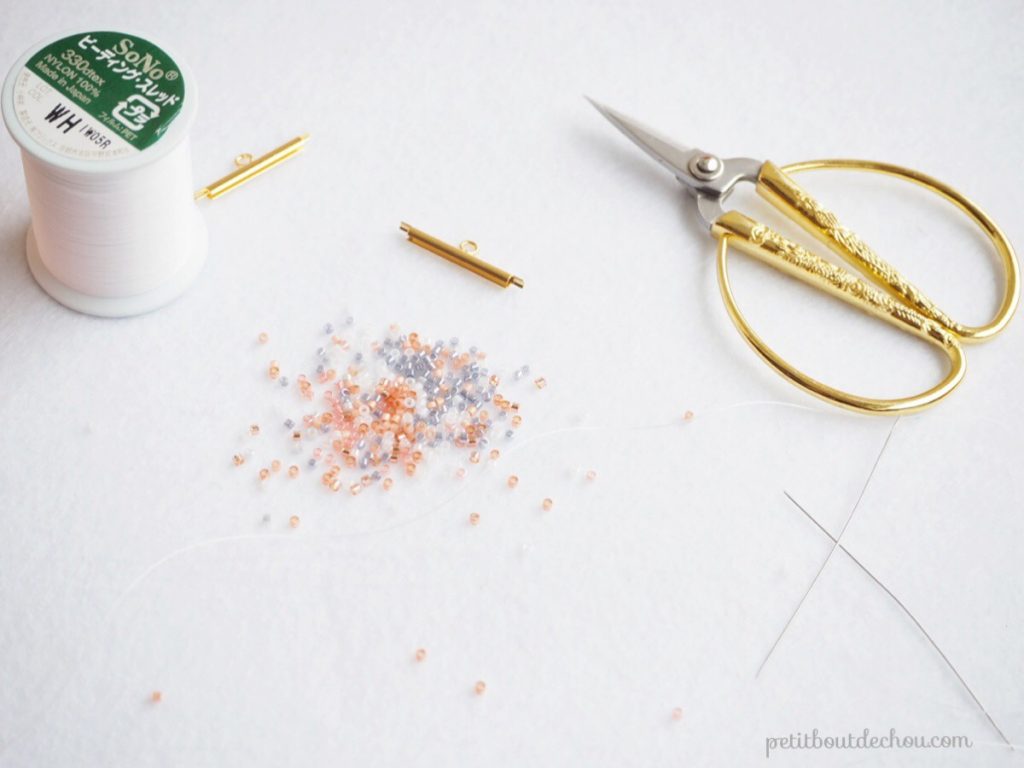
- Beading thread SONO brand in white
- Beading needle Miyuki brand
- 2 x 20mm end tubes
- Jump rings 2.5mm
- Gold colour lever backs
- Metallic gold drop charms
DIY steps
1. Beading
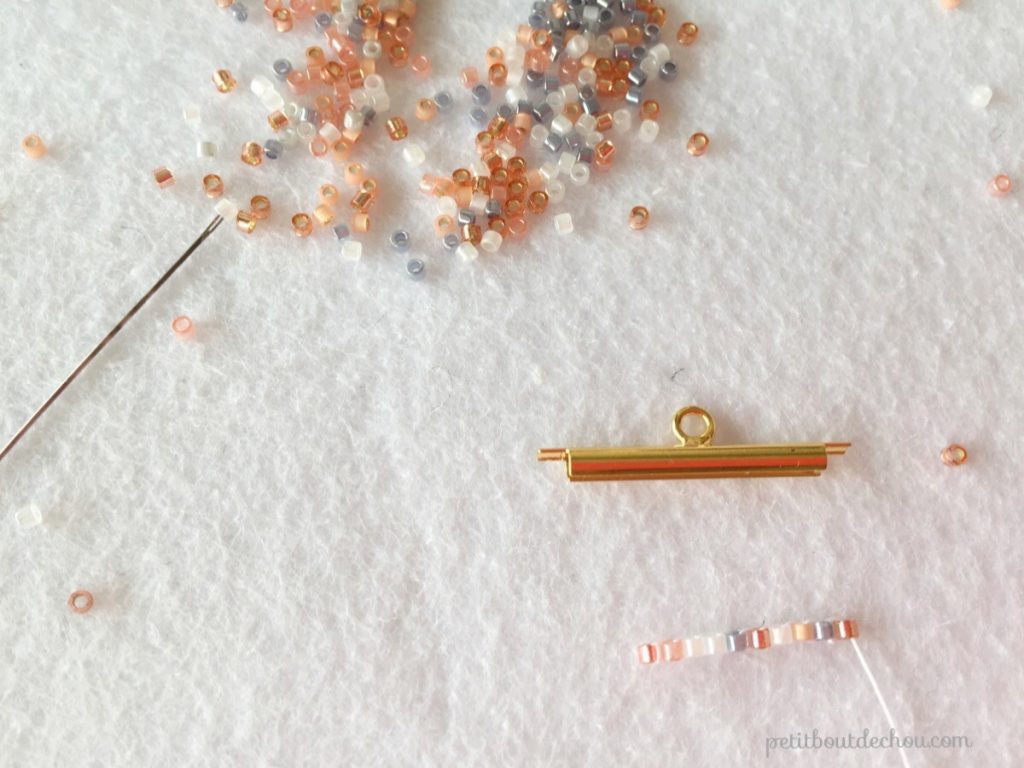
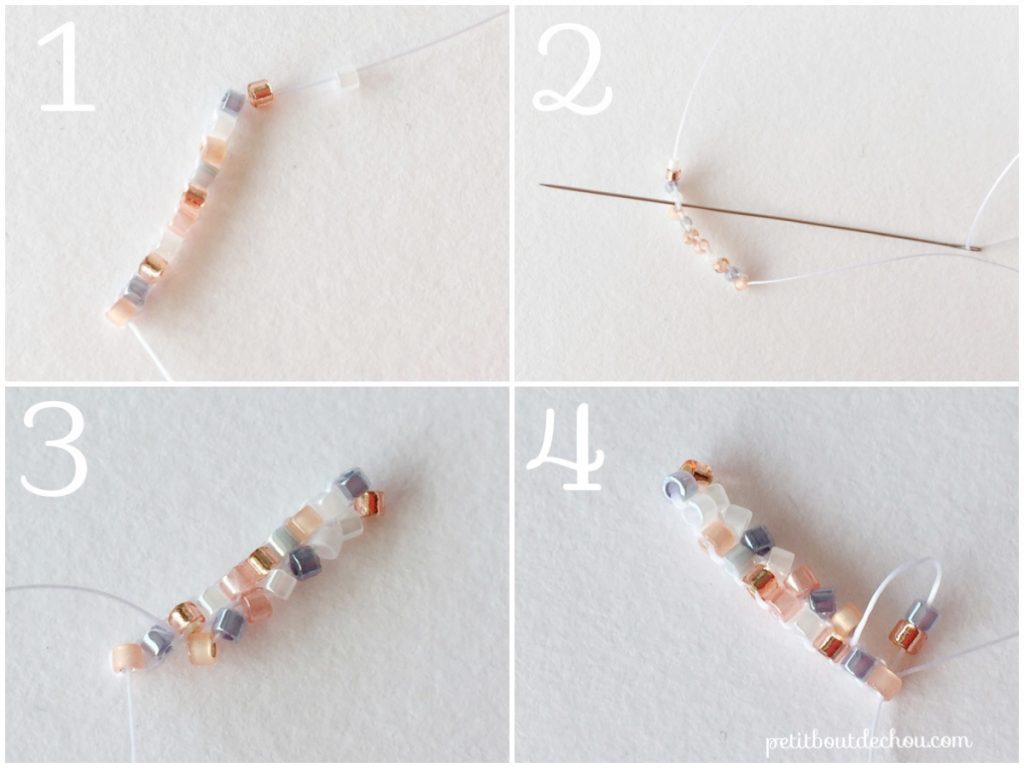
First row: ladder stitch
Make the first row with 10 beads chosen randomly in your mix using the ladder stitch.(1)
Second row: first herringbone row
The principle of the herringbone stitch is to take 2 beads at the same time.
So to start this row, thread two beads and pick the needle between the second and third bead of the first row (2). Repeat until you complete the row except the last pair of beads (3).
For the last pair of beads of the row, go through the last bead of the previous row (4).
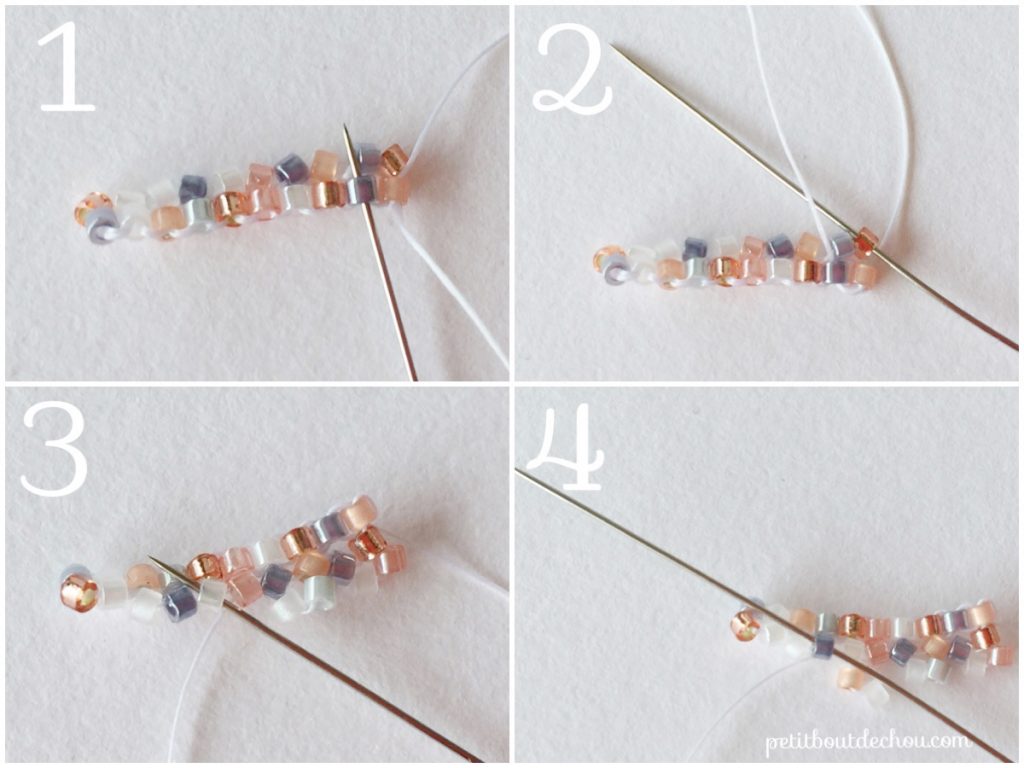
Typical row: (you will repeat it 5 times)
Come back up through the next to last bead (1). You are now below the second row level. Go through the last bead of the row (2) You are ready to start a typical row.
Thread two beads, pick the needle through the second bead of the previous row going down (3) and through the third bead going up (4), pull your thread.
Thread two beads, repeat the previous step until the end of the row.
Go though the last bead of the previous row and come back up through the next to last. You reached the bottom of your new row. Go through your last bead upwards. Turn your beadwork, you are ready for a new row.
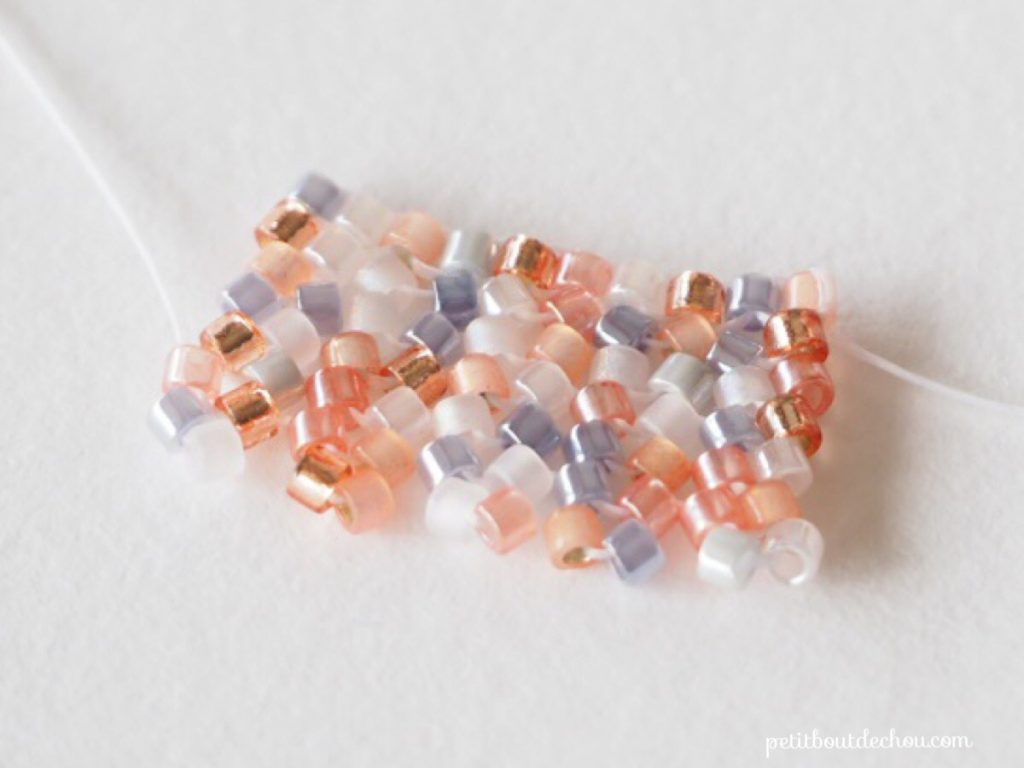
Repeat 4 times to get 5 typical rows (i.e. 1 first row + 5 typical rows = 6 herringbone rows made of 5 pairs beads).
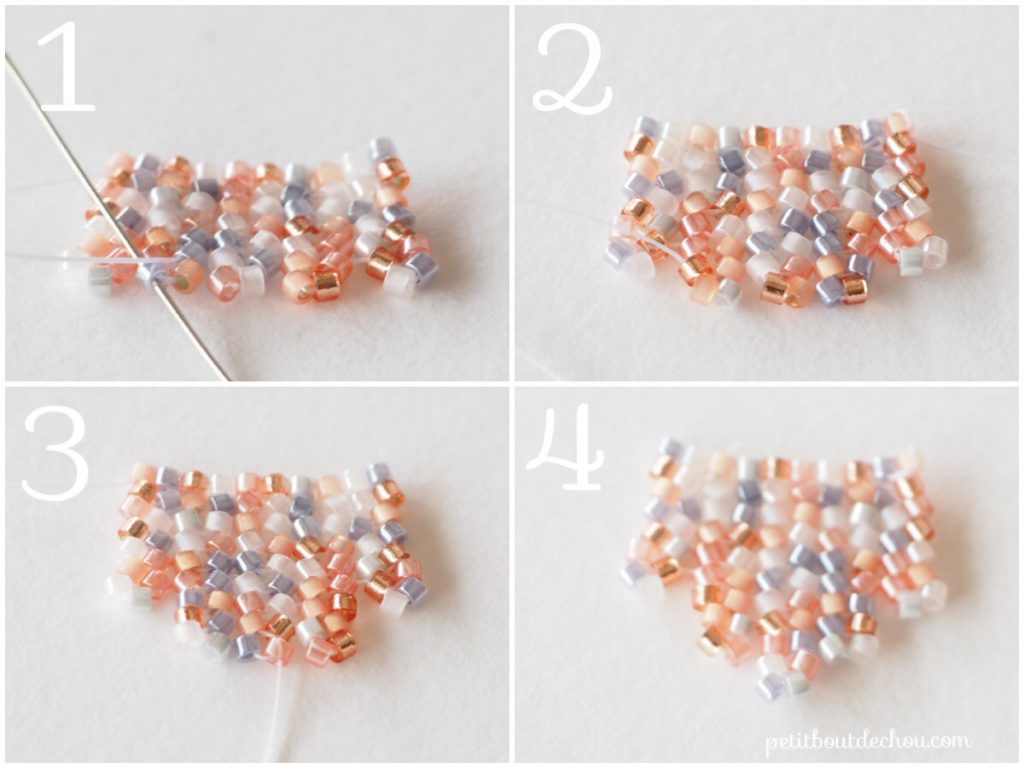
Reduced row
We will now reduce the number of pairs of beads by weaving through the beadwork to start the next row two beads from the edge (1). We will use only 3 pairs of beads for this row and the next one. (2)
Then, we reduce again by weaving through the beadwork to have only one pair of beads in the center (3) and repeat once (4).
You should have in total:
– 1 ladder stitch row
– 6 herringbone rows made of 5 pairs of beads
– 2 herringbone rows made of 3 pairs of beads
– 2 herringbone rows made of 1 pair of beads
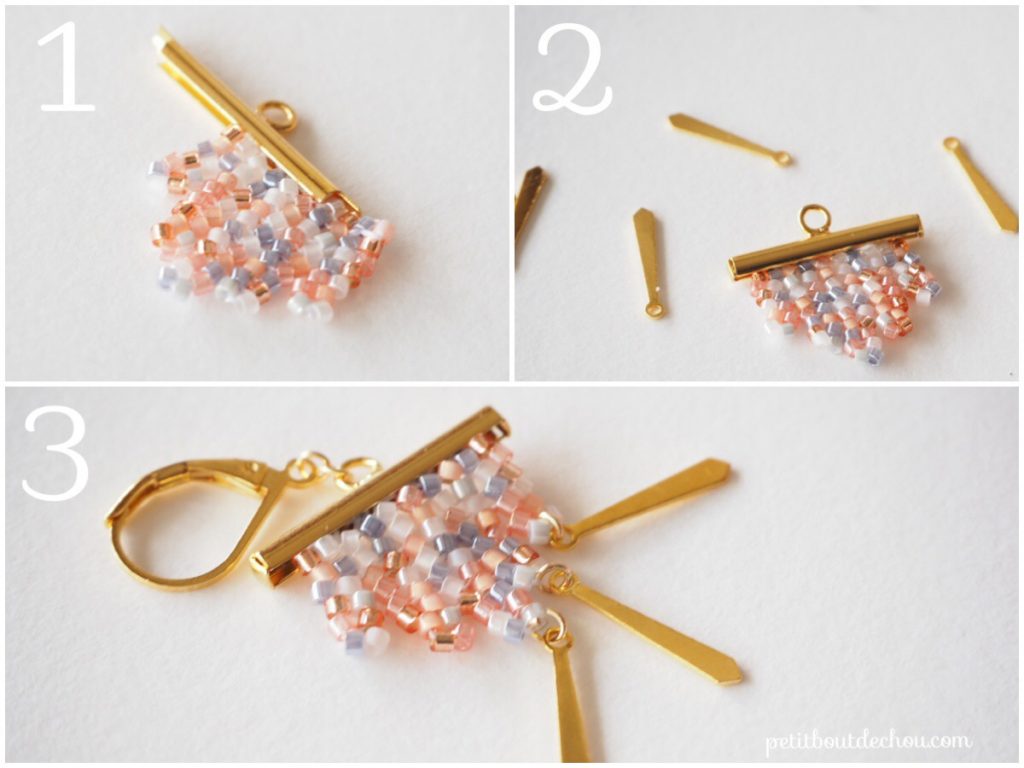
2. Assembly
Insert the first row of beads inside the end clasp (1).
Use your pliers to close the extremities and secure your beadwork.(2)
You can even use a little bit of glue but make sure it is well centered before doing so!
Open your jump rings and place a drop charm inside before hanging it to a pair of beads.
Repeat for the 4 other pairs remaining.(3)
Use also a jump ring to connect the earring to the lever back.
You are done for this side, now you just need to repeat these steps for the other earring.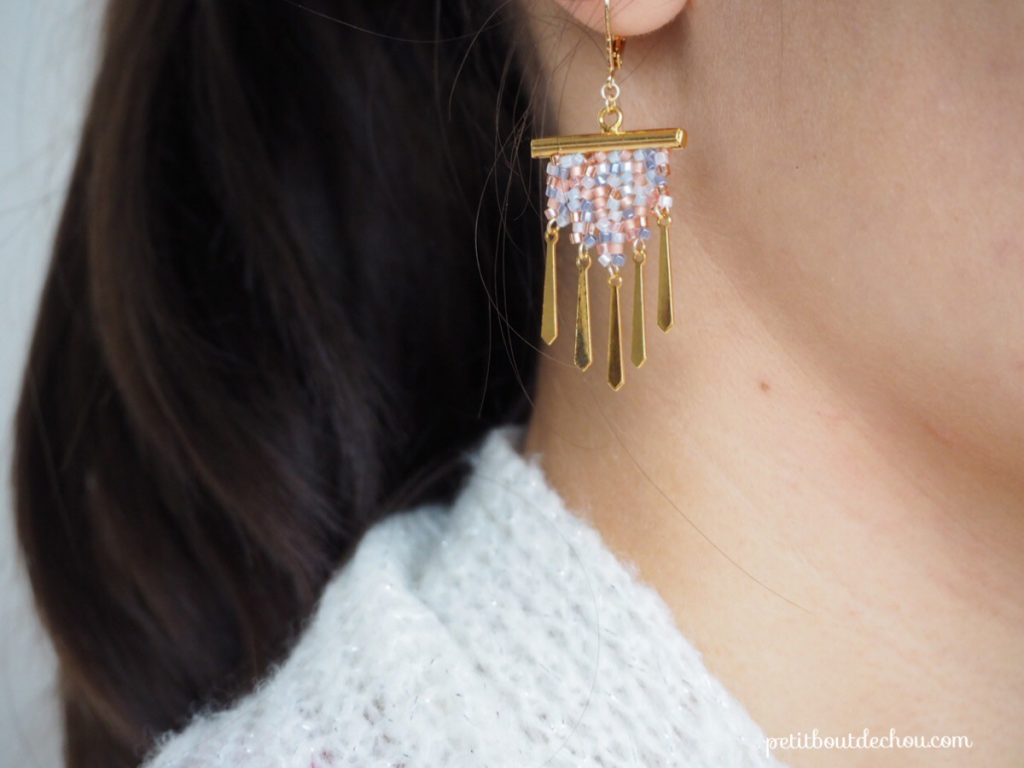
I hope you enjoyed this tutorial. Please visit the “beading” category for more tutorial and free beading grids.
Follow me on Pinterest, Instagram or Facebook for more craft supplies tips, DIYs and free printables.
Subscribe to Petit Bout de News my monthly newsletter to make sure you do not miss any post 😉


2 Comments
Nice one! I love how the herringbone stitch offsets the the squarish shape of the earrings! Will share!!
I am glad you like it Pearl :-). Thanks for sharing!