 I am sure you have already seen this funny ball on social media, wondering what is its purpose? As an engineer my question was actually how do you make this?This ball is well known by parents who adhere to the Montessori education principles. I think it is indeed a great toy which is both pretty and useful.
Pretty as I love the geometrical shapes forming it and useful as it helps babies developing the skill of grasping things with both hands.
Making them is actually much easier than it looks. Follow me for this step by step tutorial to learn how to make this great toy.

Supplies needed:
- 2 types of cotton fabrics (here I have used a liberty and a plain fabric – you could replace the plain fabric by minky for a soft touch for example) – you just need half a fat quarter of each
- matching colour thread
- a sewing machine
- a needle
- sewing scissors
- polyester filling or organic filling if you manage to find some
- sewing washable marker
- pins
DIY steps:
1. Cutting
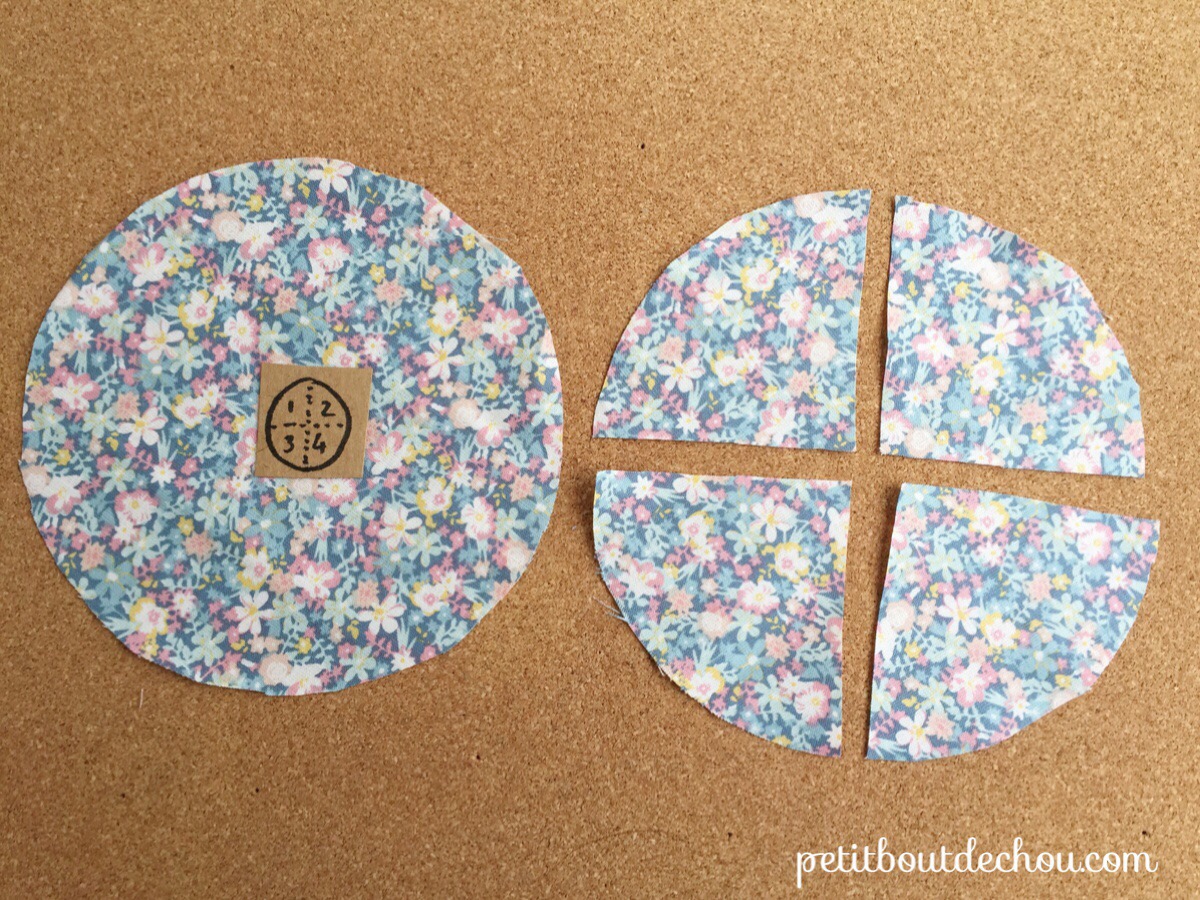
You will need first to cut 6 circles of 13cm diameter in the plain fabric.

Then, cut 4 pieces out of each circle => total 24 pieces of plain fabric.

Cut 3 circles of 13cm diameter in the liberty fabric.
Cut 4 pieces out of each circle.
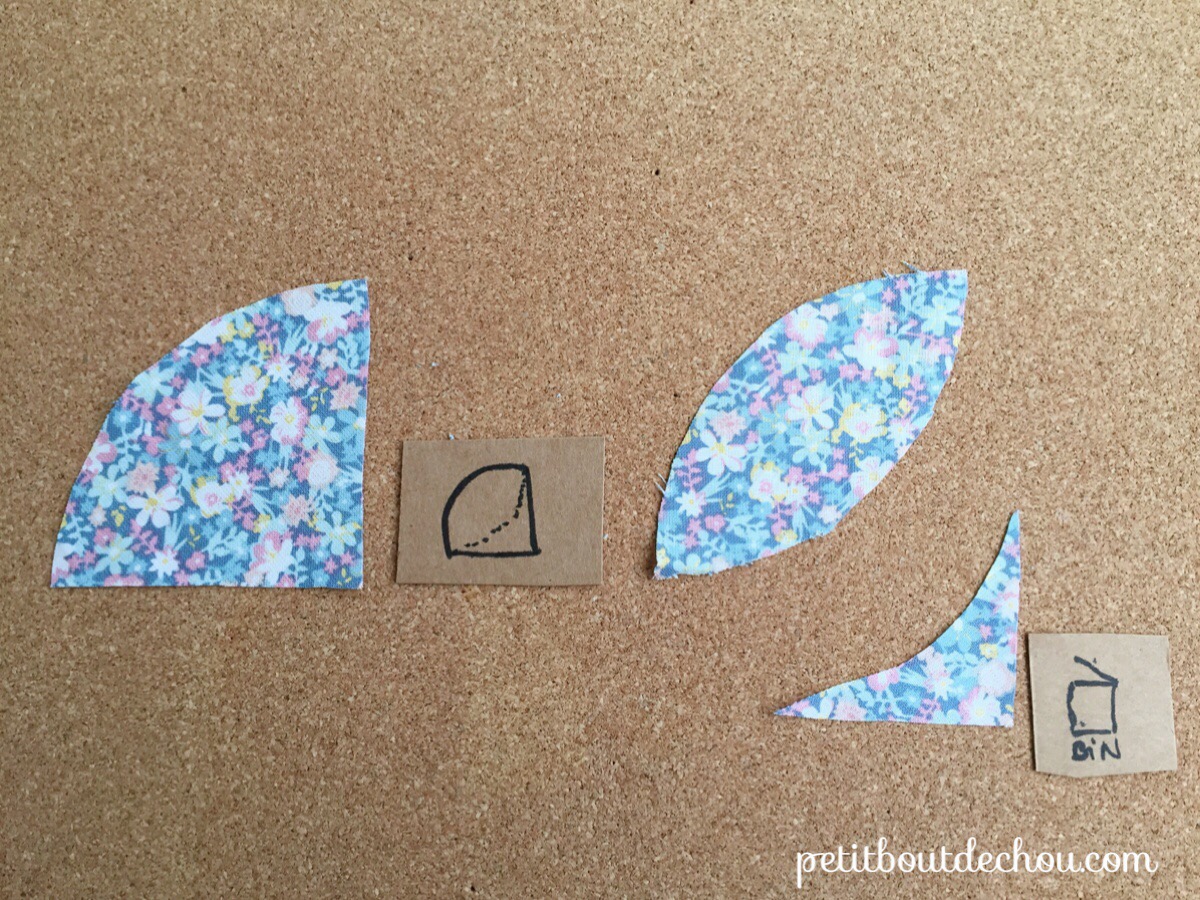
Then fold the curved part to create an oval shape and mark it with a sewing marker.
Cut along the marked line and keep only the oval part => you will have 12 pieces in total.
2. Sewing
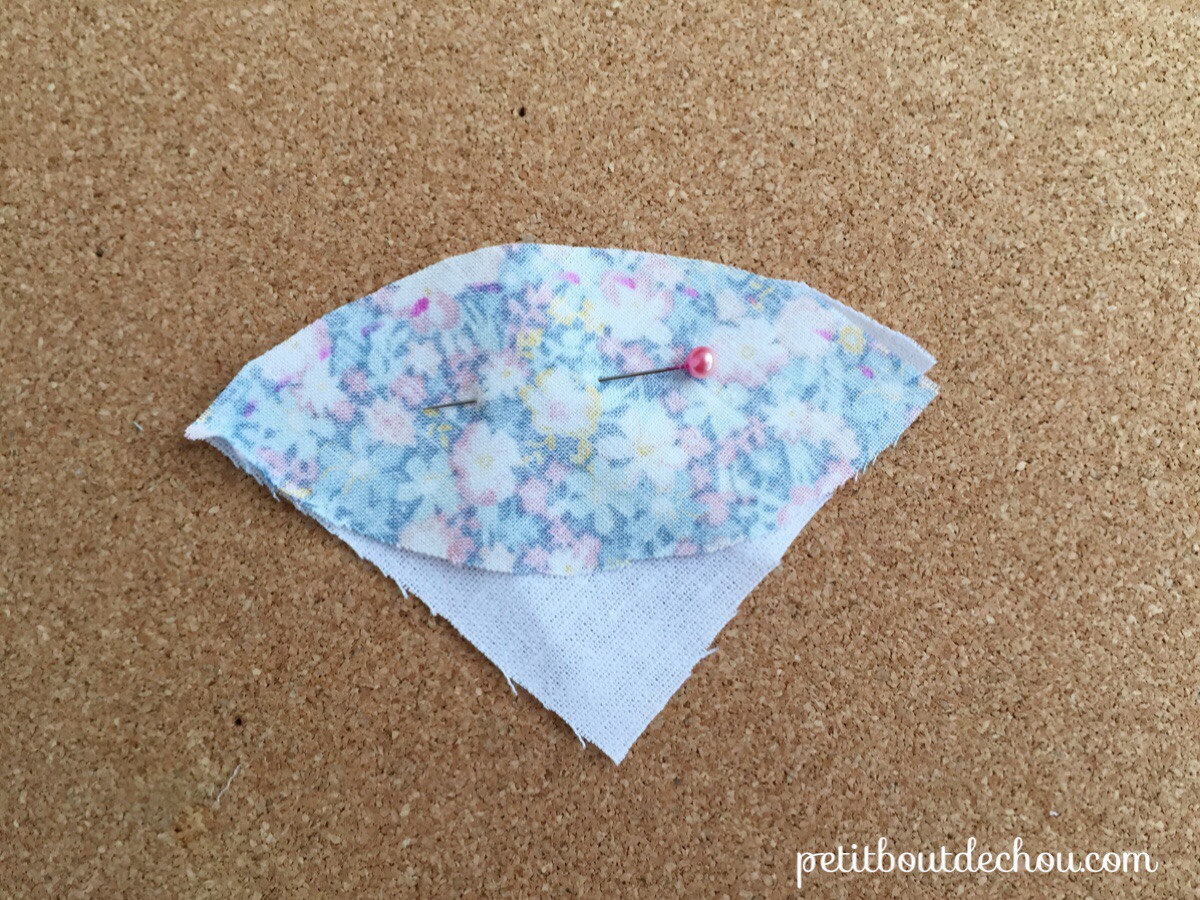
Place the back side of the liberty piece against the back side of a plain fabric piece and pin it following the curvy edge.
Stitch the pieces together using your machine leaving a 5mm margin.
Do the same operation with a second piece of plain fabric on the remaining edge of the oval piece.
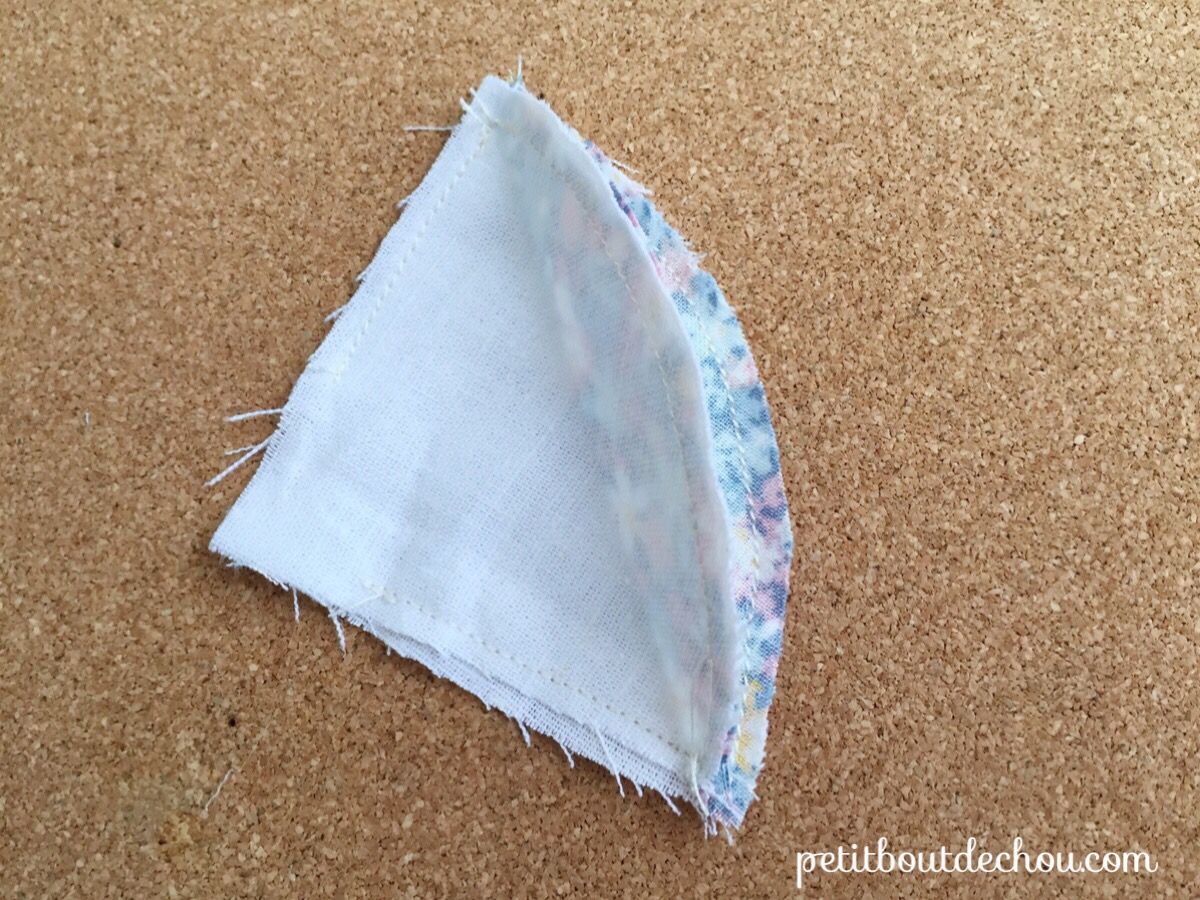
Stitch also the sides of the future small cushion leaving about 1cm on each side to keep an opening at the bottom.
You can now turn the piece upside down using this opening.
Make sure you pull well on the corners to obtain the right shape.
3. Filling
Put the polyester filling inside the little cushion created using the bottom opening until it is well filled.
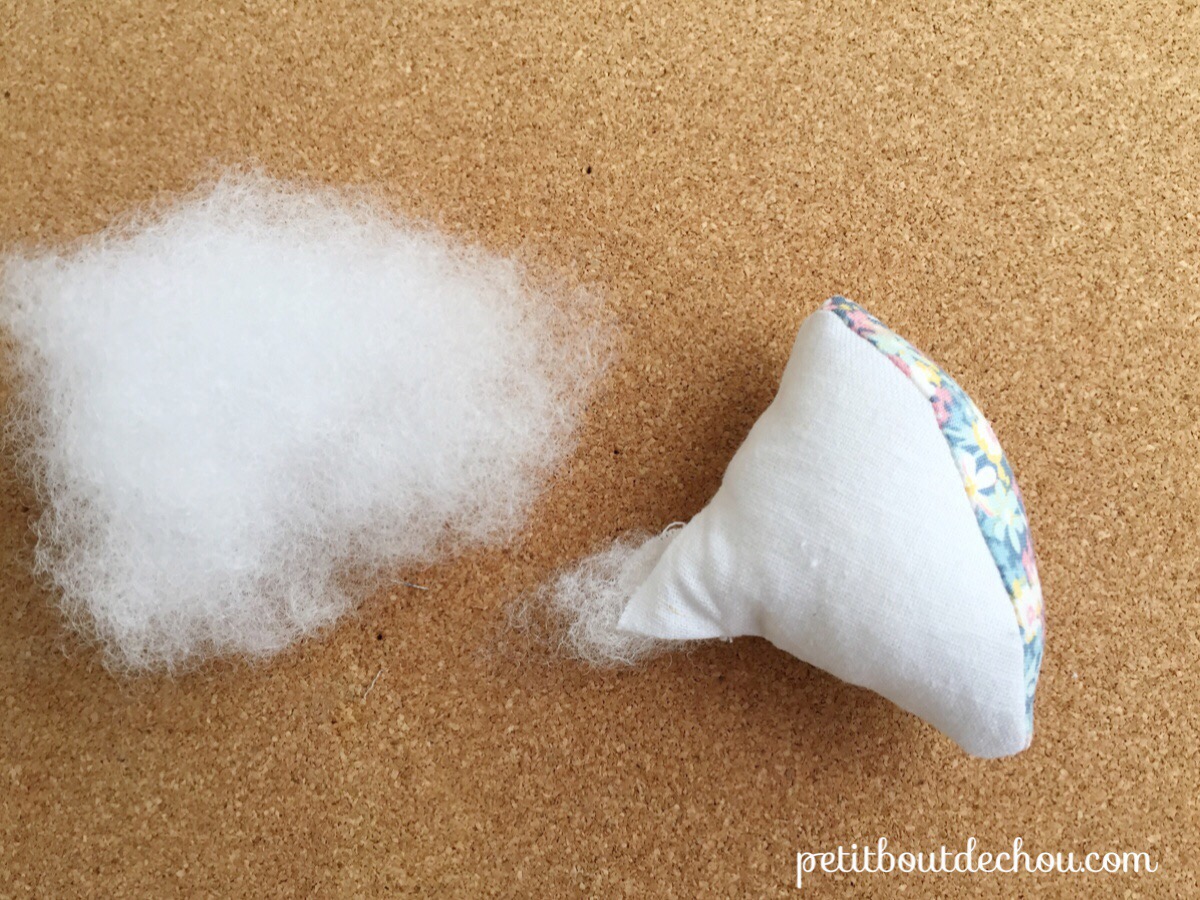
Then sew the bottom of the cushion to close it.
4. Assembly
Repeat the sewing and filling operations until you have your 12 little cushions ready.
For the assembly, thread a needle and grab 3 little cushions.
Connect them by sewing the tips of the ovals together forming a triangle.

Then, sew all the bottoms together in one point.
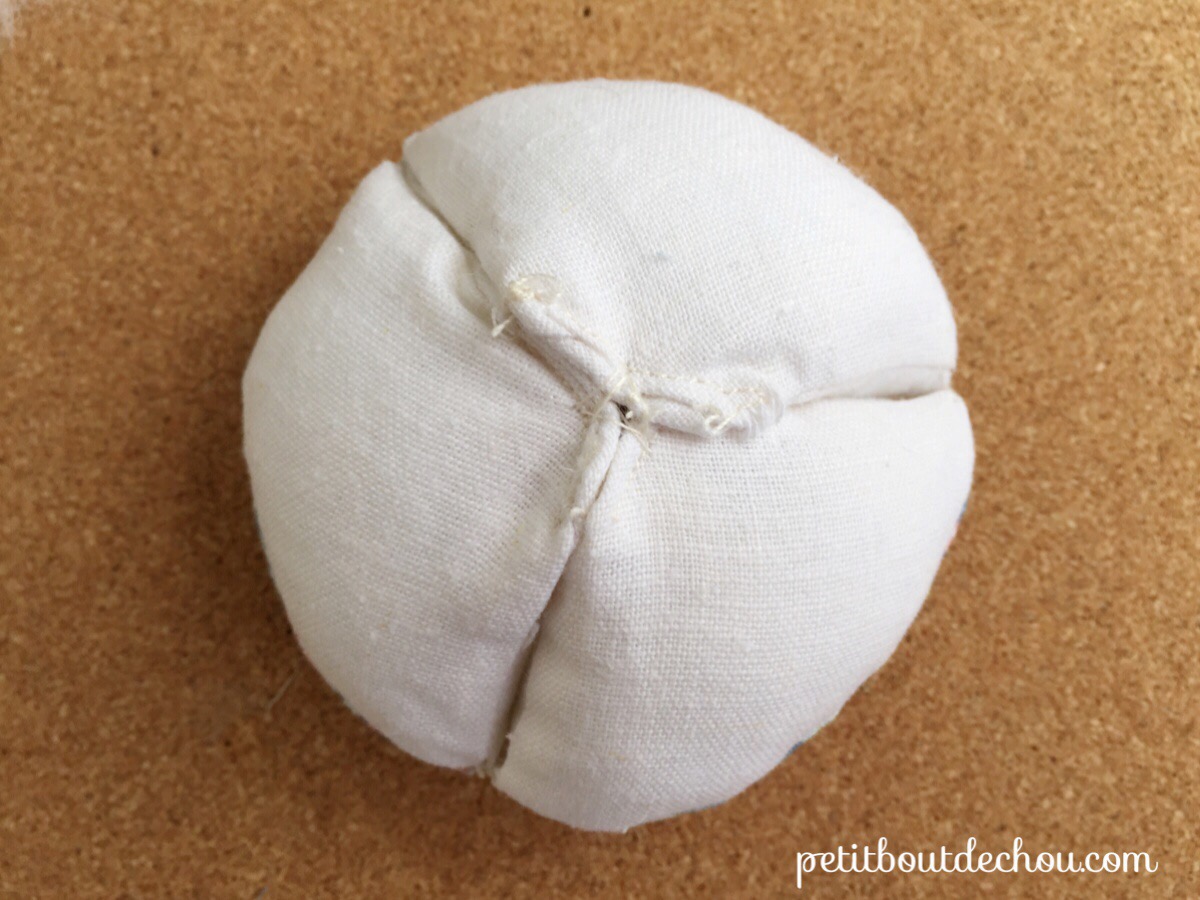
Make sure you make solid stitches here as they will be the most strained seams during use 😉
Continue forming these groups of 3.
Before connecting the last group of 3, make sure you connect well all the bottom points together. And finish connecting the last group of 3 to the rest at the tip of the ovals forming your ball.
You are done!

Follow me on Instagram @petit_bout_de_chou_hk to know what is happening behind the scenes.
Happy sewing!
Estelle


2 Comments
This is a great tutorial and I really loved the finished product. It was a little fussy because the pieces were so small, but I love it. One tip for others who may want to try this- if using a fabric that is prone to unraveling at the edges, invest the time in putting some fusible interfacing on the fabric before you start sewing.
A great ball for a child to play and hug. Perfect for stimulating your baby. different textures.
I love them!