
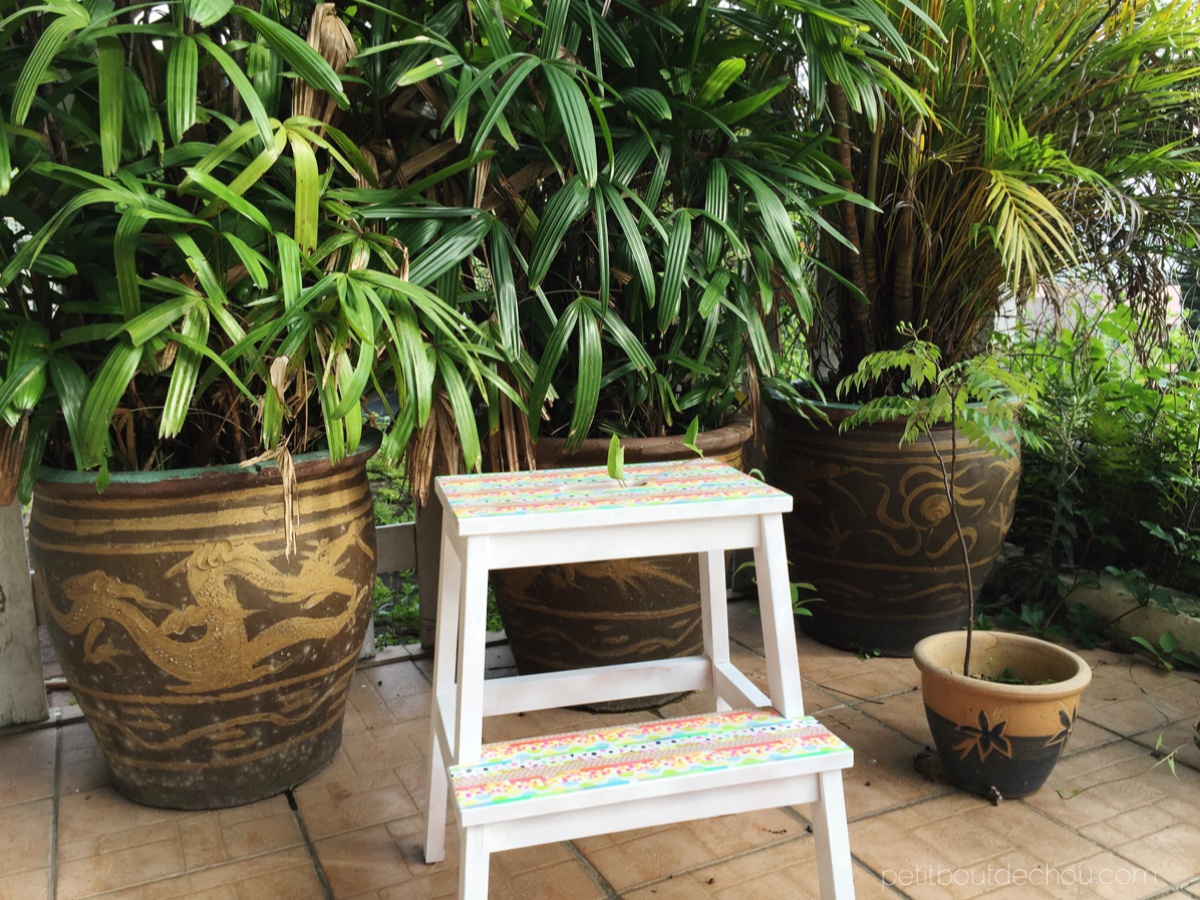
It has been a while since I wanted to give my dull Ikea Bekvam step stool a makeover. It was not matching very well in my white kitchen so I figured I would paint it in white and as I am almost obsessed with washi tape, I tried to give it a nice colourful touch… I turns out really great so I thought I would share this easy tutorial with you.

Supplies needed
- Your Bekvam step stool of course
- Journal or plastic protection (for paint spraying)
- White colour spray paint
- Washi tape (also called masking tape) – use any types and width you like and looks great together
- Mod podge or other decoupage medium
- Paint brush
I found the colour spray and the mod podge in CN square craft store, Yau Ma Tei which is one of the stores from my 10 shops list every craft lover in Hong Kong should know.
DIY steps
1. Clean your step stool
Remove dust to have a clean surface to apply the paint
2. Paint your step stool in white
Use the spray paint in two to three layers to paint the stool.
This is after the first layer. It was obviously not enough.

So I went for a second one.
3. Apply the washi tape on the steps
Make sure you leave no gap between the strips and you apply firmly the strips on the top step.
Cut the edges with care.

Be careful especially around the stool handle.

Apply the same pattern on the bottom step.

4. Apply mod podge
This is to seal the washi tape and protect it from being damaged when using the step stool.
I applied 3 coats using a paint brush to make sure it was really well sealed between all strips.

At the first coat you might see some bubbles on the washi tape. Just wait a few minutes until the mod podge dries and push the bubbles away with your fingers to re-apply the washi tape against the step, they should disappear.
Make sure you spread well the mod podge with the brush to make a thin film at each layer. You don’t want the layer to be too thick.
Also apply mod podge to seal all the edges and protect your work.
Let dry and you are done!
I hope you enjoyed this tutorial.
If you did, follow me on Pinterest, Instagram or Facebook for more craft supplies tips, DIYs and free printables!

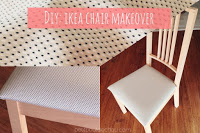
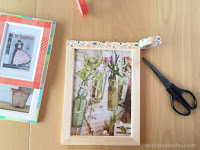
You might also like:
You can also subscribe to Petit Bout de News my monthly newsletter.


