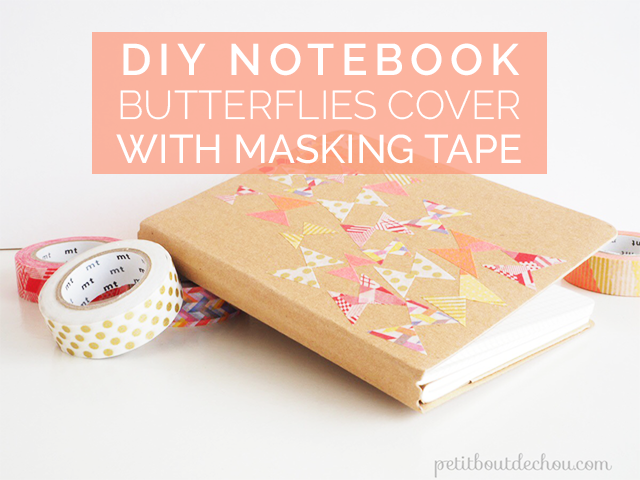
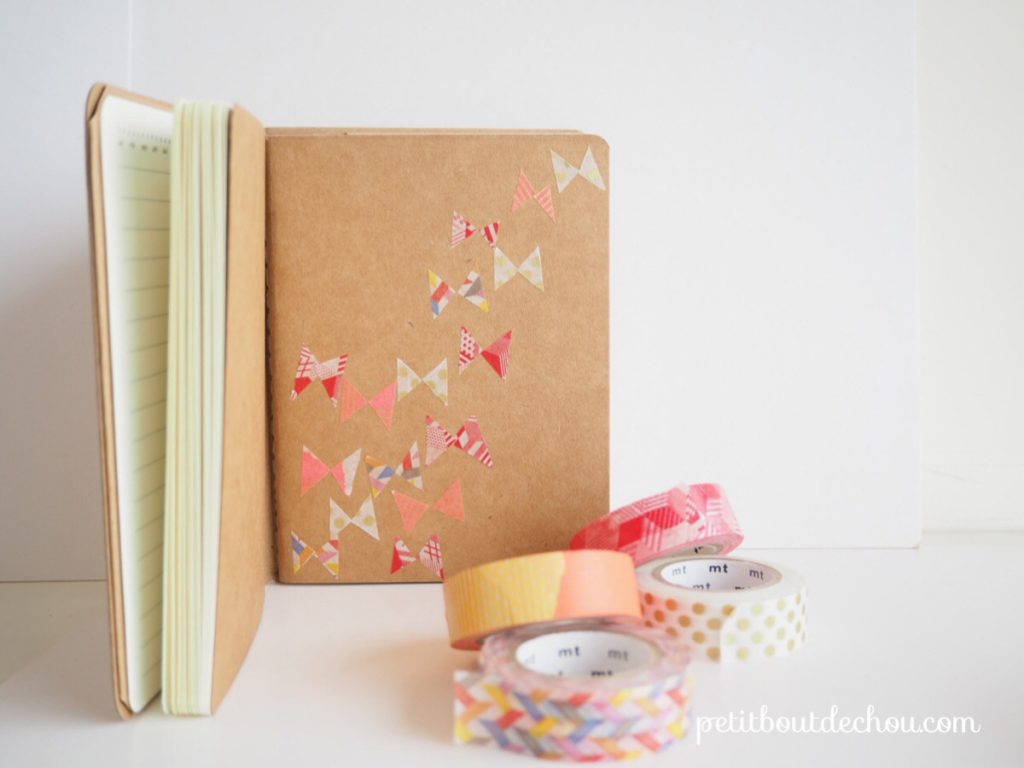
 I love paper crafts and I wanted to share this very simple yet stunning project with you: customise any notebook using masking tape to create a butterflies take-off. This DIY comes with a great bonus to cut your masking tape in any shape you like…
Supplies needed
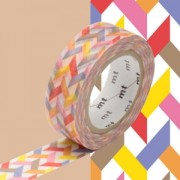
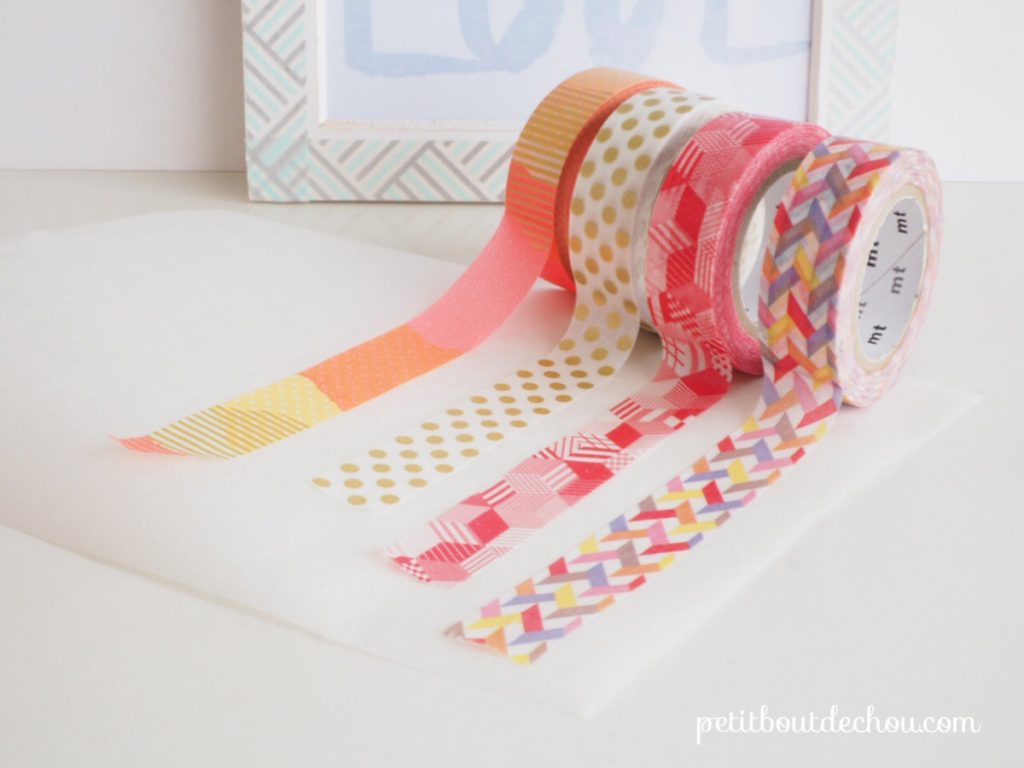
- Different masking tapes from perles and co.com (these are in the 15mm “Pattern” section) – You can click on each individual image below for a direct link.


- Scissors
- Kitchen backing wax paper
- A notebook with kraft paper cover – mine is from perlesandco.co.uk


DIY steps
Actually what is the most difficult in this DIY is to choose which masking tapes you want to use 😉
The principle is to cut triangles of masking tape.
To ease your work, I have found this great trick on the internet: stitch first your masking tape on some backing wax paper.
You can then easily cut your masking tape in any desired shape. It works with triangles but you can also use punch holes in any shape to make stickers ( I will probably make a tutorial just for that if you are interested).
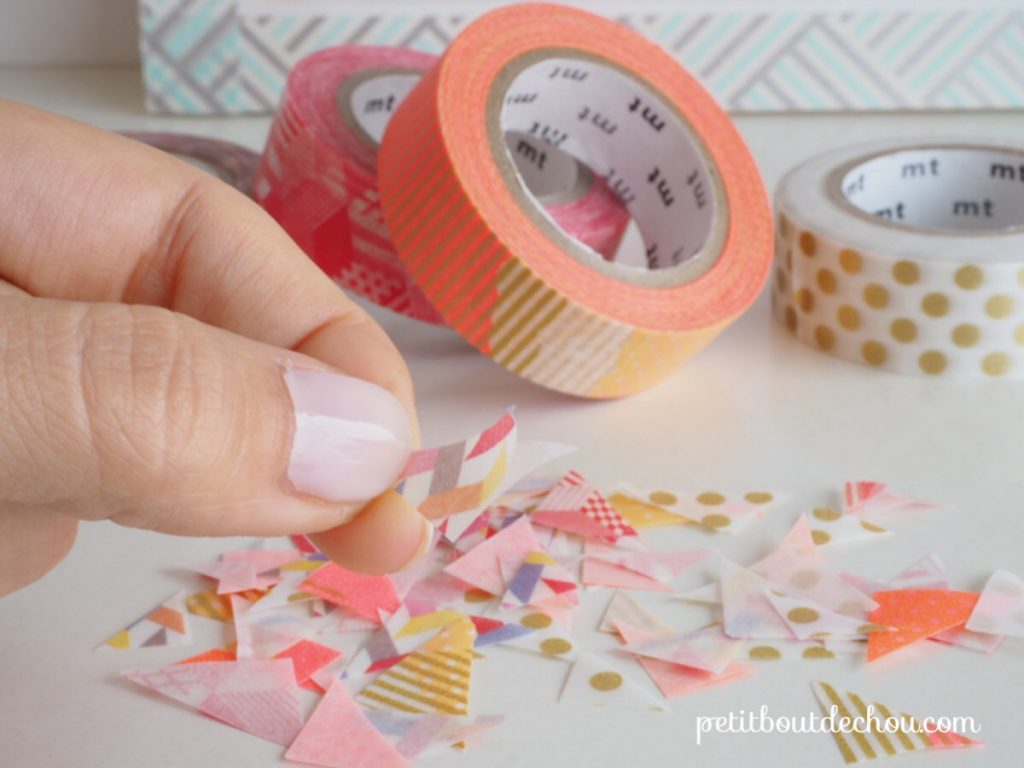
Stick them by pairs to create the butterflies. Reduce the size of the triangles to create the distance effect of the butterflies that take off.
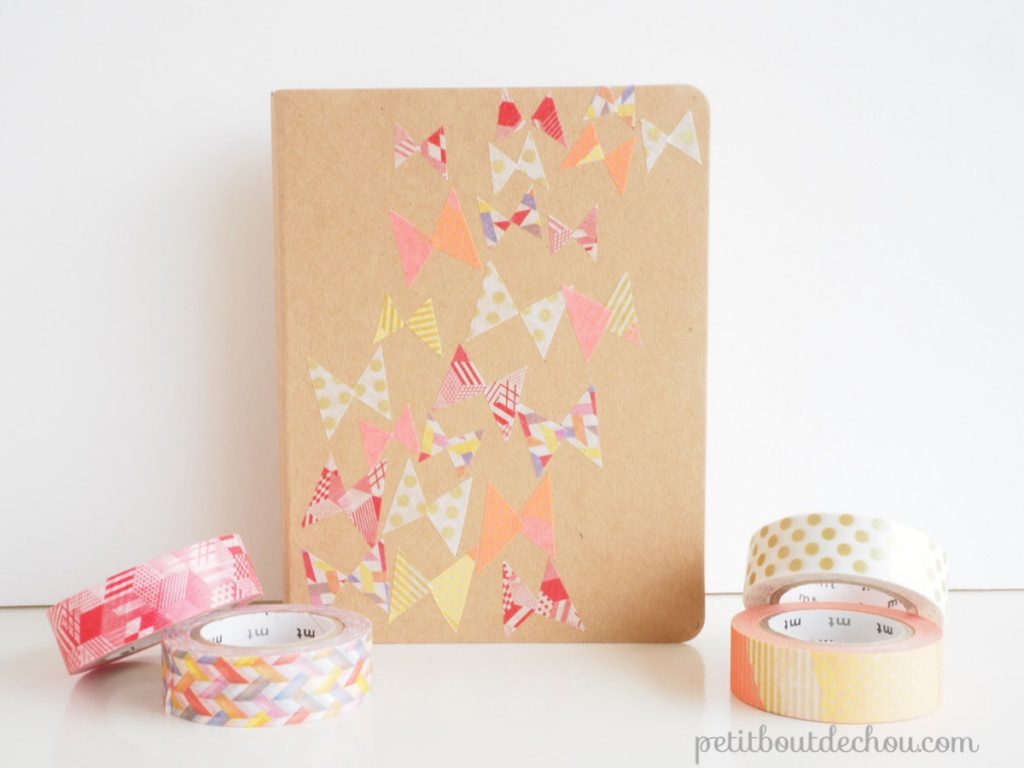
Mix and match your masking tapes to create different results.
I hope you enjoyed this short and easy tutorial.
Happy crafting!
Follow me on Pinterest, Instagram or Facebook for more craft supplies tips, DIYs and free printables!
Subscribe to Petit Bout de News my monthly newsletter to make sure you do not miss any post 😉


