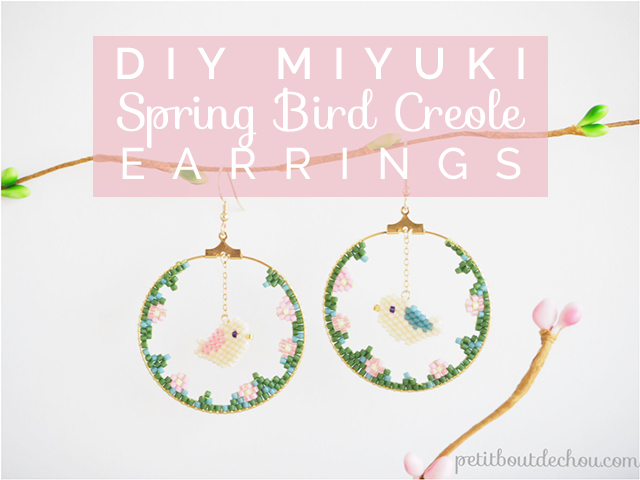
 Yeah! Spring is back and so are our precious little birds to cheer us up.
Discover below a spring inspired bead work with these little birds surrounded by flowers and green leaves made using the brick stitch technique with creole earrings. Follow my step by step tutorial to create your own pair!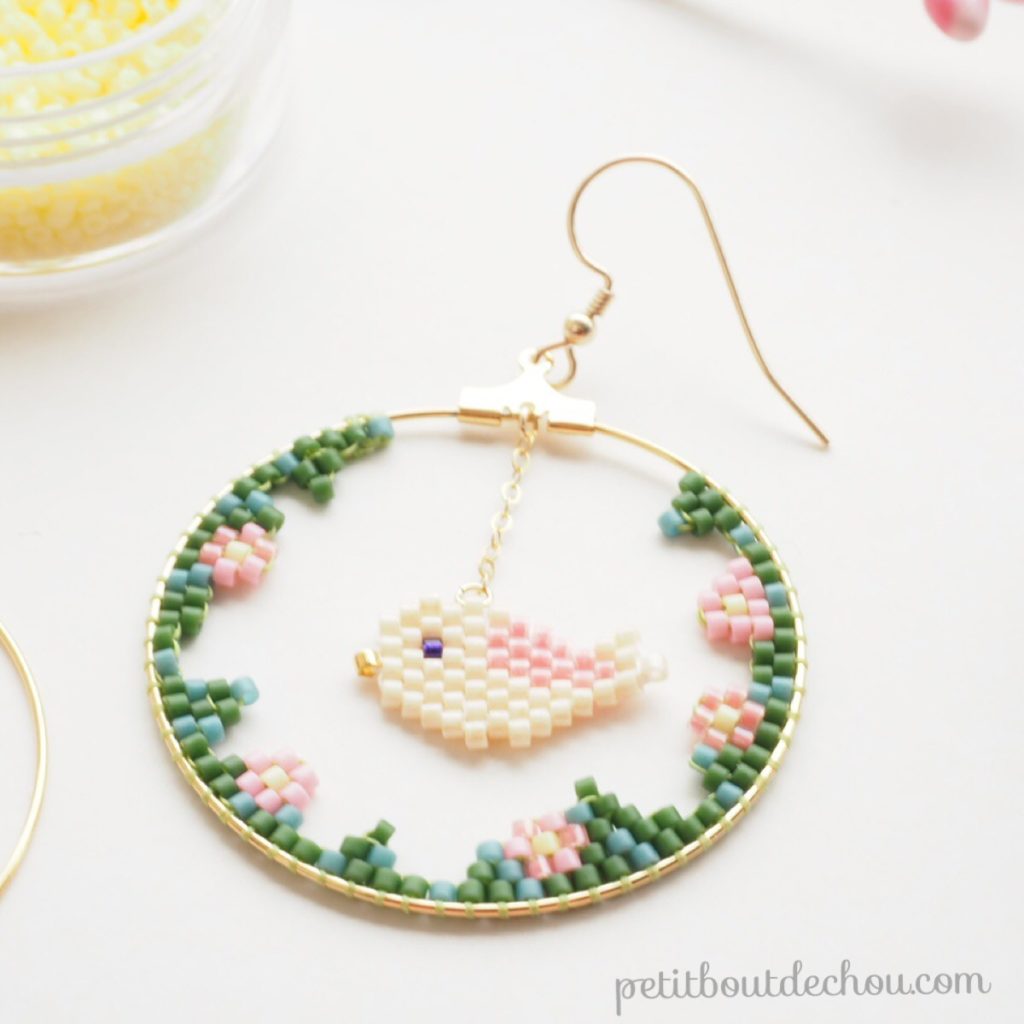
This tutorial was prepared in collaboration with perlesandco.com.
As usual, this pattern is protected under Creative Commons CC-BY-NC-ND 4.0. It is for personal usage only, no commercial use.
SUPPLIES NEEDED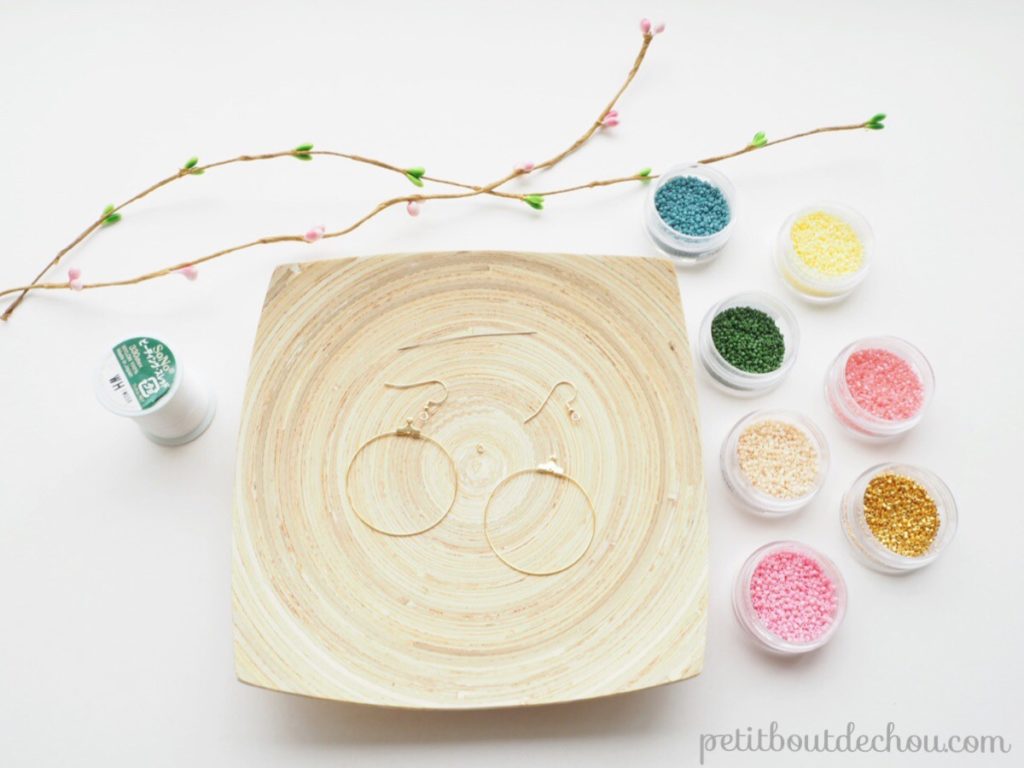
- Miyuki delica beads 11/0 references:
- DB 0031 Gold plated 24K
- DB 2116 Duracoat opaque light carnation
- DB 0070 Coral lined cristal luster
- DB 0792 Dyed semi matte opaque shale
- DB 2108 Duracoat opaque light lemon ice
- DB 0797 Dark green
- DB 0204 Antique beige ceylon
- Miyuki fine beading needle
- Miyuki beading thread in light green colour
- Creole earrings 40mm diameter
- 2 metallic gold earwires
- 4 jump rings gold plated 2.5mm diameter 0.5mm thick
- 5cm of thin oval links gold plated chain
- Jewellery pliers
- This pattern:
If you would like to know more about Miyuki beading with a needle essential material, I made a comprehensive guide to answer your questions. You can read my post here.
DIY STEPS
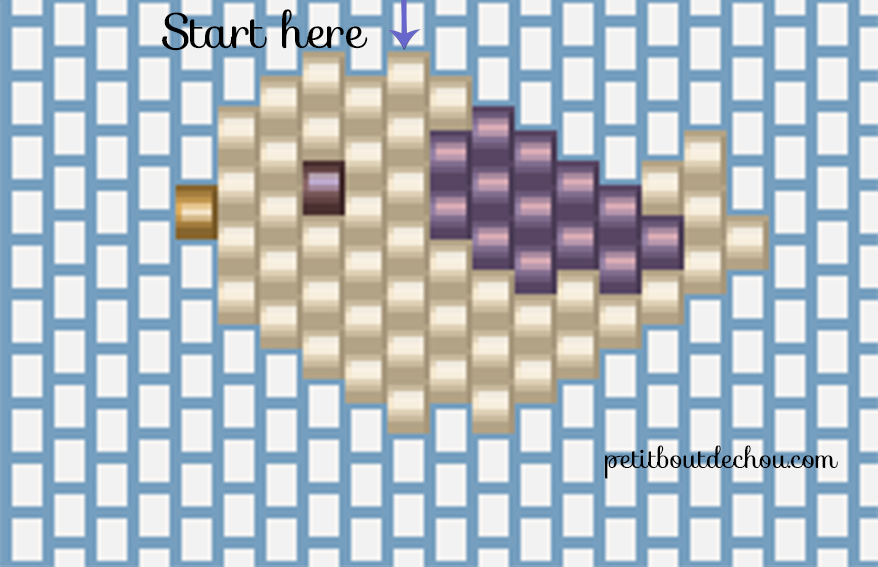
1. Birds beadweaving with a needle in brick stitch
Follow the pattern above using the brick stitch technique to create the two little birds. Decrease and increase techniques only are needed. You can find more info about these stitches in my Ginko leaf post.
2. Flowers and leaves on the creole earrings
We start by creating a first row of beads almost all around the creole ring.
To do so, go through the first bead two times and position the bead perpendicular to the ring (1). Thread a new bead. Go around the ring and go through the bead (2). Position the bead and pull the thread (3). 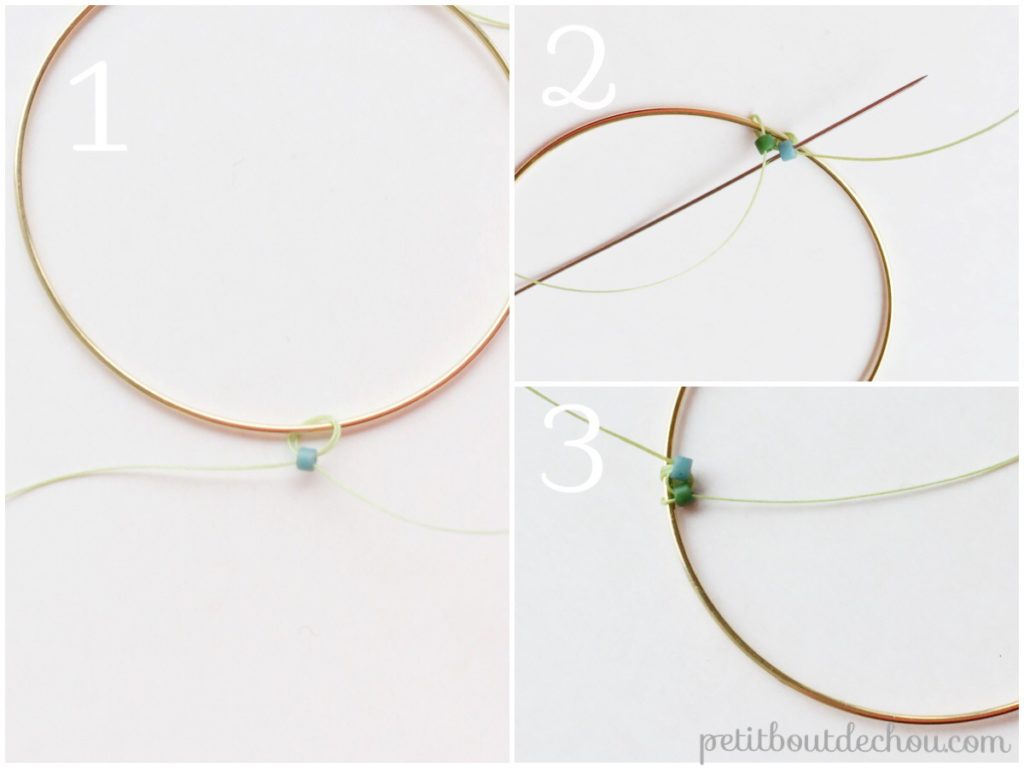
Repeat the operation for all the beads of the first row. 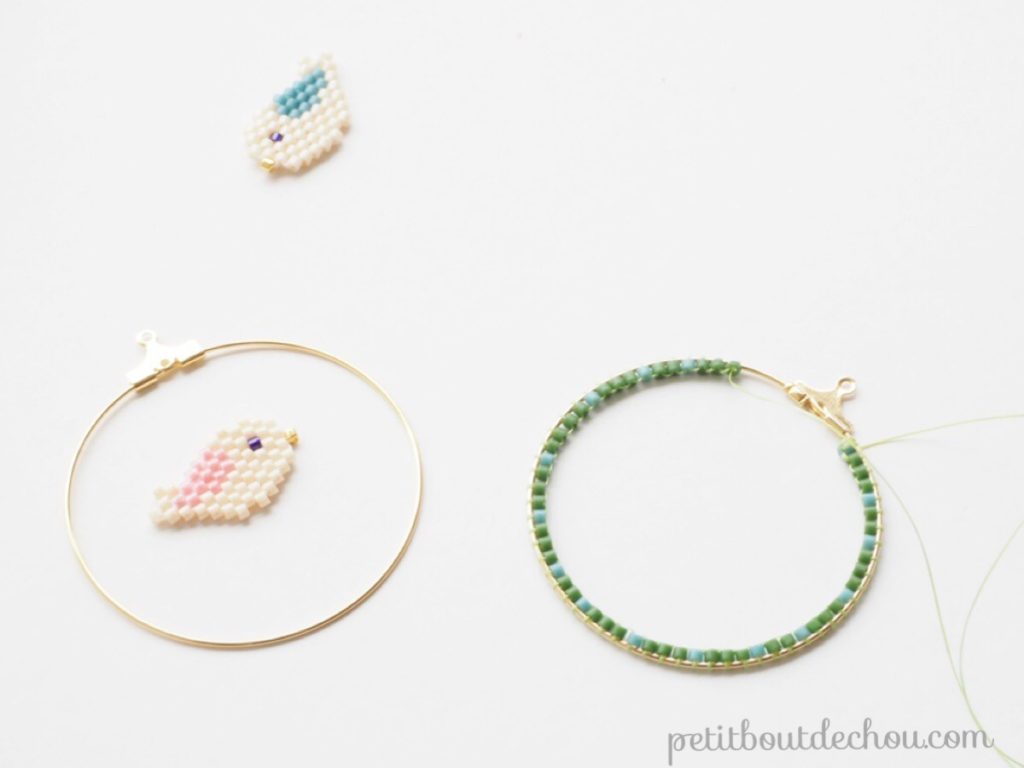
Now we will start making the flowers and leaves in brick stitch. Here is an example to make a leaf.
This is actually the same as making a decrease at the beginning of the row.
Thread on 2 beads and pick your needle below the thread crossing between the second and third bead of the previous row after the bead from which your thread is coming (1).
Go through the second bead upwards (2).
Go through the first bead downwards (3)and go to the second bead upwards again (4). 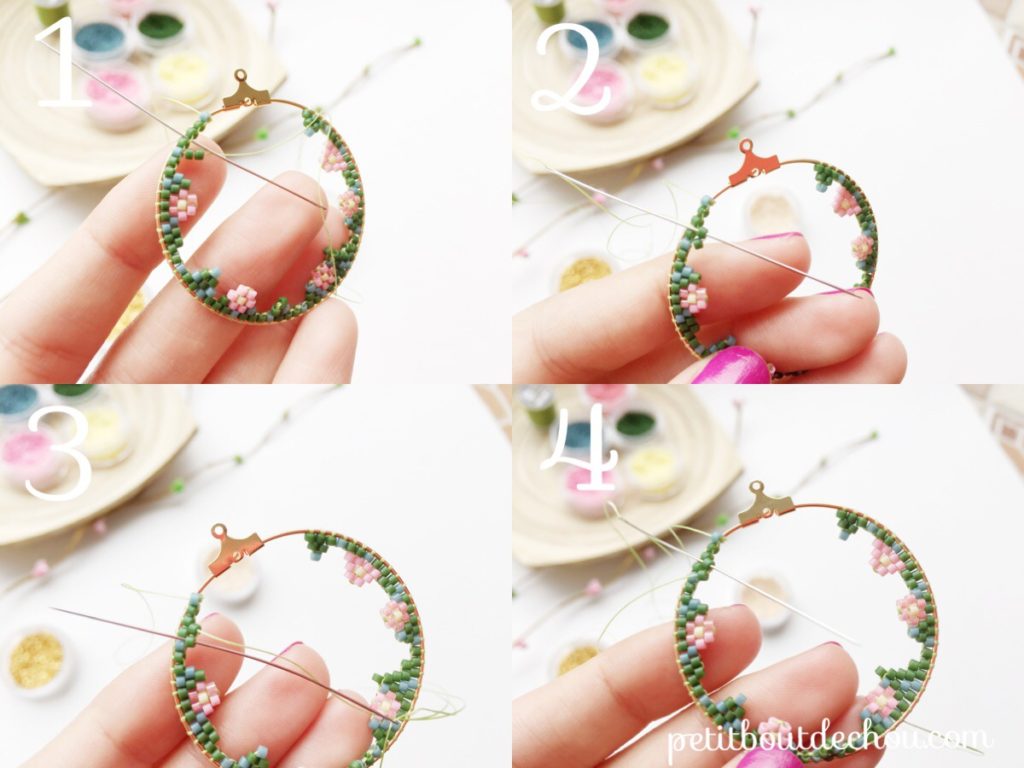
Your 2 beads should be well aligned now (5).
Thread on one bead. Go through the bead of the previous row downwards (6) and through the one next to it upwards (7). Repeat this loop once again to secure this last bead (8). You have made one leaf. 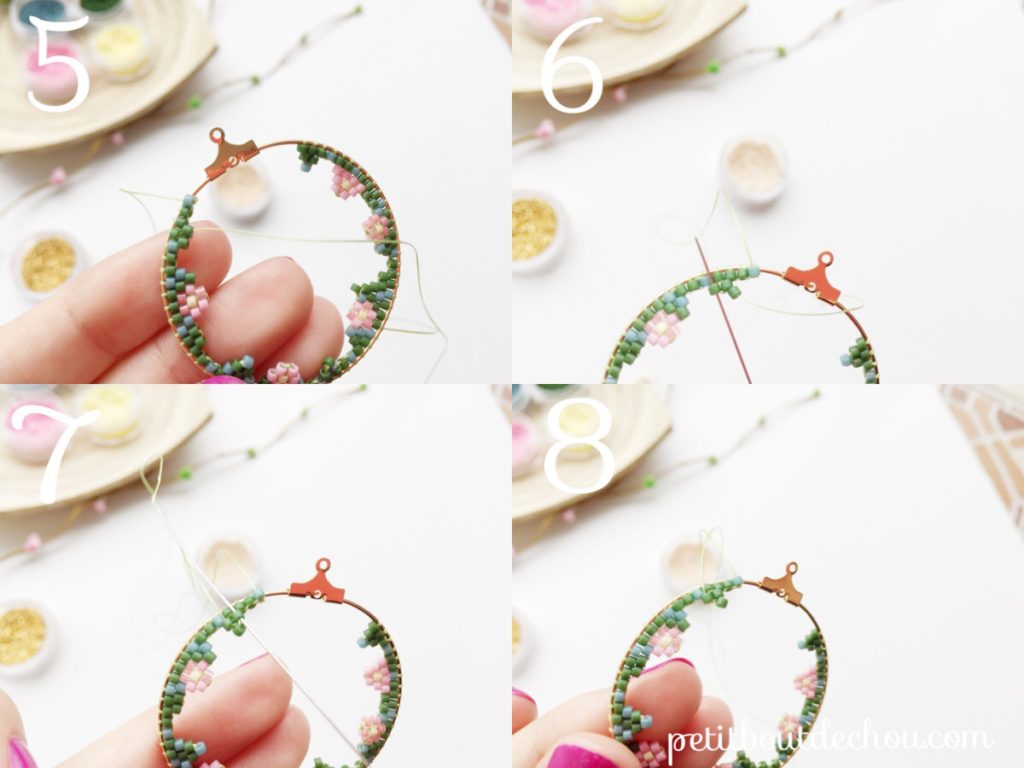
Weave your way through the beadwork to create another leaf or a flower. Continue until you have done almost the full ring. 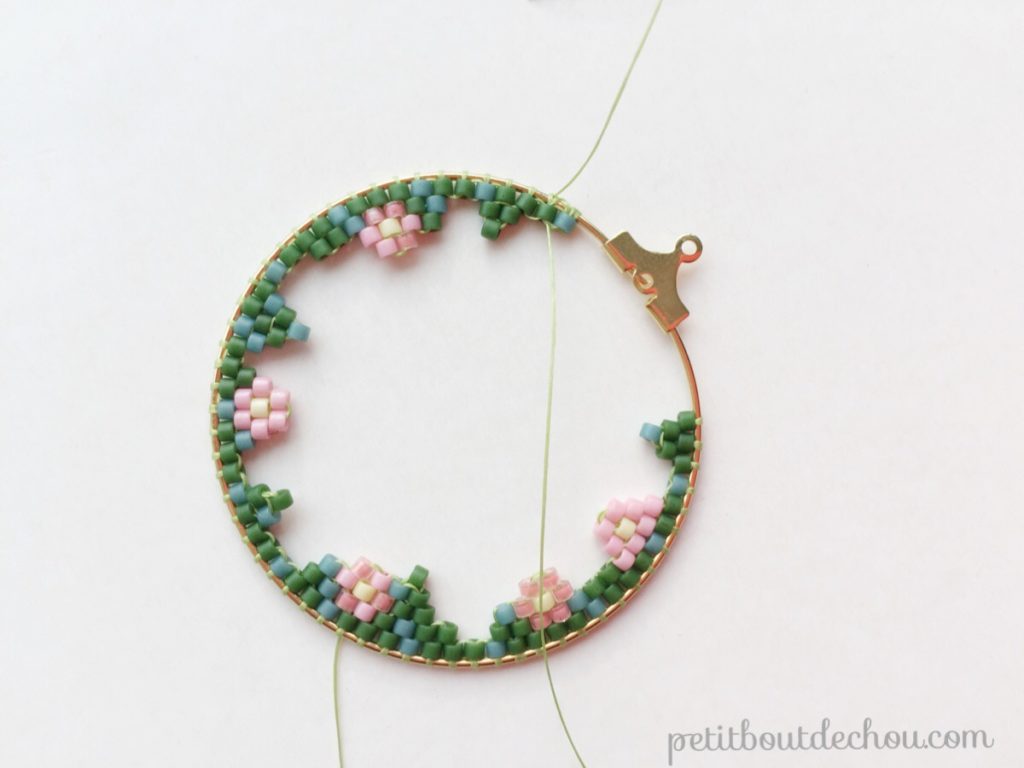
3. Assembly
Fix a jump ring at the top of the bird and about 2cm of chain.
Fix a ring at the other extremity of the chain and connect it to the small hole at the top center of the creole.
Fix the earwire to the creole using pliers. 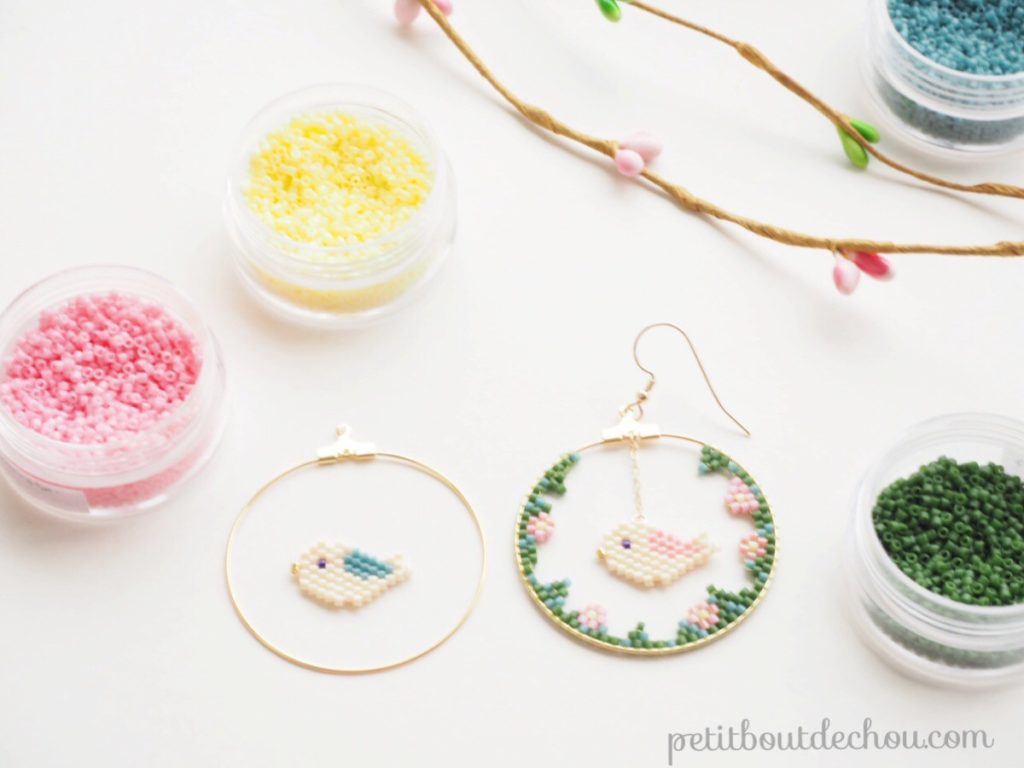
Repeat the operations for the second earring.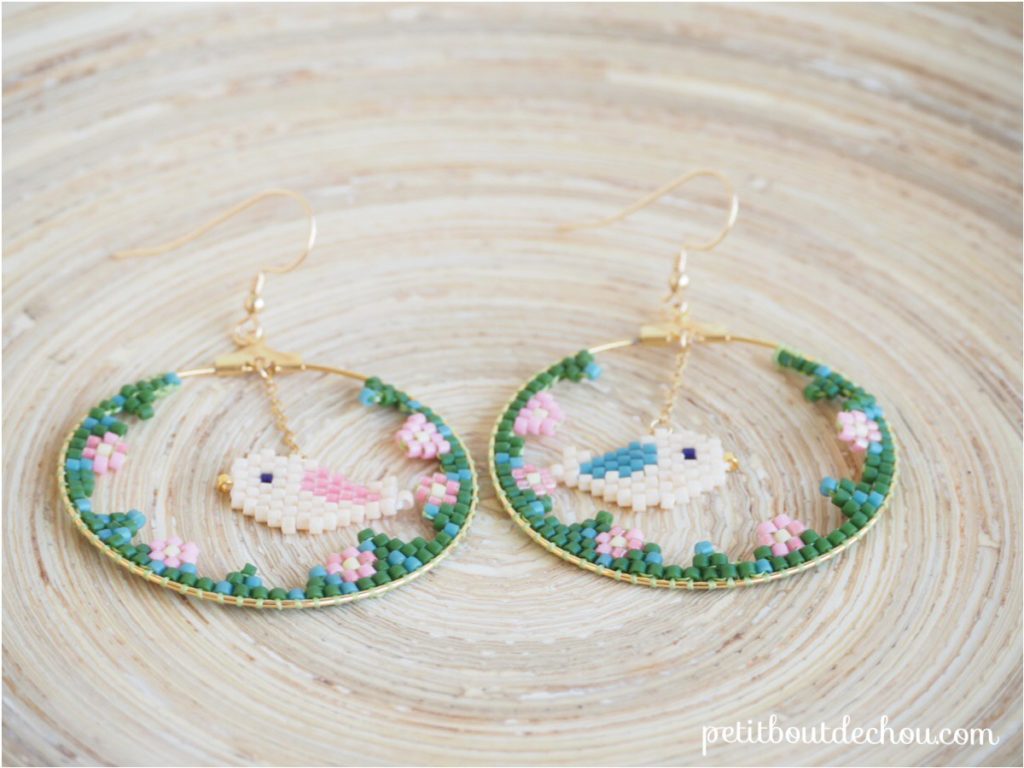
You are done! I hope you had a great time following this tutorial.
You may also like:
- my little owls in brick stitch
- my Chinese New Year rooster and lanterns in brick stitch
- my Ginko leaf in brick stitch
- my origami elephant in brick stitch
Follow me on Pinterest, Instagram or Facebook for more craft supplies tips, DIYs and free printables.
Subscribe to Petit Bout de News my monthly newsletter to make sure you do not miss any post 😉


9 Comments
These are so super sweet. Thank you for the pattern!
Thanks! You are welcome Natasha. I am glad you like it 🙂
Elles sont adorables Estelle!!!
Quelle finesse et délicatesse, grop coup de coeur pour tes créoles!!!
Merci beaucoup Monique 😉
This is so very gorgeous Estelle! Thank you for sharing!
This is so sweet! I love how the little bird is “flying”! Will share so others can visit.
Thank you so much Pearl for your kind words. They look indeed like they are flying 😉
Thanks a lot for sharing.
Adorable!
Thank you very much Tracy! I am glad you like them.