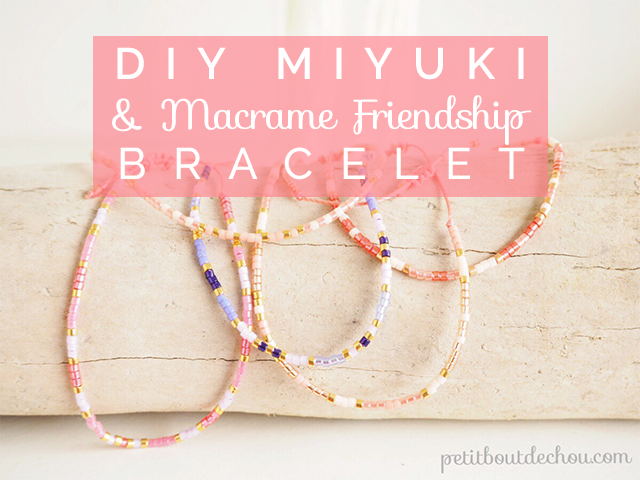
As we are all waiting for summer, let’s get ready by making some stunning and easy friendship bracelets in Miyuki beads with macrame knots. Closing your bracelets with macrame knots is a simple and pretty way to make your bracelets adjustable.
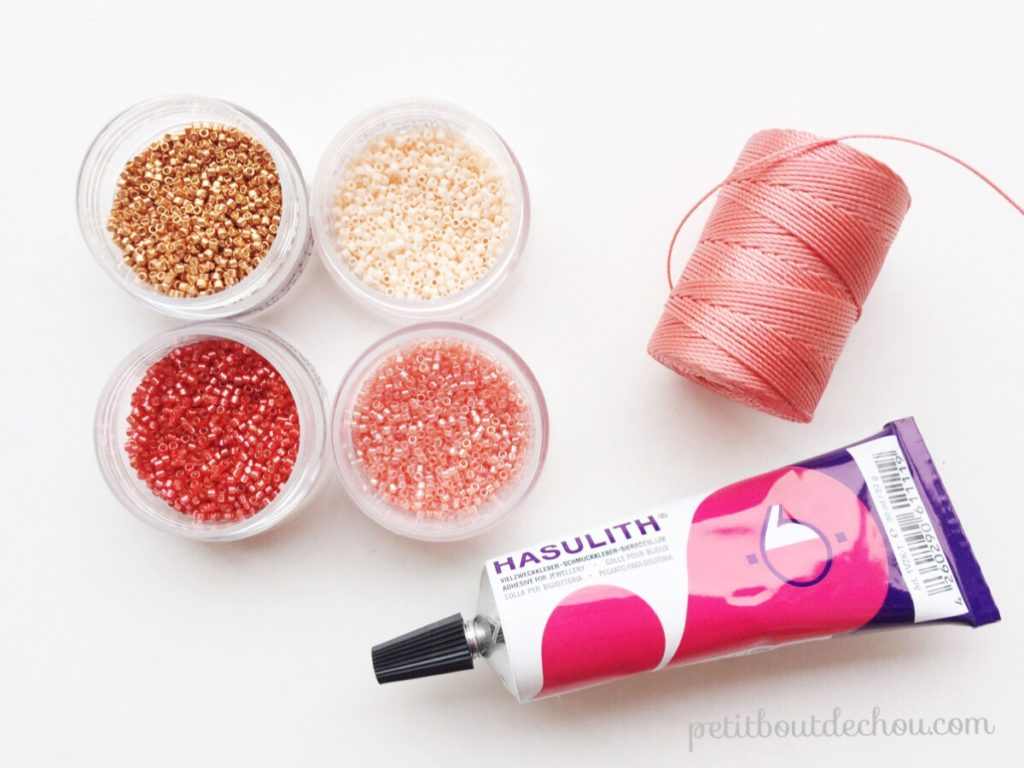
Supplies needed
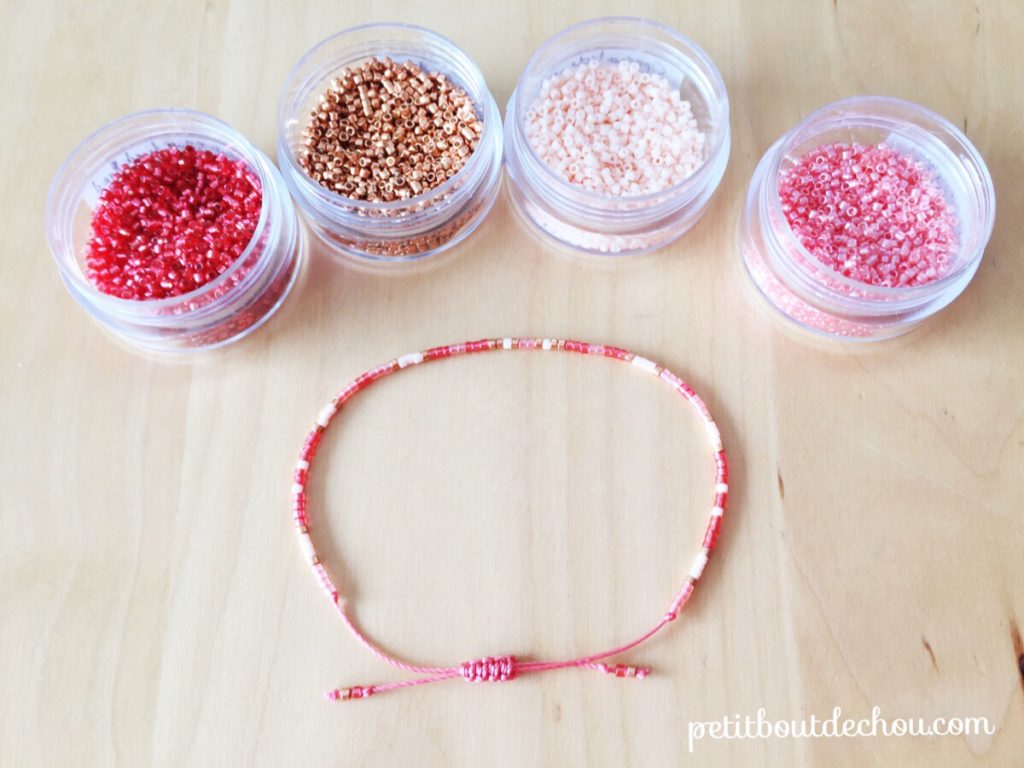
- Miyuki beads list
- Hasulith jewellery glue
- C-Lon beading cord – chinese coral 0.5mm – a beading thread dedicated to micro-macrame available in many beautiful colours
- Scissors
You can also find my comprehensive material guide for Miyuki beading with a needle here.
DIY steps
1. Make your bracelet with beads
Cut 30cm of your thread.
Fold in two and make a knot at 6.5cm from the middle. Tighten well.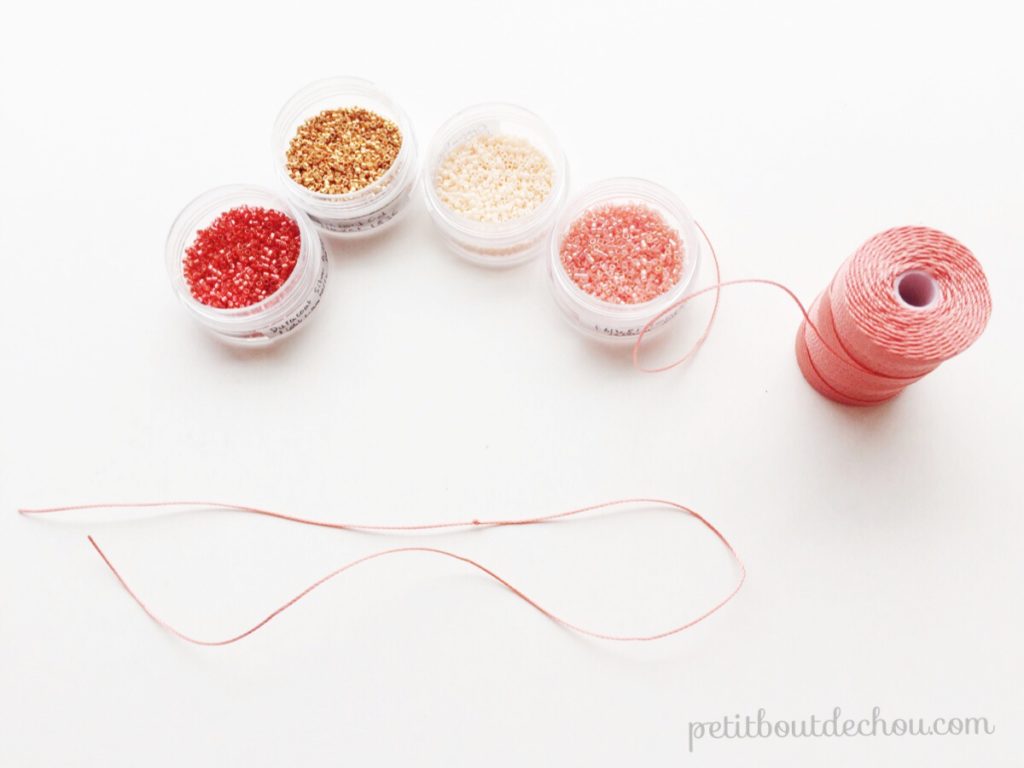
Thread in your beads one by one as per the free pattern.![]()
Make another knot once you are done at 13 cm from the starting knot. Tighten well.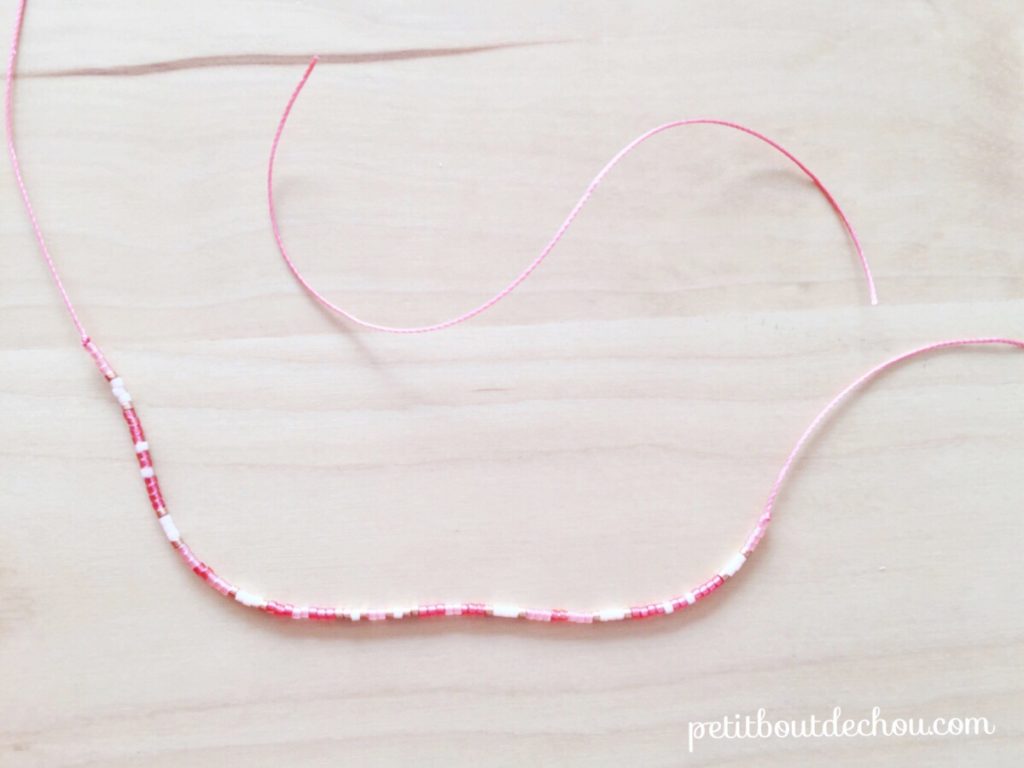
2. Make your macrame knots
Cut 15cm of thread. (see above)
Place on your left hand one end of the bracelet towards the bottom and the other end towards the top (1).
Place your additional thread below the two ends where there is no bead (2).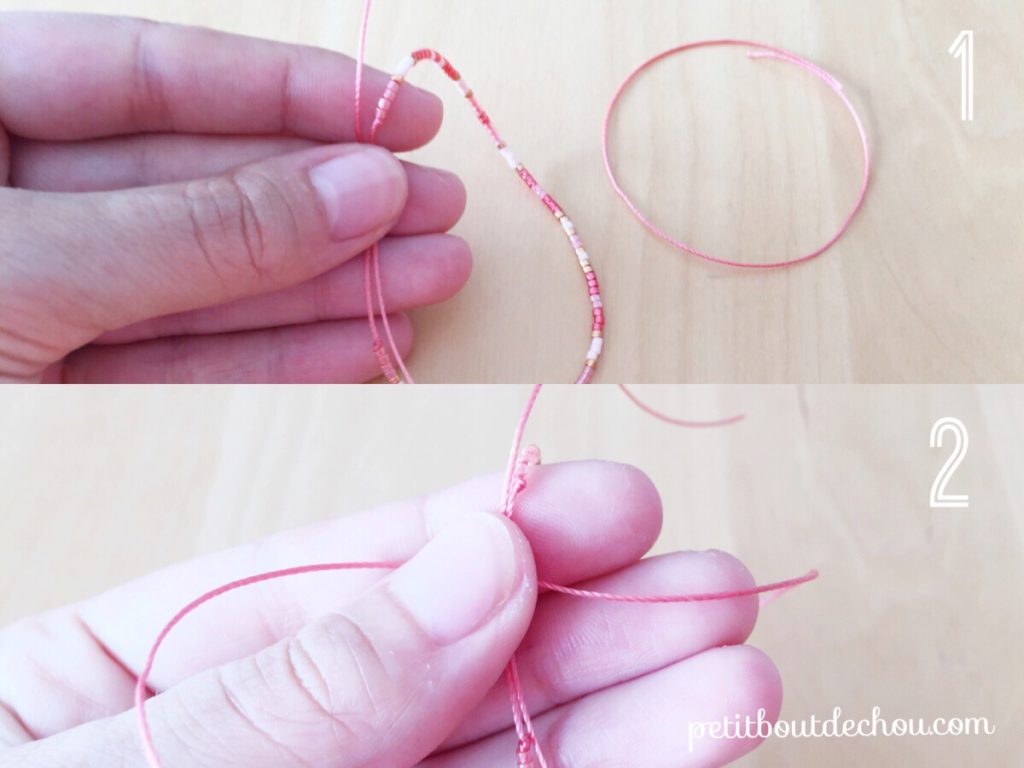
Fold the left part of the thread and place it above the crossed threads. Hold it with your thumb (1).
Now take the right side, go above the left side thread, underneath the cross threads and upwards through the loop created by the cross threads and the left side of the additional thread (2).
Pull on both ends of this thread to tighten the knot (3). 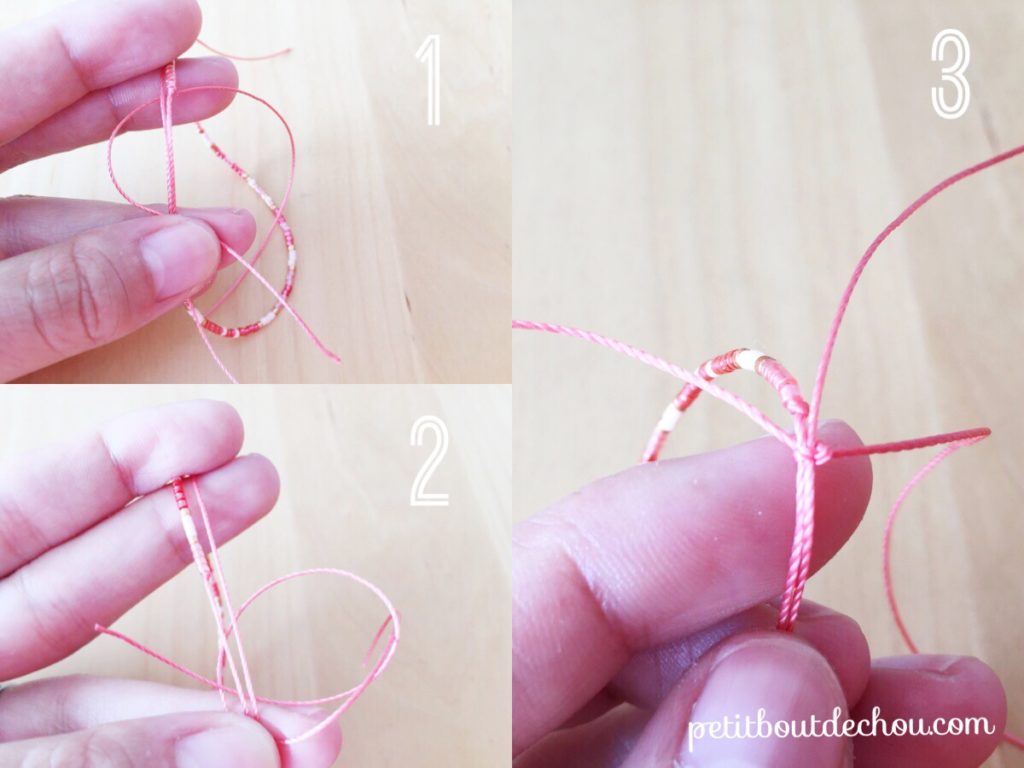
Repeat the operation but mirrored starting with the right thread (1) (2).
Once the two knots are done, you have actually made the famous square knot in macrame. (3)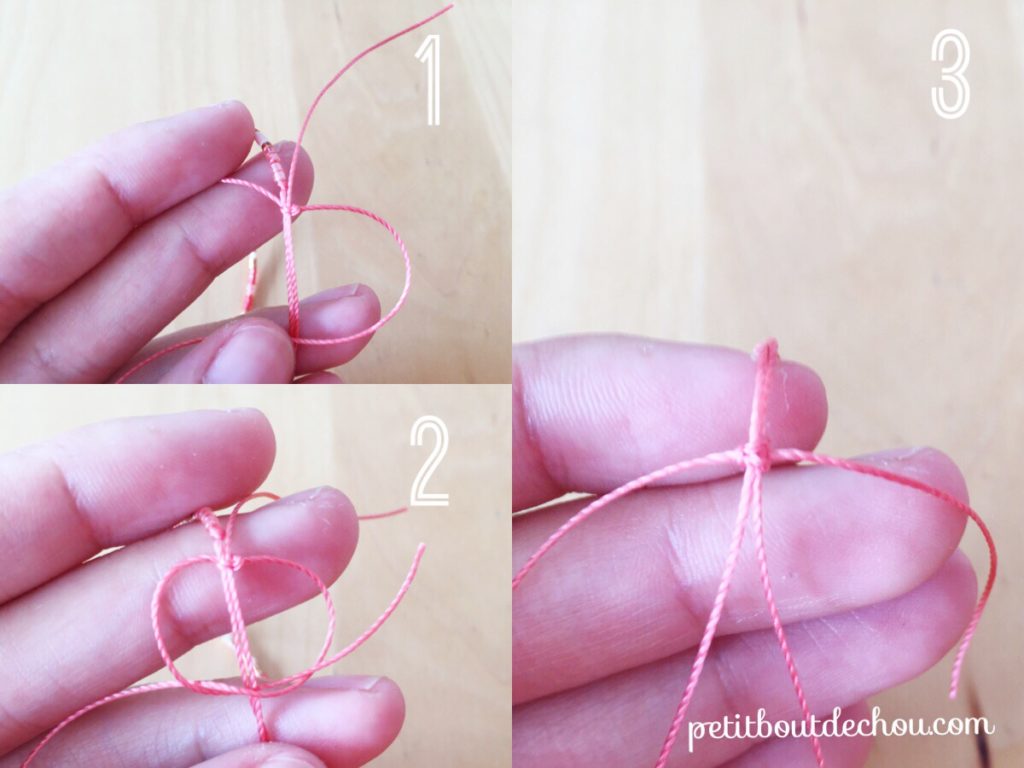
Make 3 more square knots. Here is a link if you are struggling with these square knots.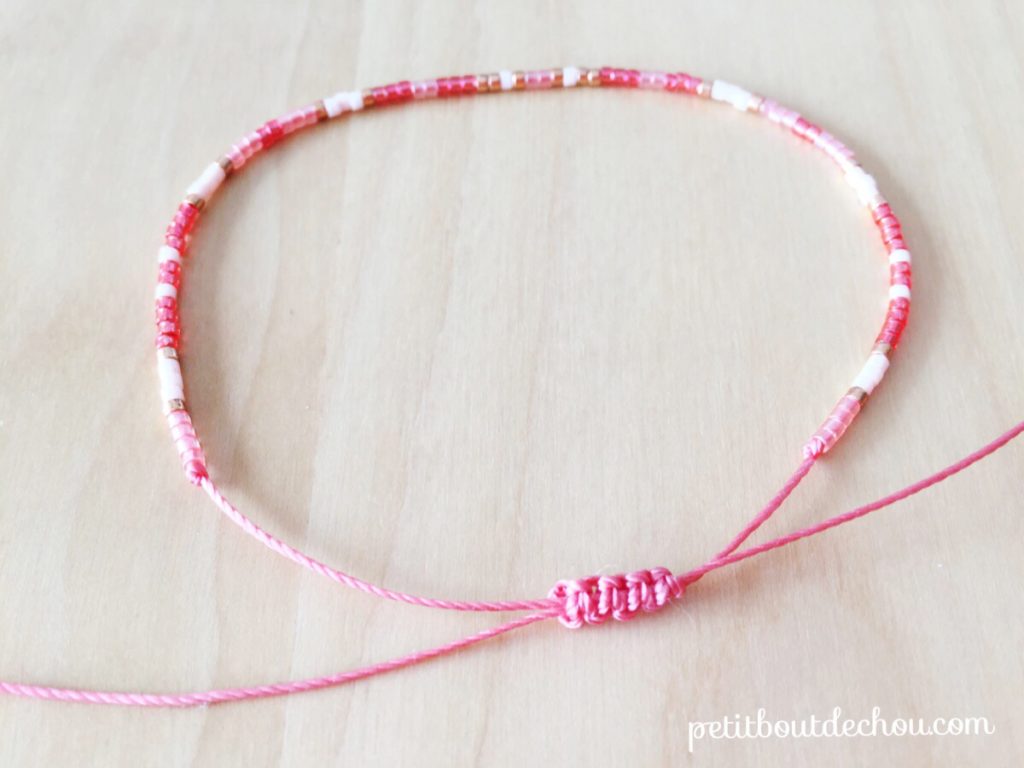
Tighten well and make one knot at the back. Use some glue to fix the knots.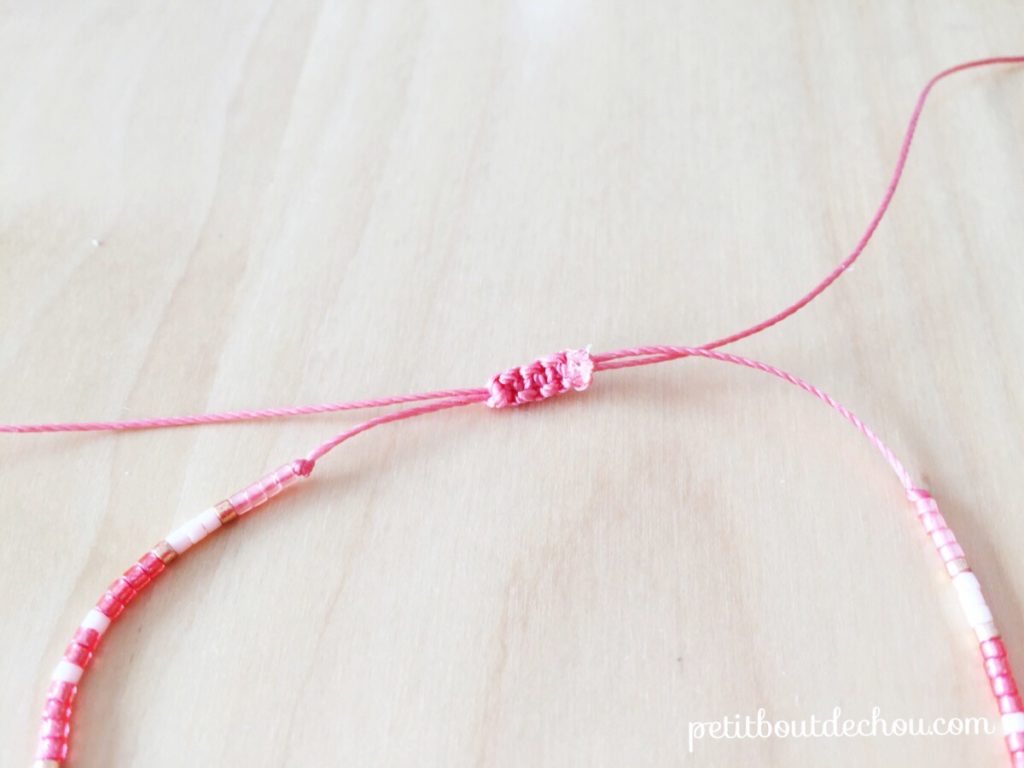
3. Decorate the ends of your thread with beads
Reduce the size of your bracelet to the minimum and make a knot at 4cm from the square knots on one end.
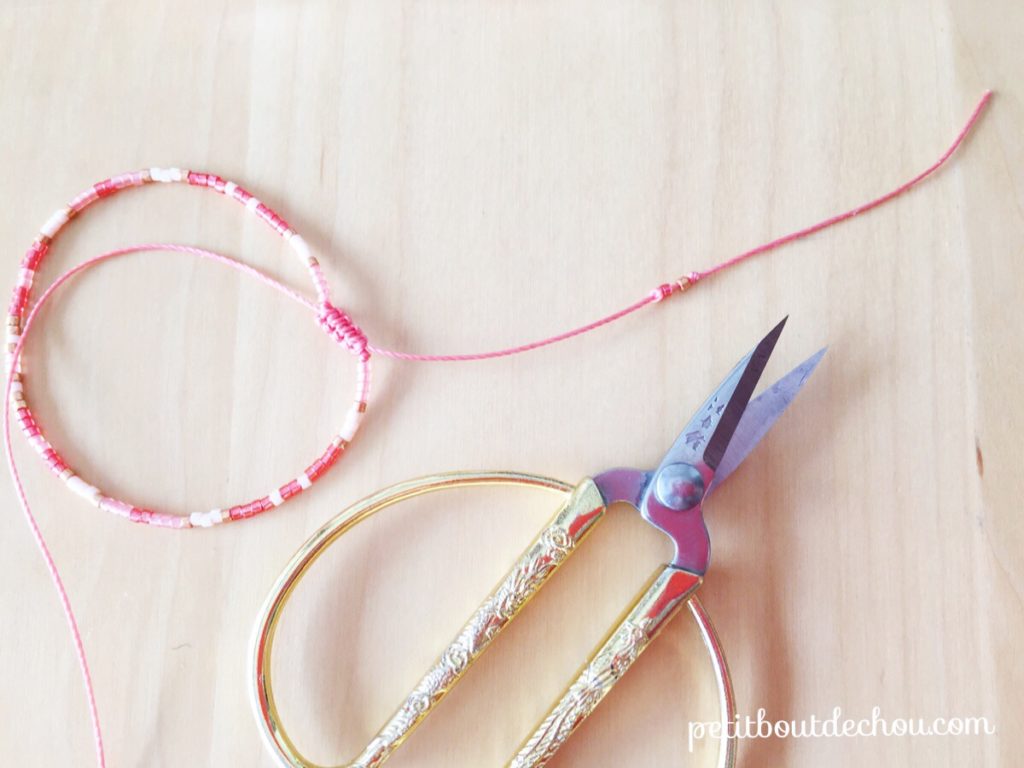
Thread 2 beads and make a knot. Cut the remaining thread. Place a bit of glue to fix the knot.
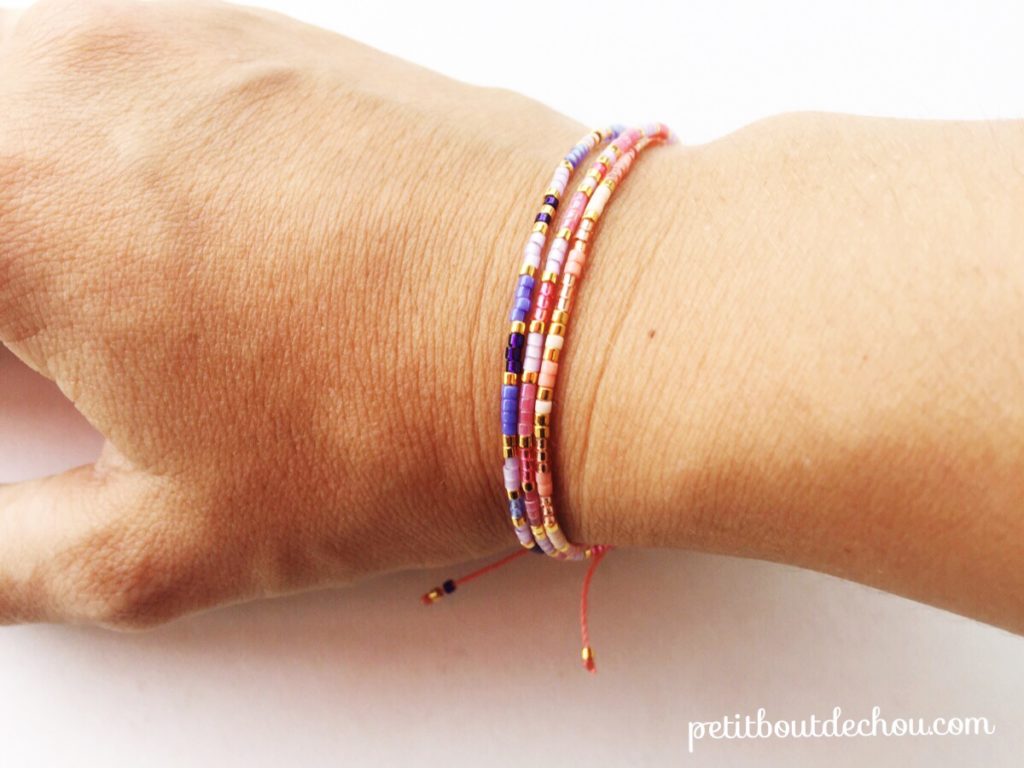
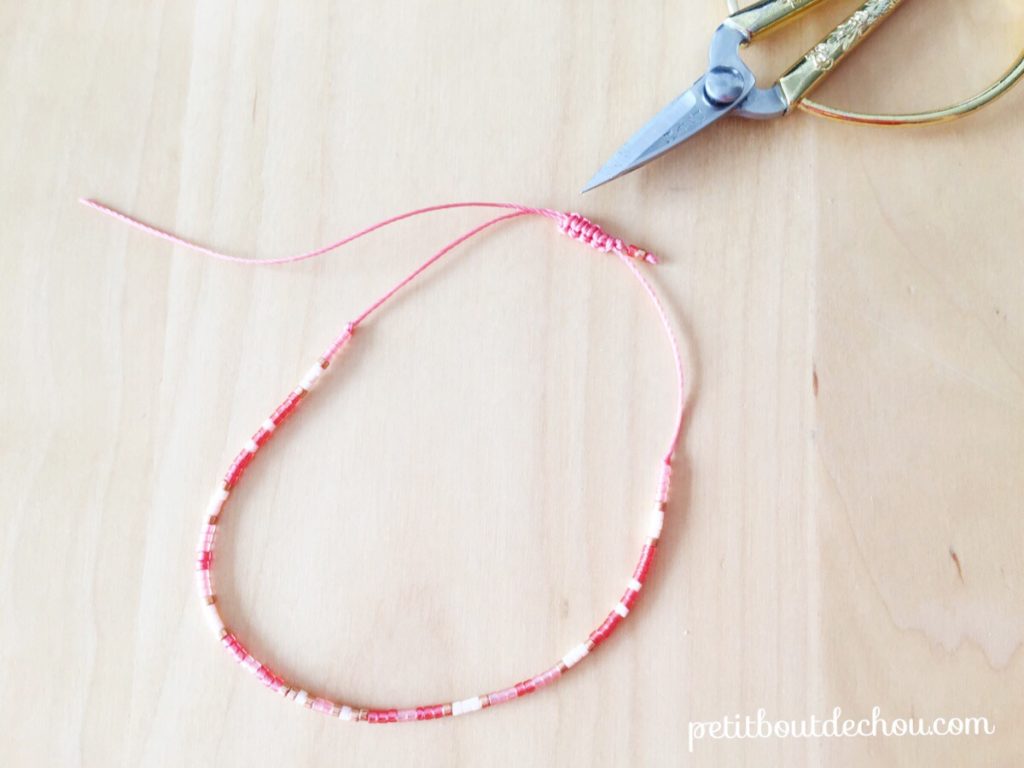 Place the bracelet in the maximum open position. You may want to use this step to check that your wrist can actually go through the loop created and adjust the size of the bracelet accordingly before placing the last knots and beads as you have done for the other side.
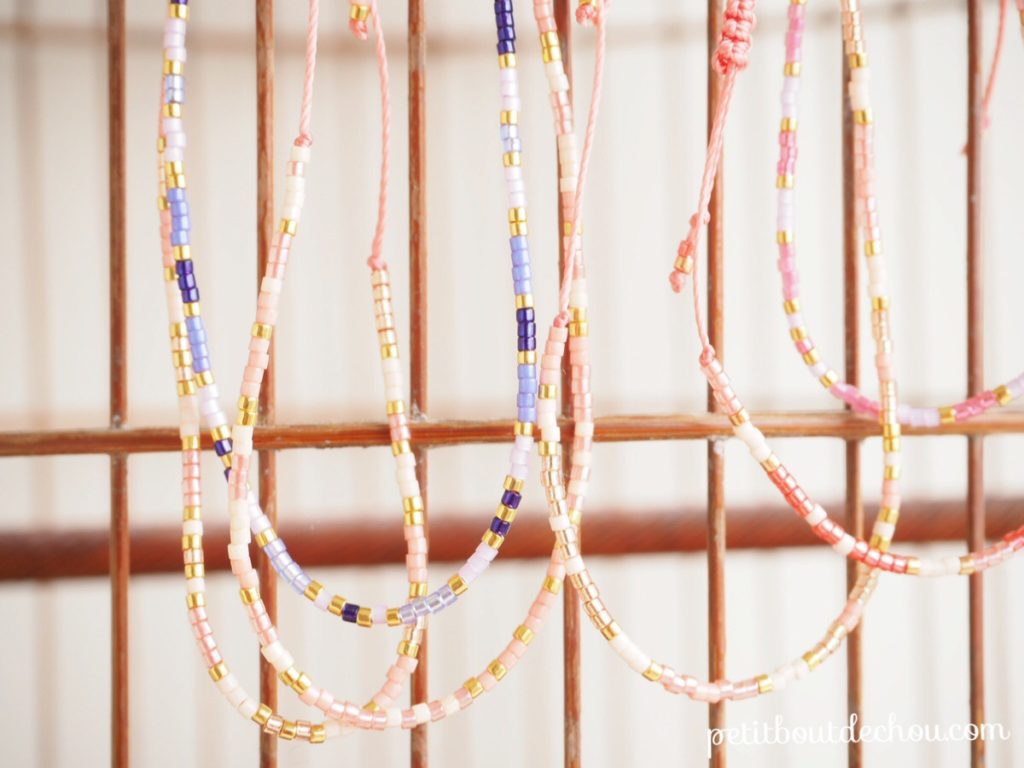
You are done! Easy right? You can now make many bracelets for your friends and family.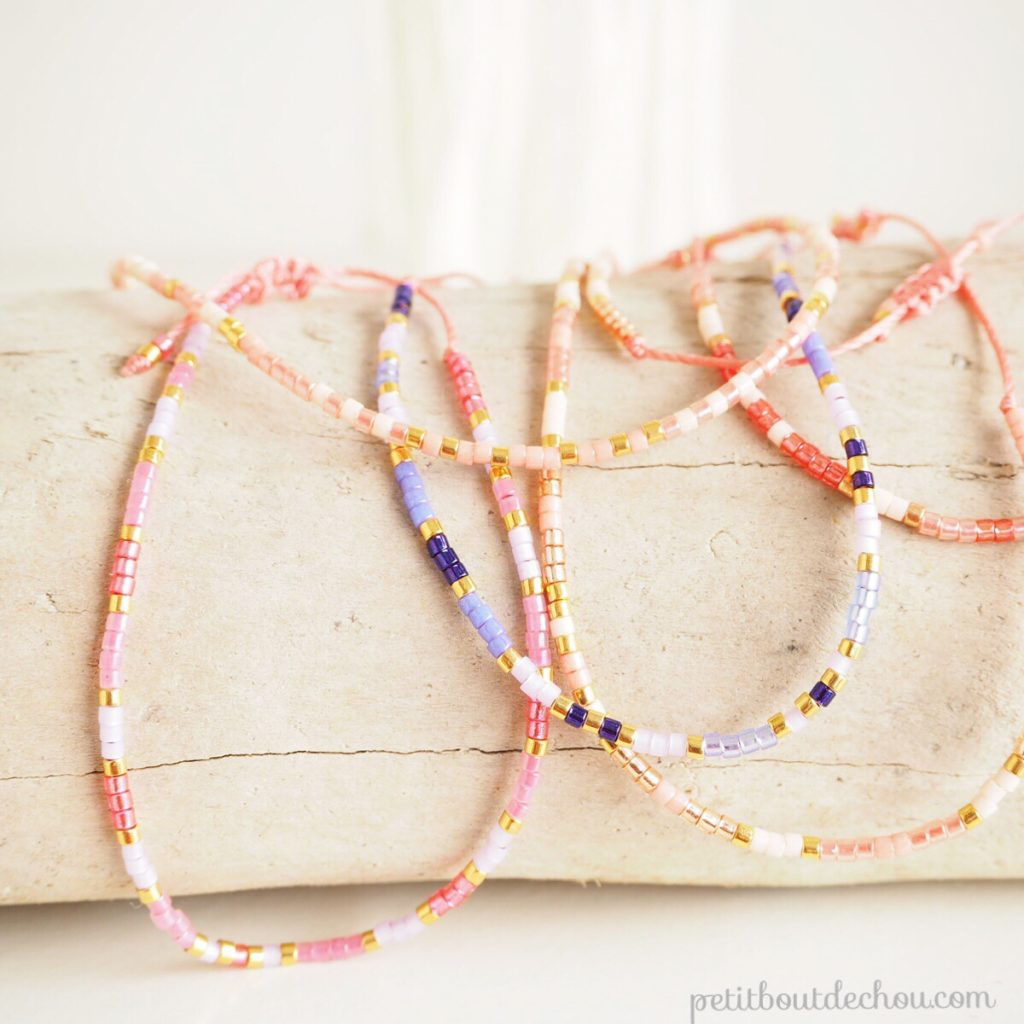
Play on the pattern, the colours to create your own designs.
I hope you like this tutorial. If you did, do not hesitate to share and follow me on Pinterest, Instagram or Facebook.
You may also like:
- my little owls in brick stitch
- my Chinese New Year rooster and lanterns in brick stitch
- my Ginko leaf in brick stitch
- my origami elephant in brick stitch
Happy beading!
Follow me on Pinterest, Instagram or Facebook for more craft supplies tips, DIYs and free printables.
I am also always happy to hear about you in the comments below.


