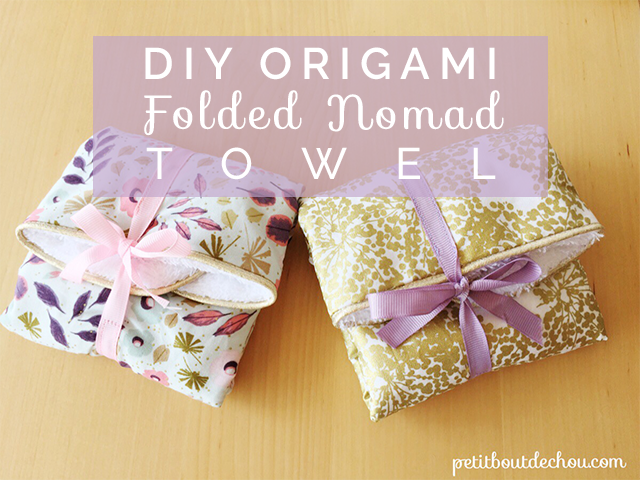
 Because we always need a little towel in our handbags to dry our hands or to sponge down, this towel with beautiful flower blossom designs is both pretty and convenient. Follow me in this step by step tutorial ideal for beginners.
This tutorial was prepared in collaboration with perlesandco.com where you can find all the craft supplies used in this tutorial. See the details below.
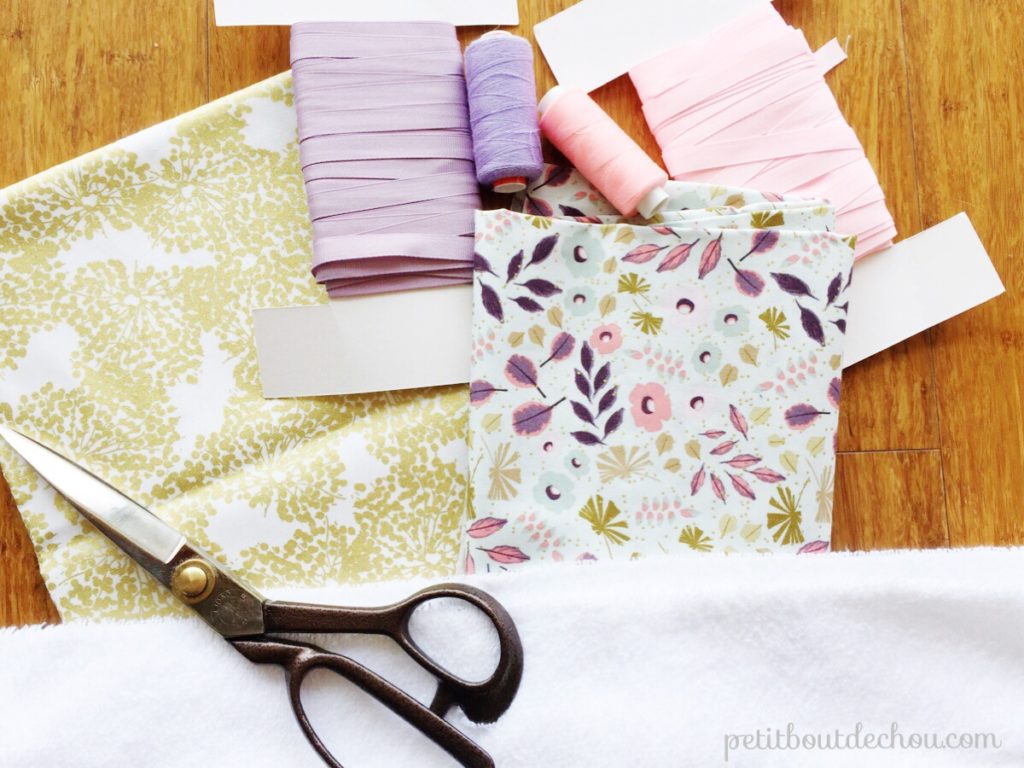
SUPPLIES NEEDED
-
- Printed cotton fabric “wild bunch” from Rico design 30cm x 30cm
- Sponge fabric in white colour 30cm x 30cm
- Gold piping 2.50m
- Matching colour thread
- Matching ribbon minimum 50cm long
- Ruler
- Erasable fabric pen
- Scissors
- Pins
DIY STEPS
1. Cut the fabrics
Cut two squares of 30cm by 30cm: one in the sponge fabric and the other in the cotton.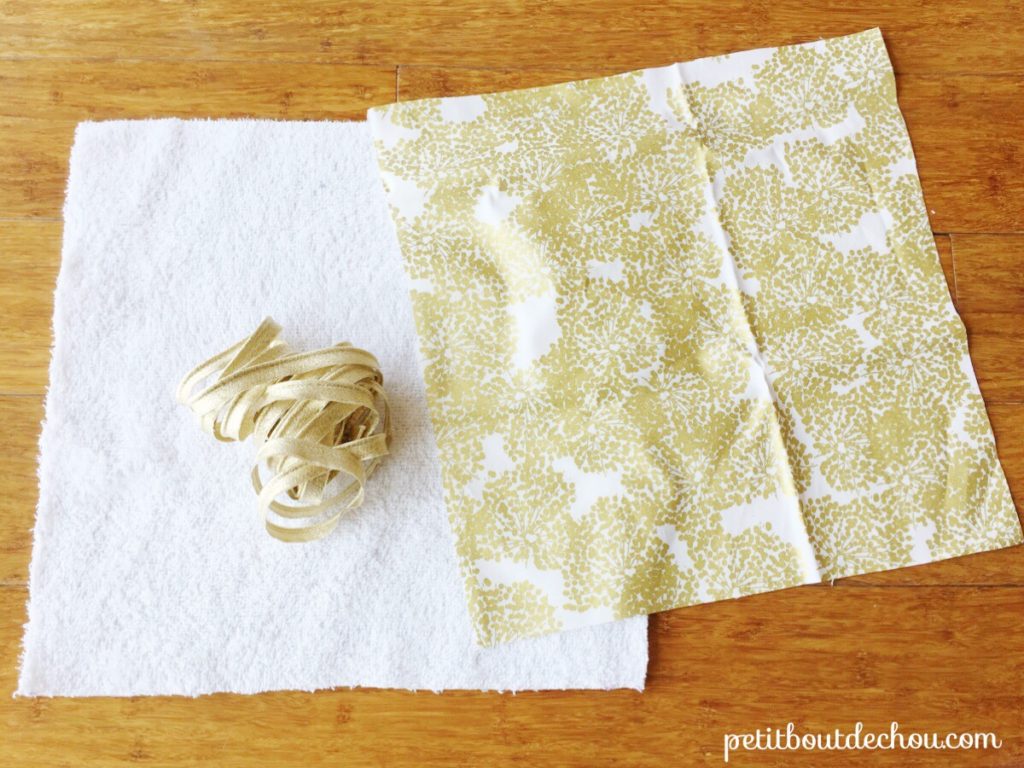
2. Fix the ribbon
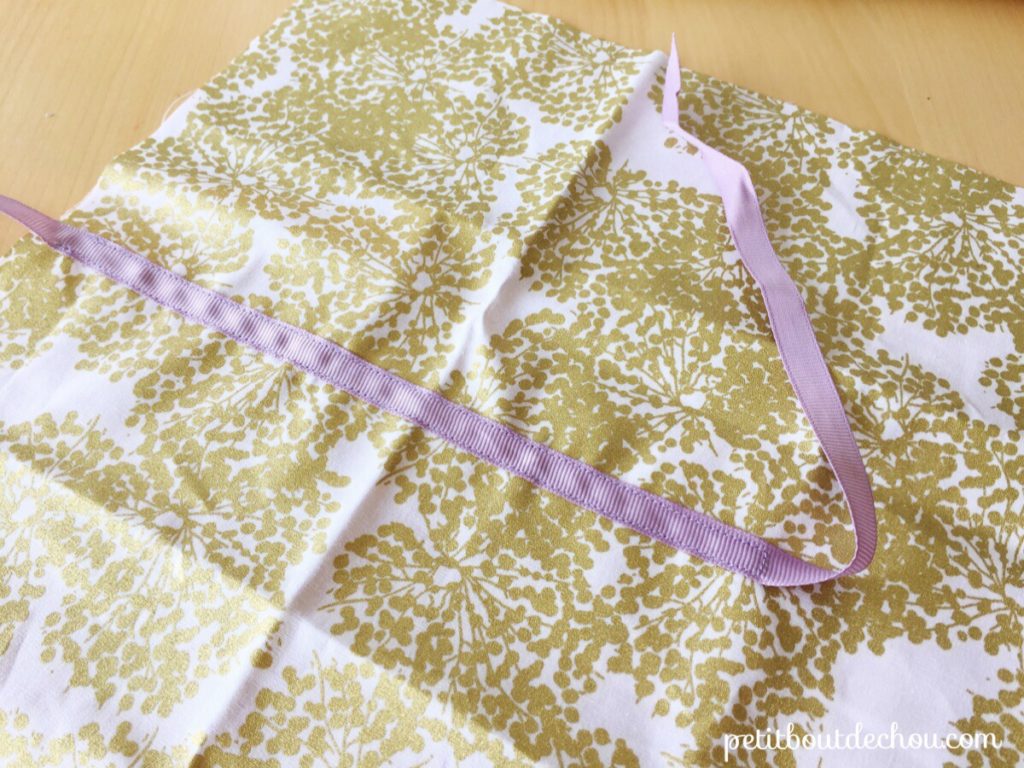
Fix the ribbon in the middle of the square in one direction using pins.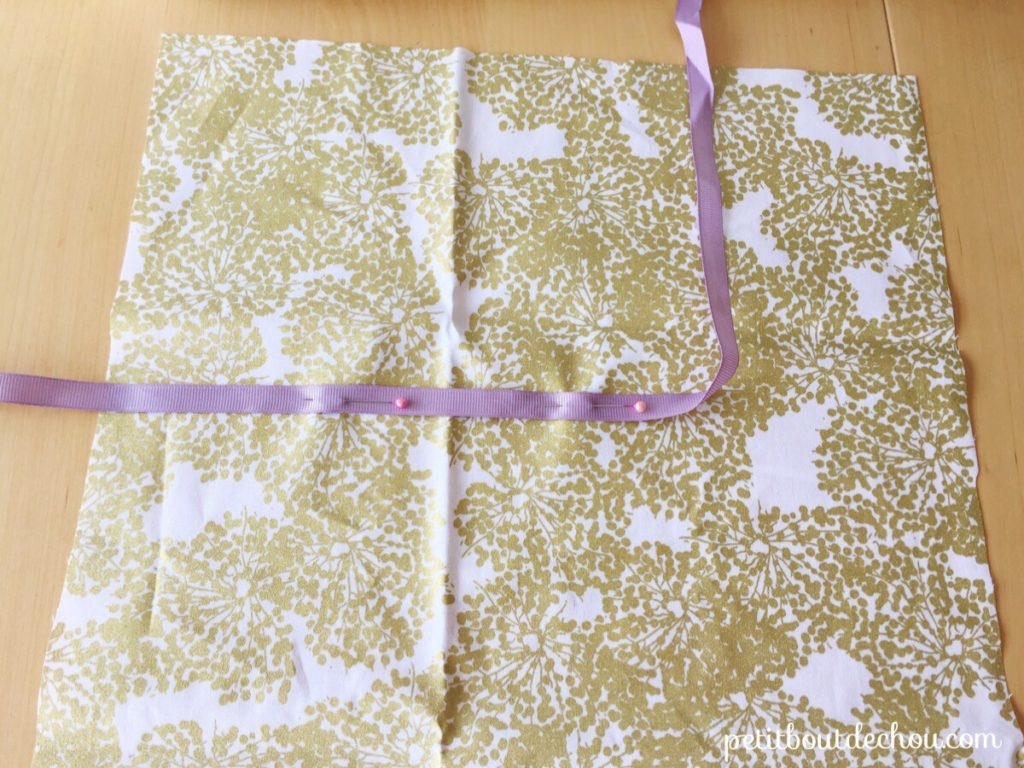
In the other direction, fix the ribbon on two third of the length so that it exceeds on both sides equally. In other words, as 2/3 of 30cm makes 20cm, this is the length that should be sewn on the fabric and as 50cm – 20cm = 30cm you should have 15cm of free ribbon on each side of the sewn part. These free parts of the ribbon will allow you to make the knot.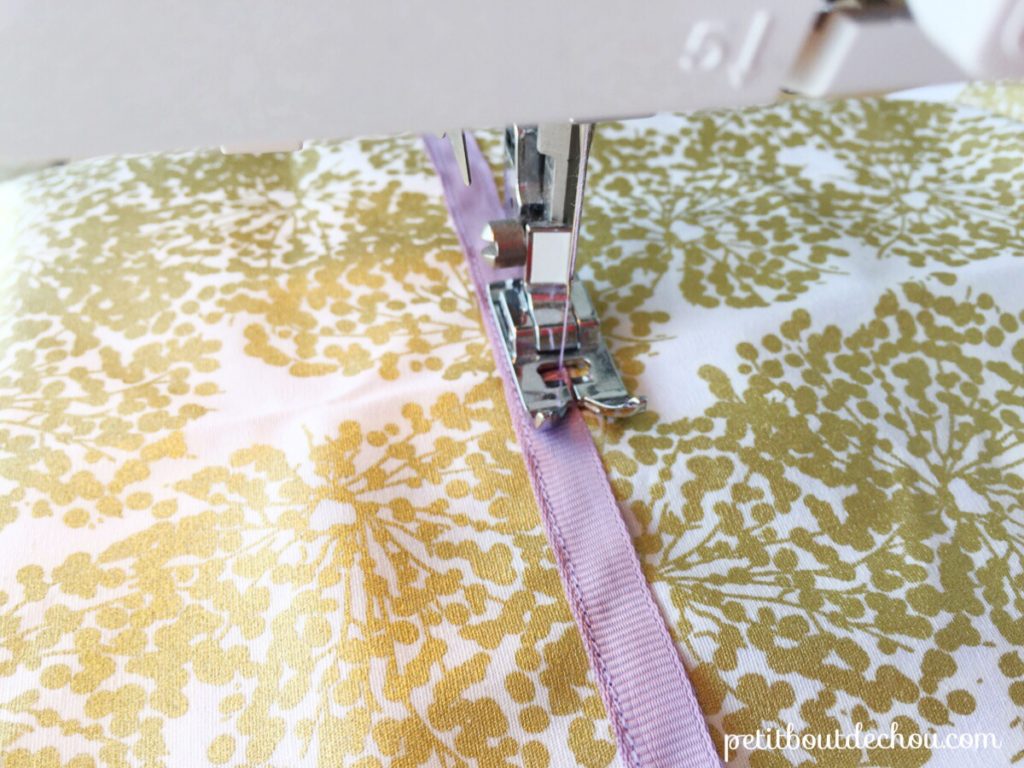
3. Sew the fabrics and piping
Place the printed side of the cotton fabric against the sponge fabric (so it is wrong side up). Insert the piping in between with the cord side on the internal side of the square.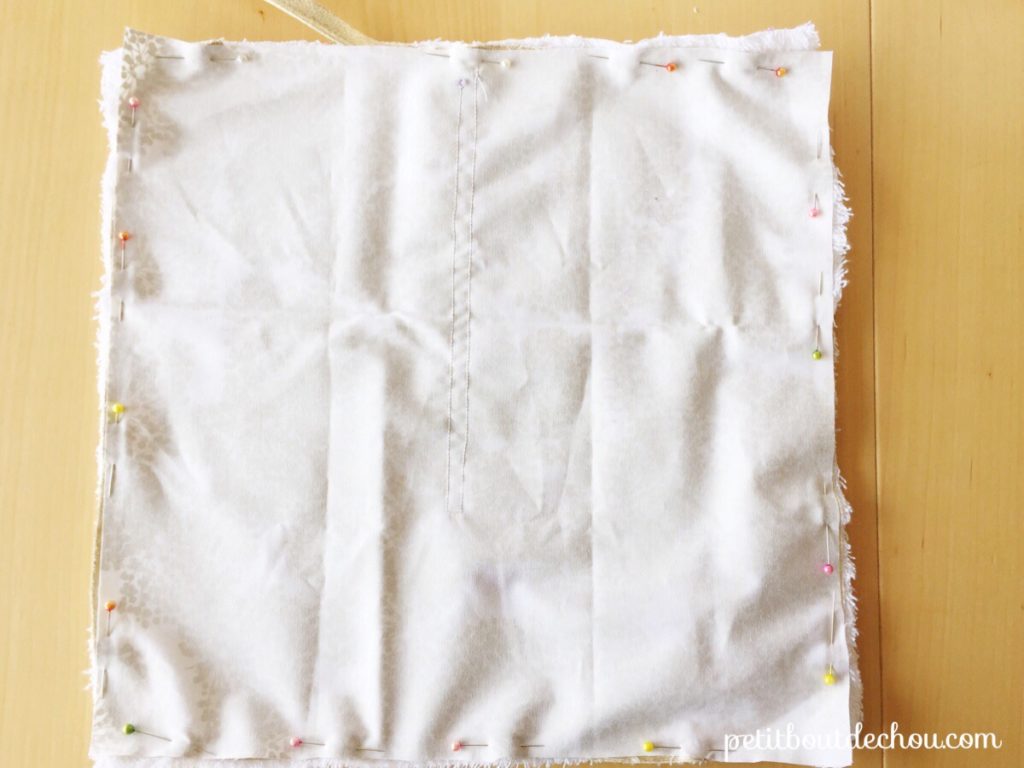
Adjust the piping at the corners so that it is curved as per the picture below (the fabric is folded so you can see the layers but make sure you place it back before sewing).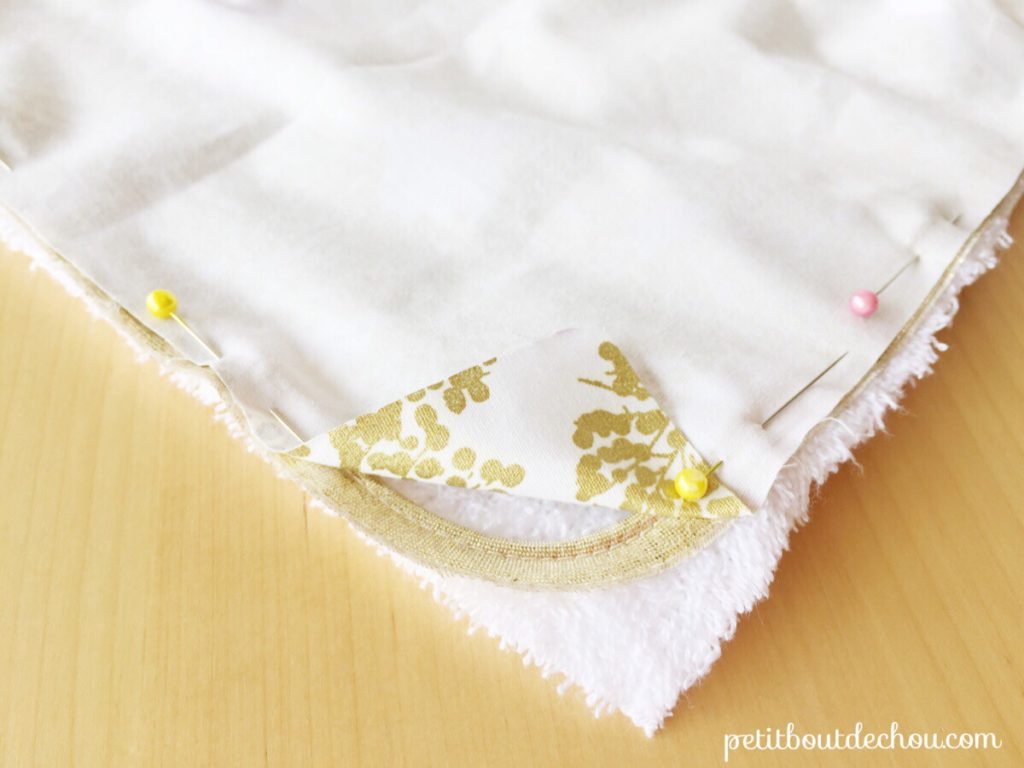
Pin everything.
Note: how can I close properly the piping? I suggest you use the following technique which is quite beautiful: cross the pipings on 1cm, pin them, and bend them towards the outside of the square. Pin them in place so that they do not move during sewing.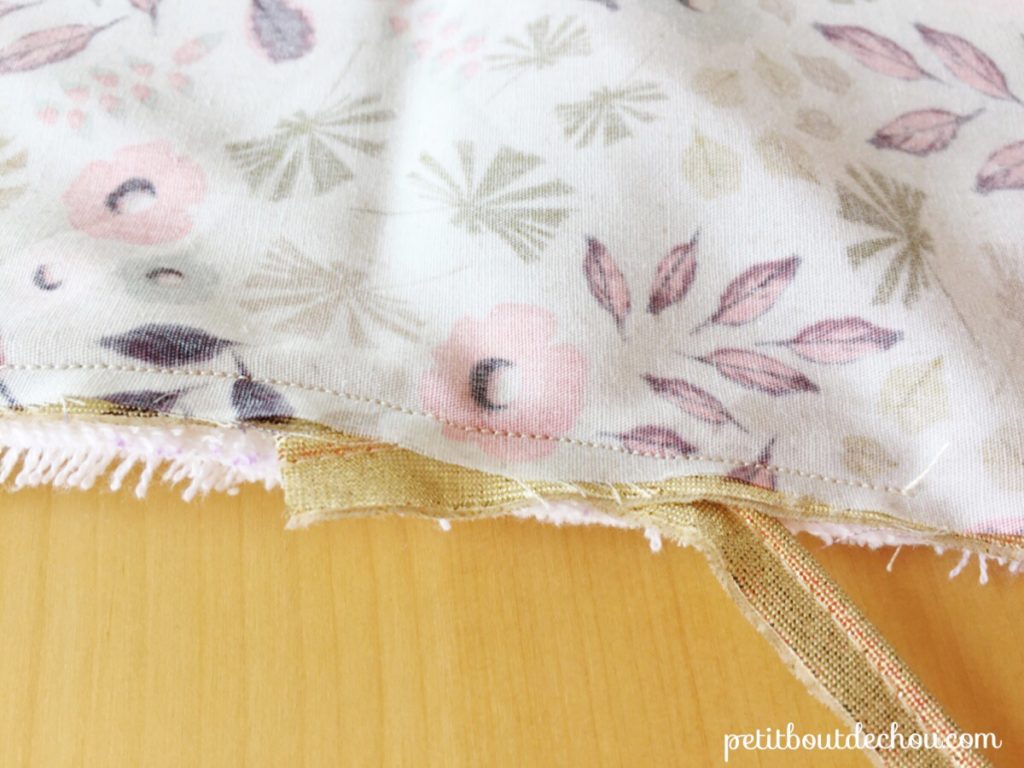
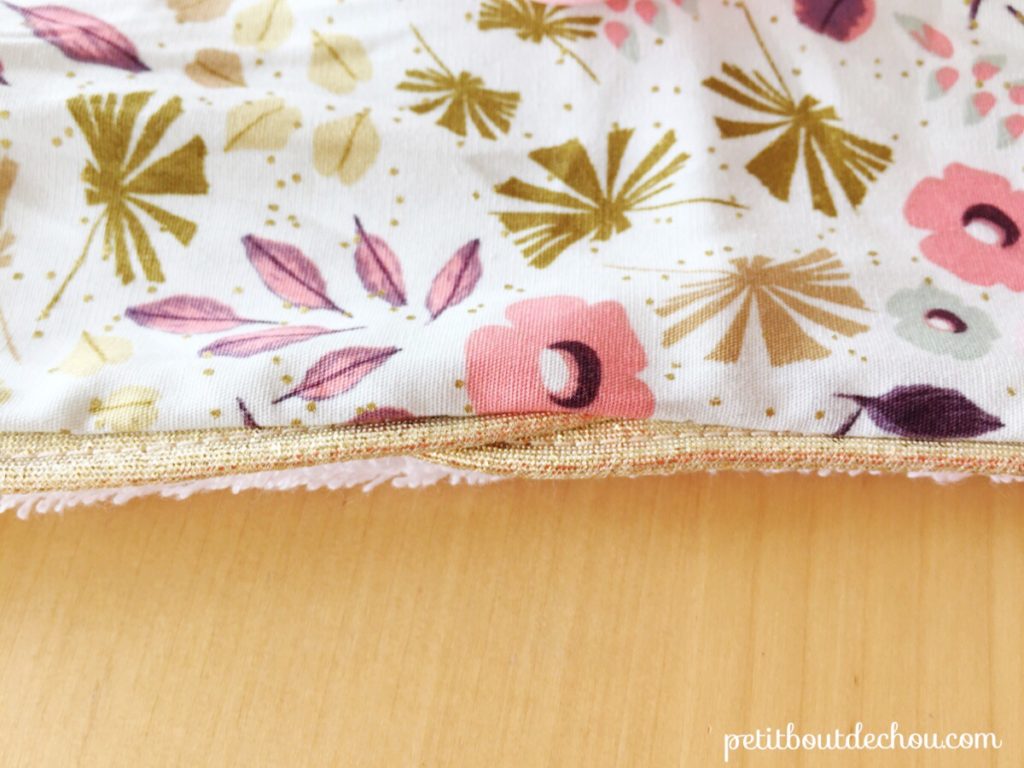 Sew the 4 sides with your machine except a length of 5cm. Use this hole to turn your work inside out.
End by closing this hole using the invisible stitch technique to sew it by hand.
4. Folding
Fold the towel in 3 vertically (parallel to the ribbon) by folding down both sides.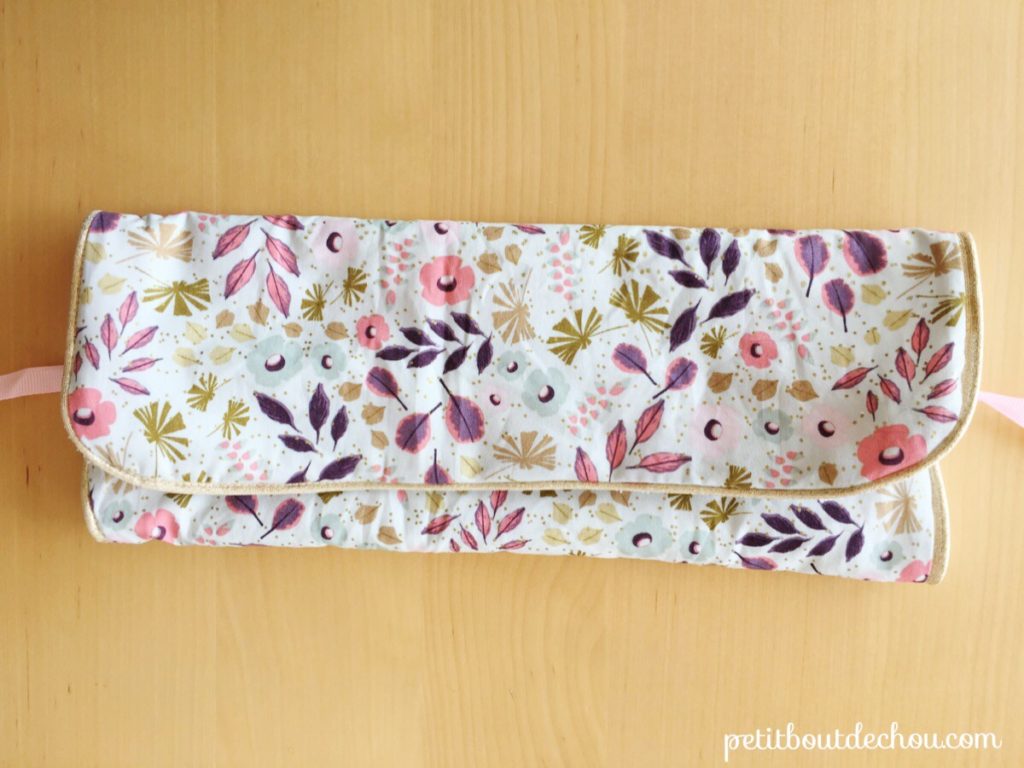
Fold the towel horizontally and tie the ribbon to fix it.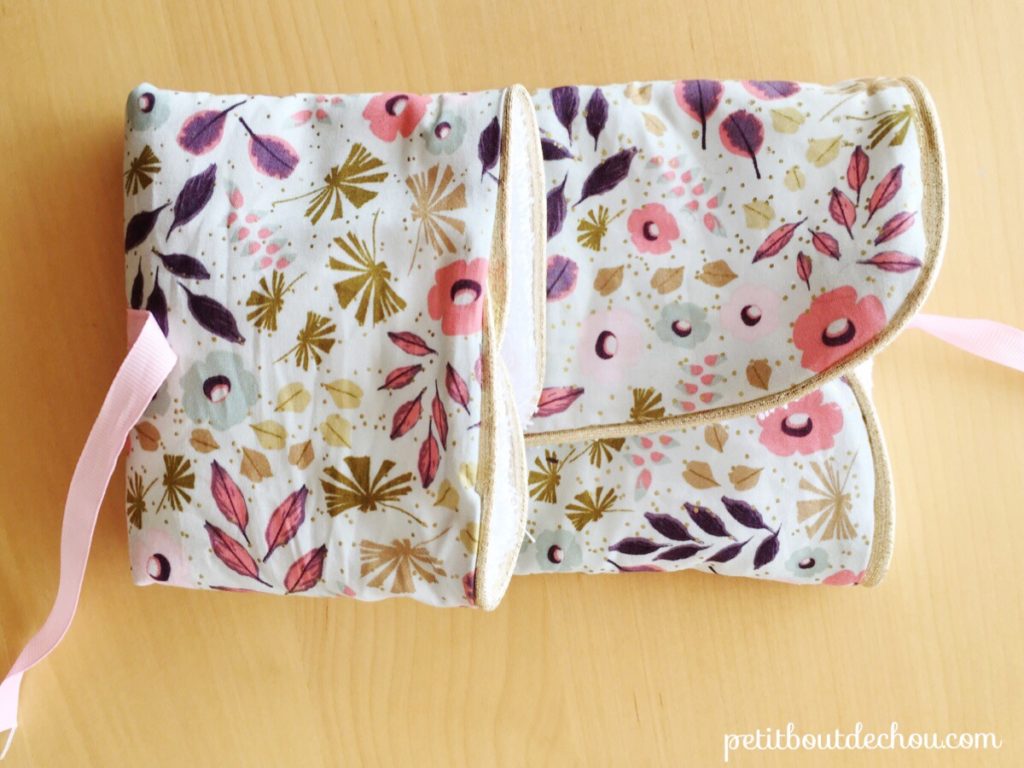
You are done!
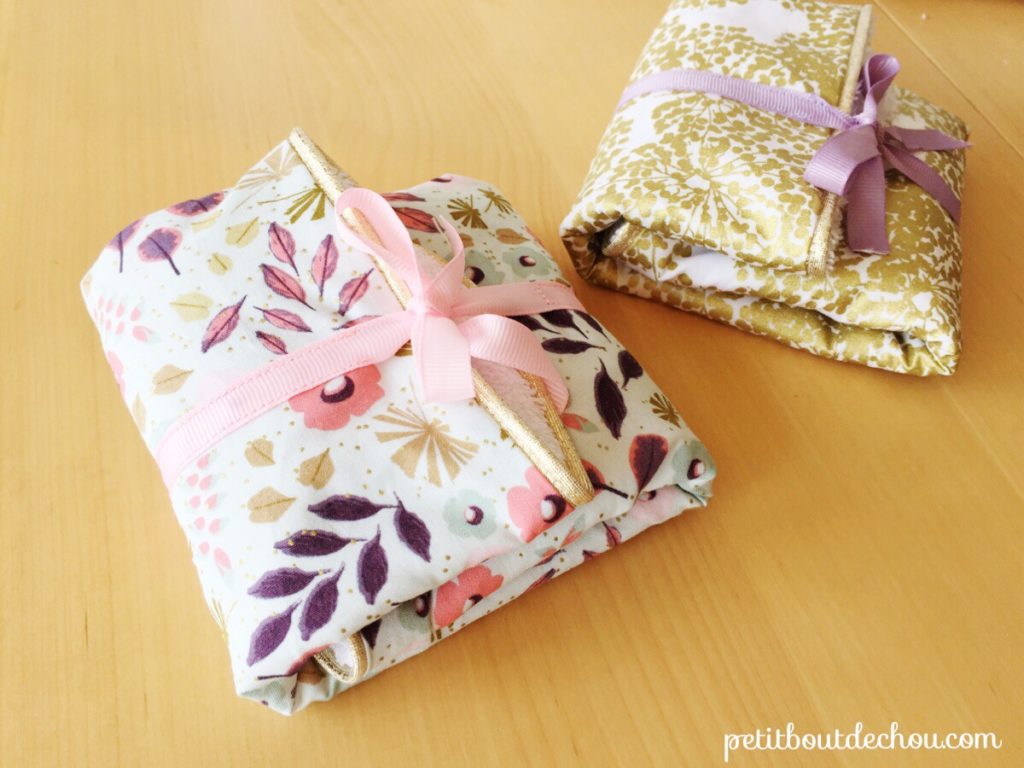
I hope you enjoyed this tutorial. Browse the sewing category for more tutorials and free patterns.
Happy sewing!
Follow me on Pinterest, Instagram or Facebook for more craft supplies tips, DIYs and free printables.
I am also always happy to hear about you in the comments below.


2 Comments
Super beau Estelle et joliment réalisé, ça donne envie d’en faire.
Encore bravo. Bises
Merci beaucoup Monique. Je suis ravie qu’elles te plaisent. C’est très simple à réaliser et bien utile surtout ici à Hong Kong avec un degré d’humidité très élevé! Bises