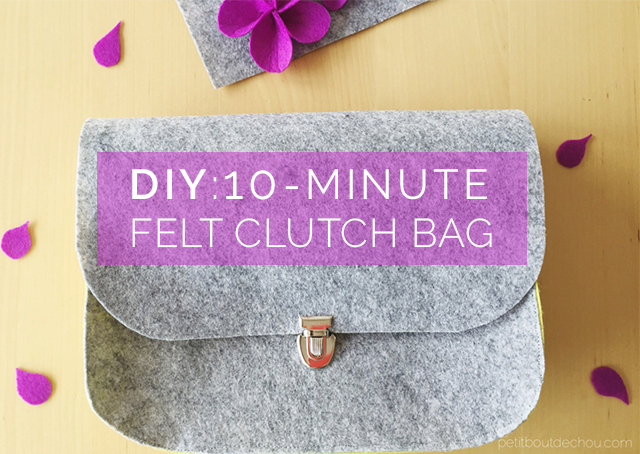
This week I wanted to make an easy accessory for sewing beginners. I have recently started using wool felt to make some accessories. I like the fact that it doesn’t fray. It makes it so easy to cut, sew and pin. It is the perfect fabric for beginners. I also like the fact that it is a little bit rigid but flexible so you can give it a shape. This property makes it ideal to create clutches, bags and other accessories.
Supplies needed:
- wool felt sheets in 2 colours – you can find some in Sham Shui Po – see my ultimate Sham Shui Po map for craft lovers
- 1 metal school bag lock
- 2 D rings for handbag chain
- 1 handbag chain with hooks
- sewing machine, needle and thread
- this free printable pattern (3 sheets to be printed in A4 format)
DIY steps:
 |
| 1. Print the pattern and cut the different parts. Pin them on the felt sheets |
 |
| 2. Cut the felt pieces following the pattern |
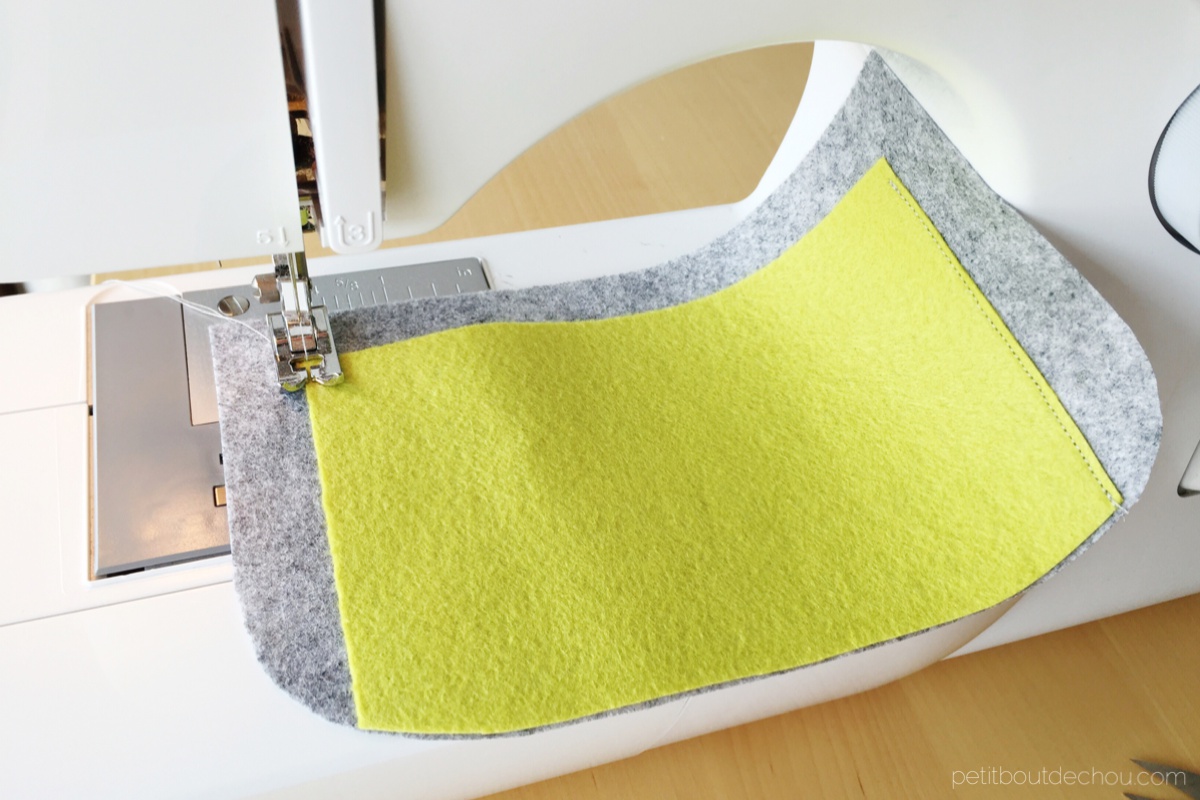 |
| 3. Sew the pocket sides on the divider piece |
 |
| 4. Pin and sew the first bottom and side strip to the external main part (biggest piece) |
Tip: make sure the strip is well centred.
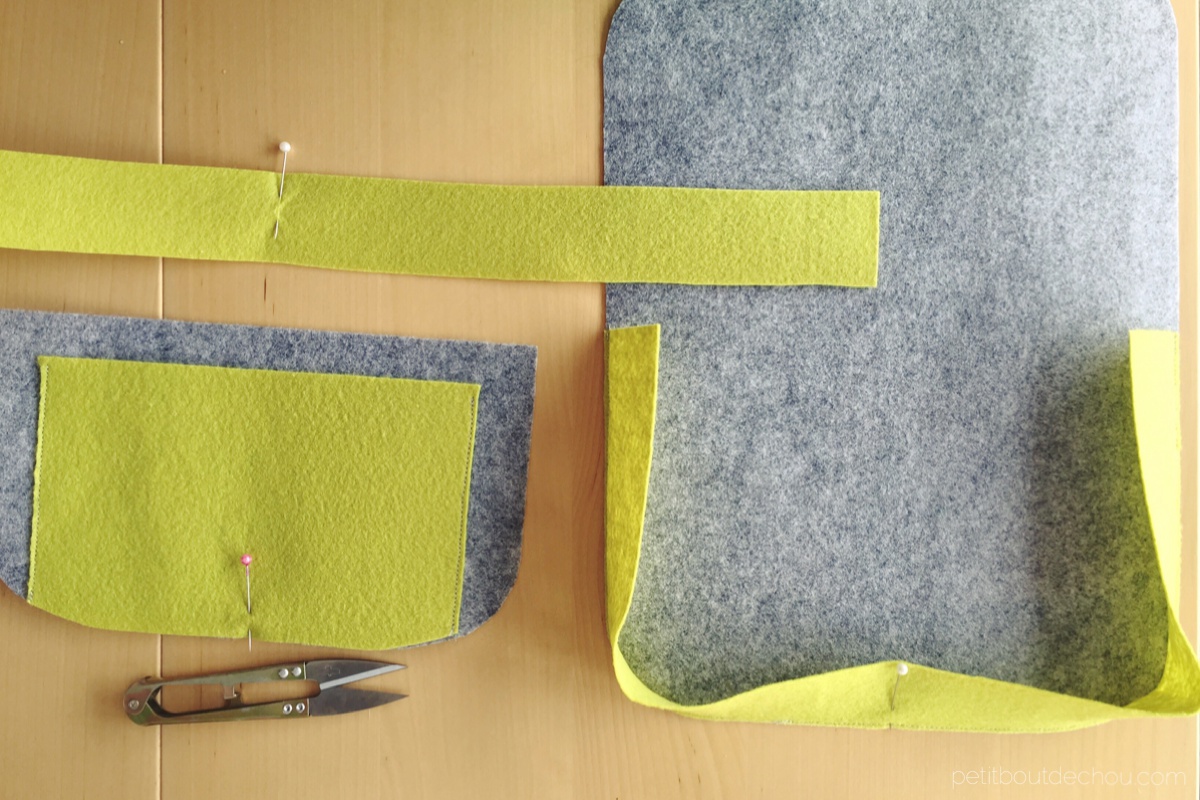 |
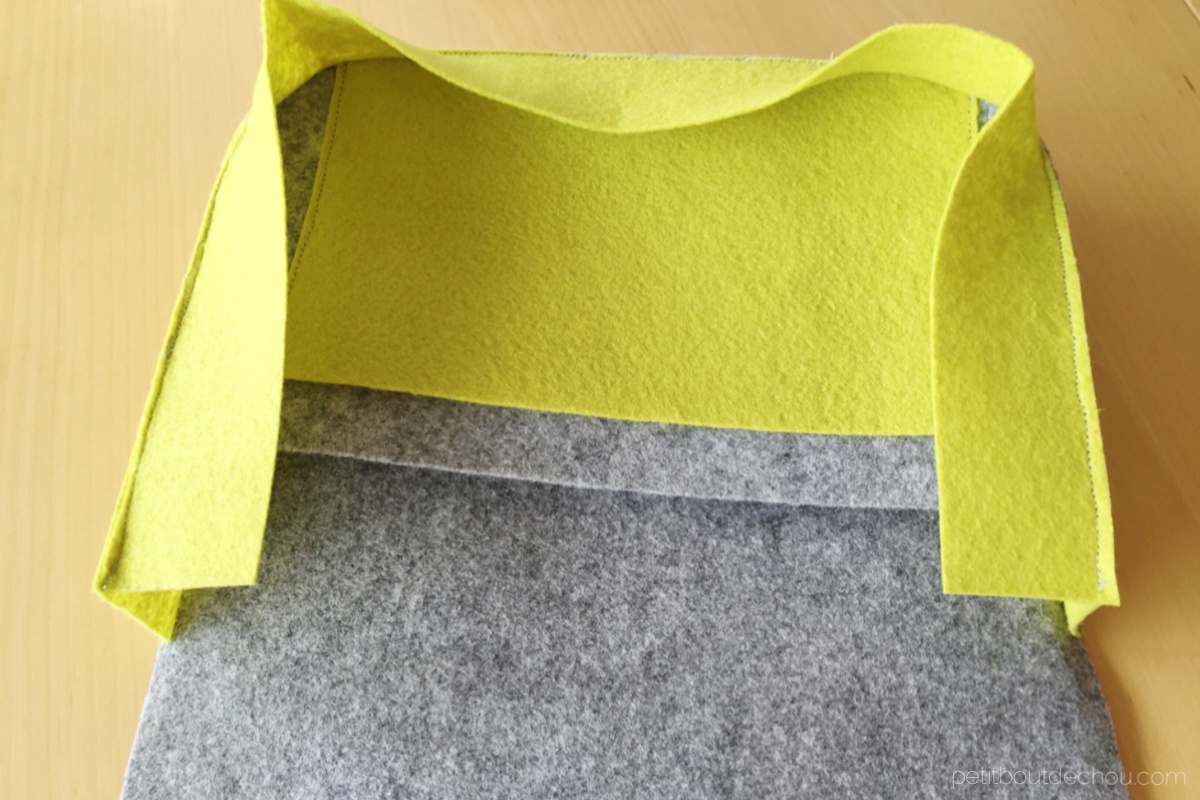
| 5a. Prepare the divider + the second strip + the previous pieces to be assembled |
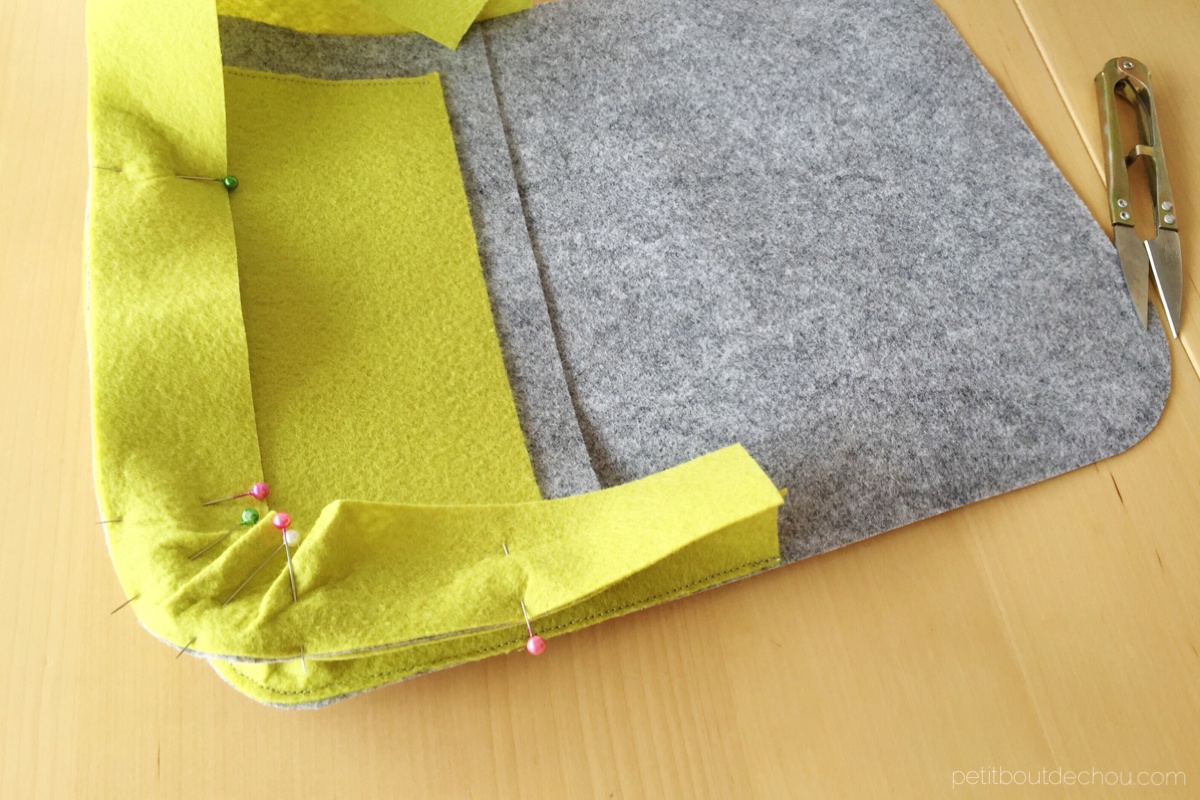 |
| 5b. Pin the second strip, the divider and the first strip together and sew. |
Tip: use pins to make sure the strip and the divider are well centred.
 |
| 5c. This is what you should have at the end of step 5. |
 |
| 6. Install the metallic school bag lock |
The bottom part of the lock is divided in two elements: front and back. To install the front one, make sure of its position first. Then, mark the position of the metallic teeth. Cut the felt to let the teeth go through, install the back part and start bending the teeth by hand to lock the back part. Finish with a small hammer if needed to secure the position.
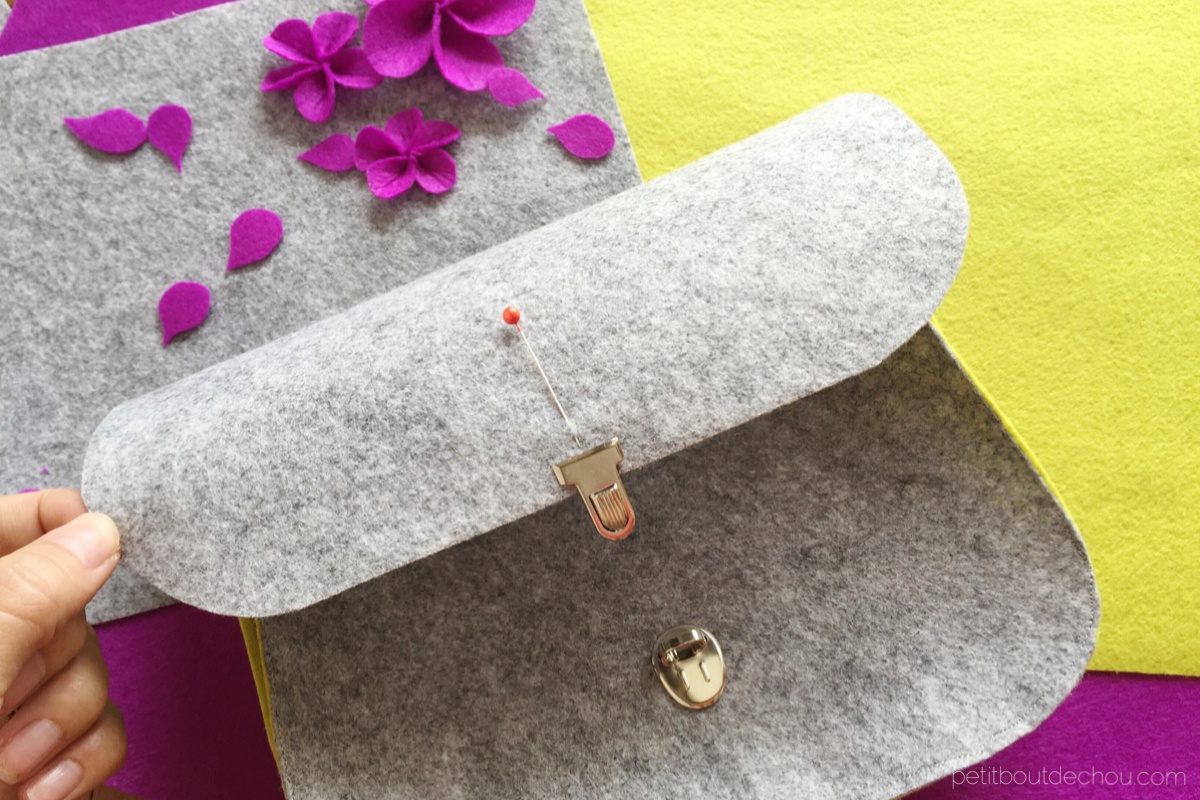 |
| 7. Install the top part of the lock and make sure it is well centred. |
 |
| 8a. Prepare the two D ring connectors and sew them by hand on the back strip. |
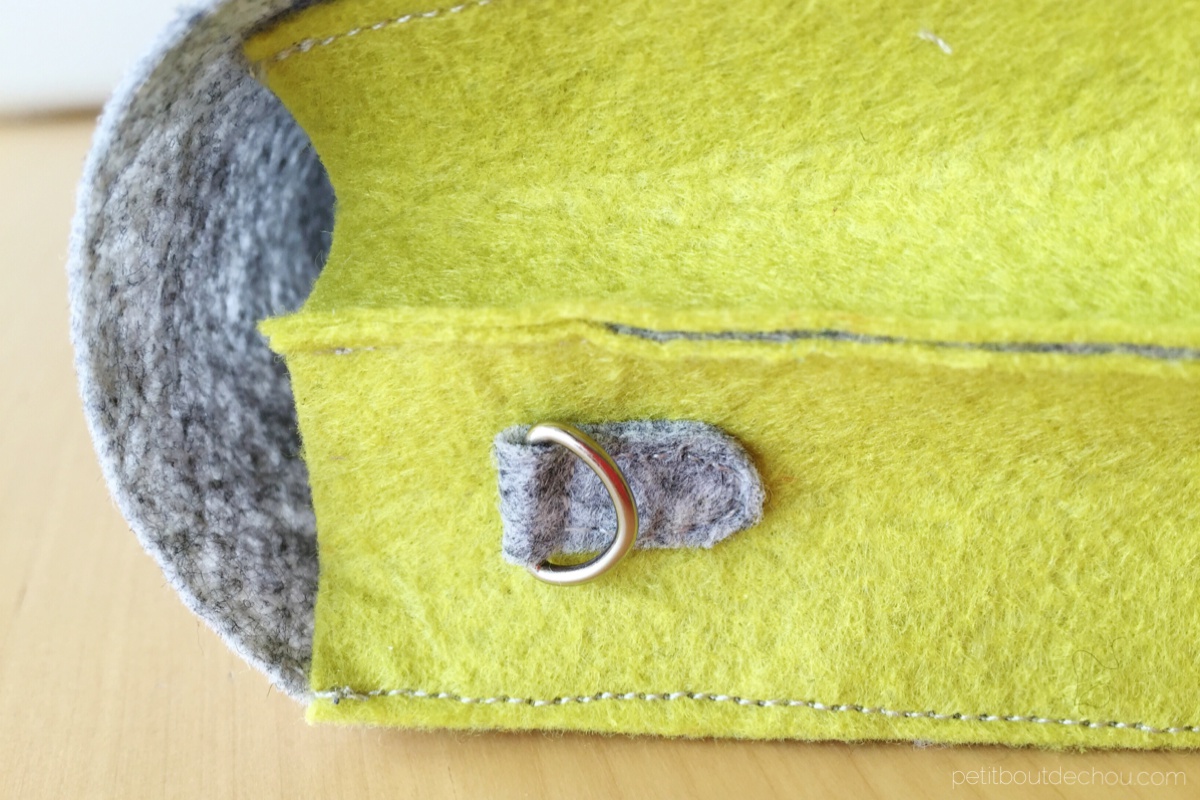 |
| 8b. You should get something like that on both sides. |
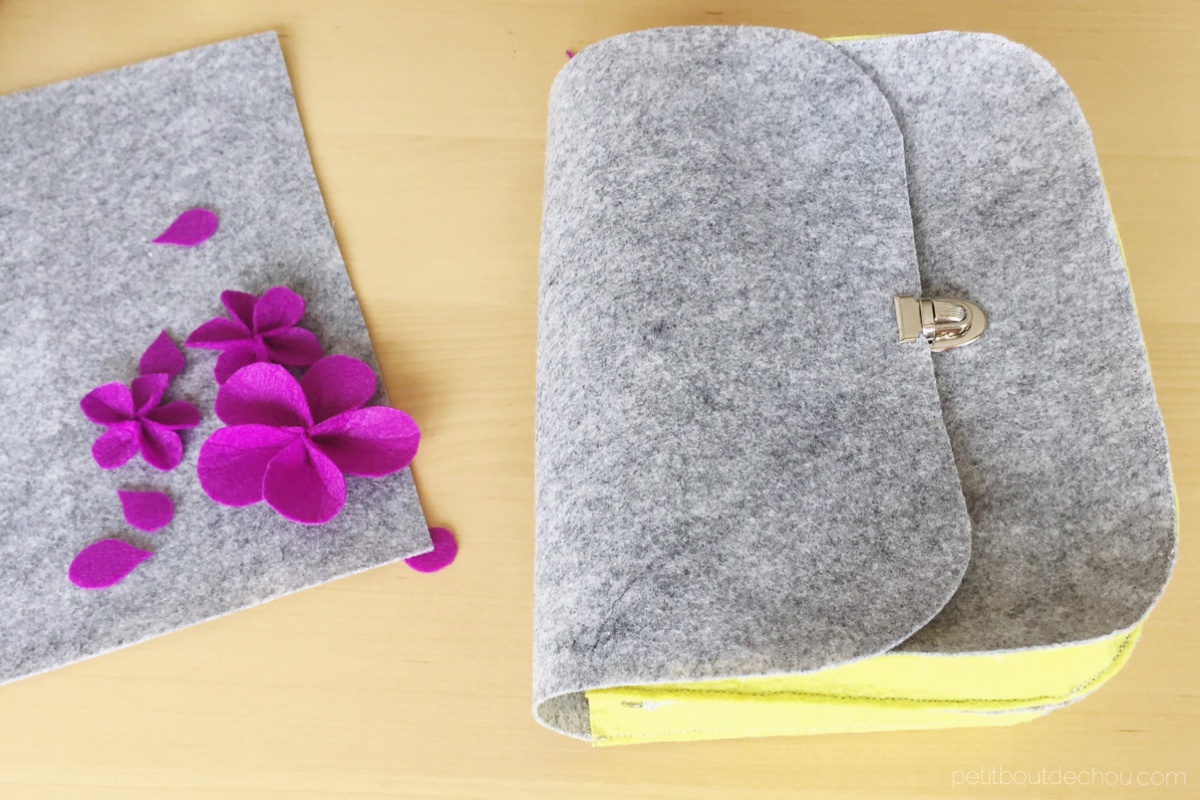 |
| Tadam! |
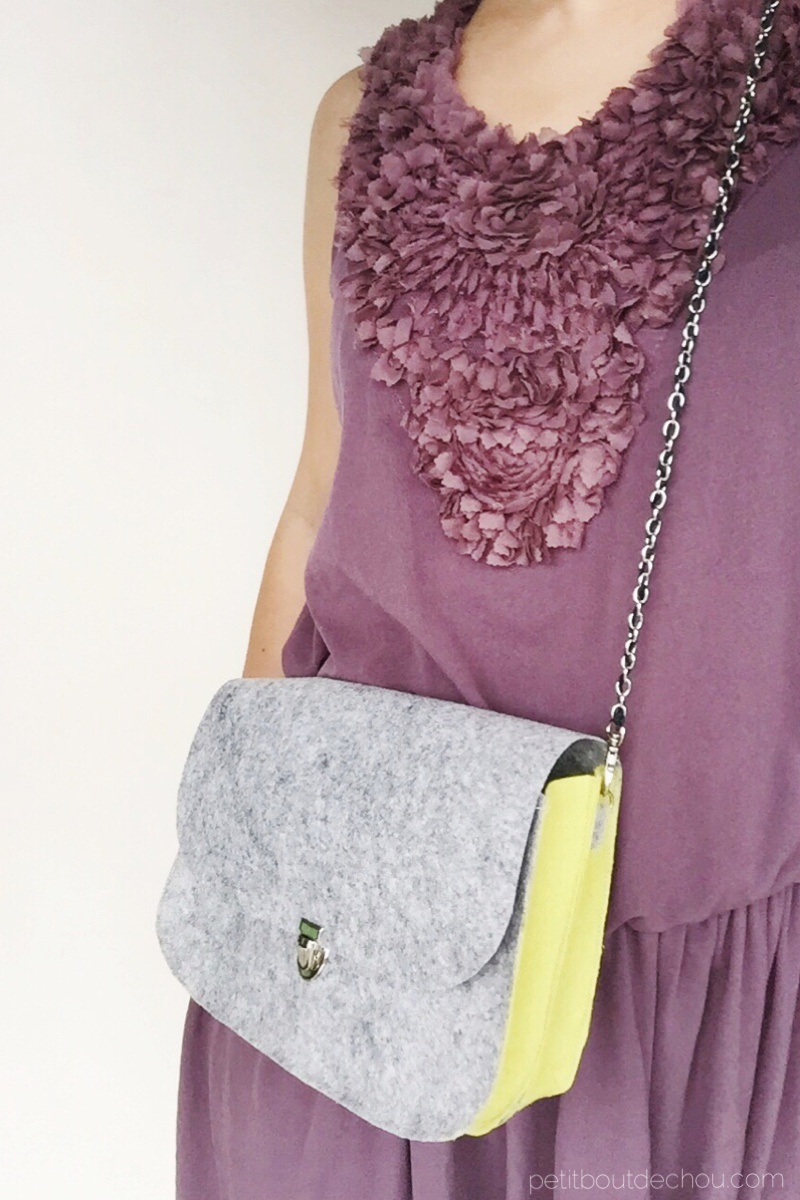
The bag is done! You can add a handbag chain with hooks to wear it across the chest.
One last tip from comments I received: to make your bag waterproof, just use some shoes waterproofing spray which works on wool.
I hope you enjoyed this DIY!
If you did, follow me on Pinterest, Instagram or Facebook for more craft supplies tips, DIYs and free printables!
You can also subscribe to Petit Bout de News my monthly newsletter.
You may be interested in my previous posts about pouches and bags DIY:
- DIY Square envelope leather clutch no-sew
- Vanessa. B style bag with sequins
- DIY: Japanese fabric basic zipper pouch
I would love to see your creations! Send me a message at petitboutdechouhk “at” gmail “dot” com.
Happy crafting everyone!


2 Comments
Thanks for sharing your sewing ideas and talent. What kind of sewing machine do you use?
Hi Susie, I am using a second hand Brother XL 3520. Simple and easy, not too many functions but the main useful ones. I paid it 1000HKD so about 120USD. It is fine for me as I am not a sewing expert and use it only occasionally. I hope this helps and thanks for your comment 🙂