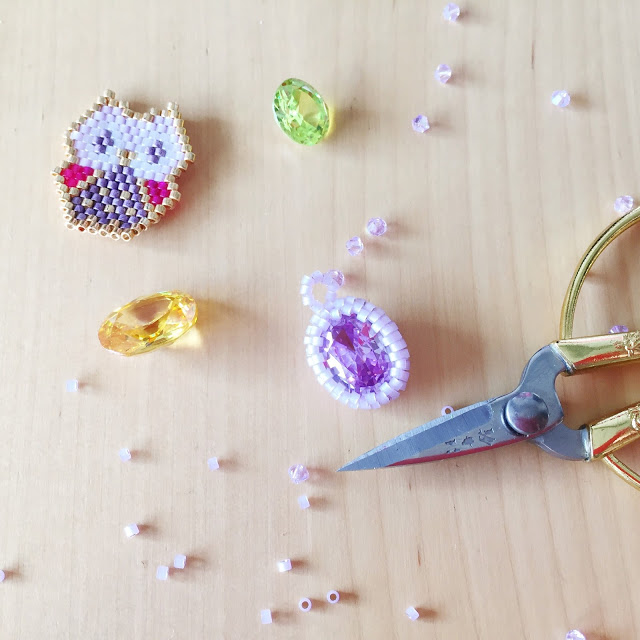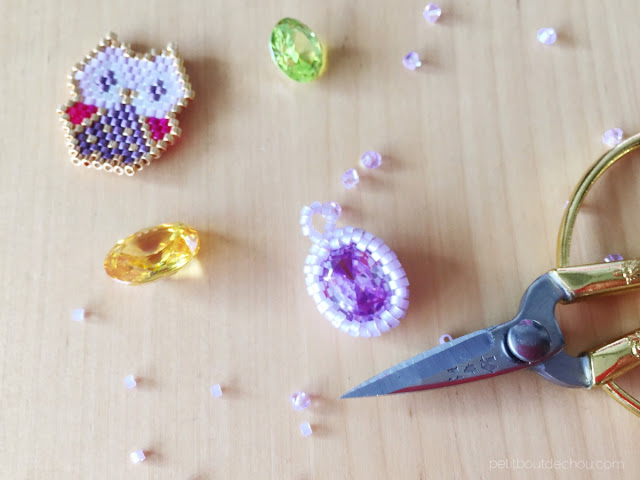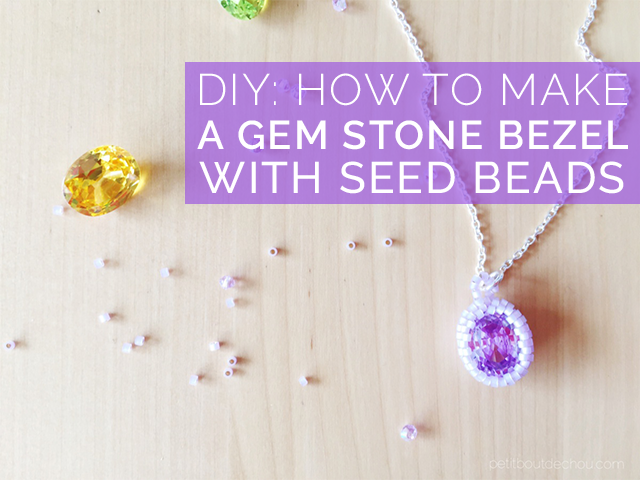
Do you have any beautiful stones that you would love to wear on your jewellery but do not have a hole? With a few seed beads and following these simple steps, you can easily mount them by weaving a beautiful bezel.
I came back from my getaway to Chiang Mai, Thailand with a few semi-precious stones that I wanted to mount as a pendant but as they have no hole, I was struggling finding beautiful metallic bezels.
As I have started bead weaving with a needle (see my baby owl pendant with miyuki beads done with brick stitch), I discovered that you can actually make your own beaded bezel for gem stones, crystal stones, cabochons or any piece without a hole. It is a wonderful way to add a stone to jewellery.
This technique is based on Peyote stitch, as described in details here on fusion beads using two sizes of beads.
However, for this tutorial, as I am using only one size of beads: Miyuki delicas 11/0 and the steps are a little bit different.
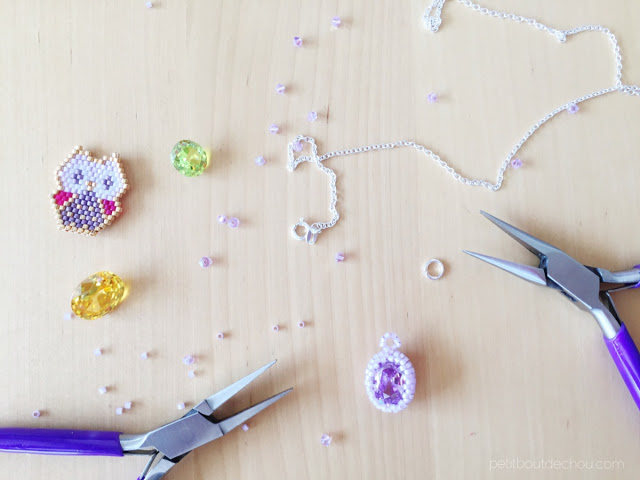
Supplies needed
- one beautiful stone
- Miyuki delicas 11/0
- beading thread
- beading needle
- silver jump ring
- silver necklace
- jewellery pliers
DIY steps
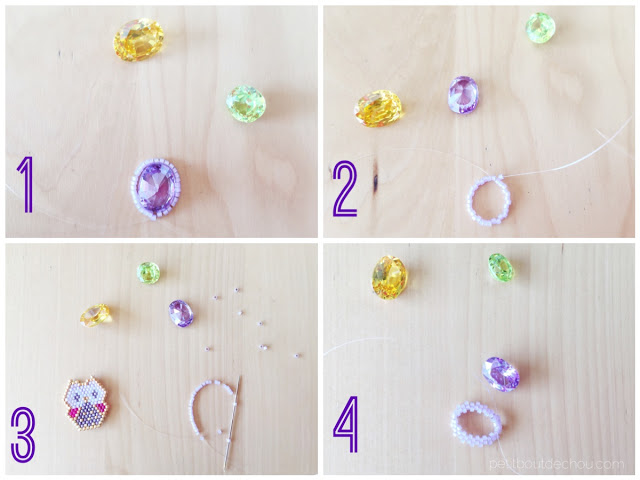
1. Front side of bezel
Thread your needle with one meter of beading thread.
String as many beads as needed to follow the contour of your stone and create a ring by going back through the first bead (1).
Continue this first internal row by stringing one bead (2), skiping one bead and passing through the next one all around (3).
Once you have done one row, just go through the first bead of the row and start a new one.
You have now three rows forming the front part of the bezel (4).
2. Back side of bezel
Go through the beads to come back to the first row.
We will now weave the back of the bezel and fix the stone inside.
Using the same weaving technique as before (peyote stitch), create one new row on the back of the bezel.
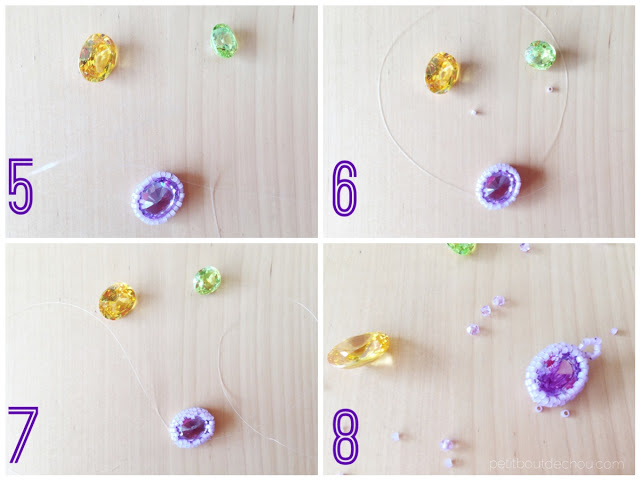
You can now place the stone inside the bezel (5).
Create one more row surrounding the stone (6).
To secure the stone inside the bezel, we will now decrease the number of beads for the last row.
So string one bead, skip one bead and pass through the next two ones. This is how you decrease the number of beads on the row and tighten the weaving around the stone (7).
Go through the beads to come back to the first row at the top of your stone.
Then string 8 beads to make a small ring and finish off the thread by weaving the needle through several beads (8). Repeat this operation for the other end of the thread and cut both ends.
3. Final mounting
Open your jump ring and close it on your bezel ring using jewellery pliers.
Then put your new pendant on a nice necklace and enjoy wearing it!
I hope you enjoyed this tutorial.
If you did, follow me on Pinterest, Instagram or Facebook for more craft supplies tips, DIYs and free printables!
You might also like:
You can subscribe to Petit Bout de News my monthly newsletter to make sure you do not miss any post 😉

