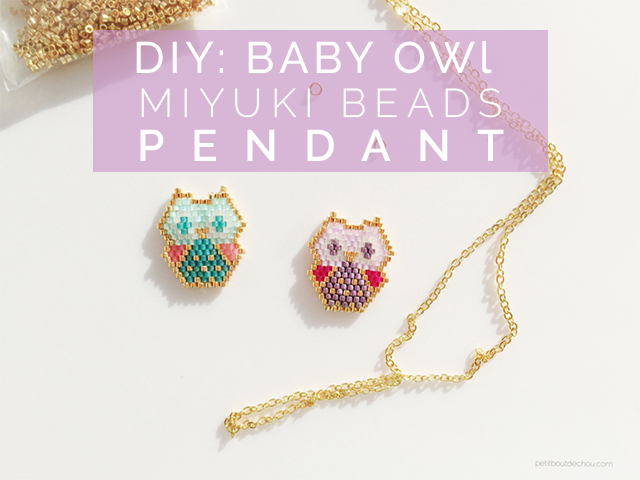
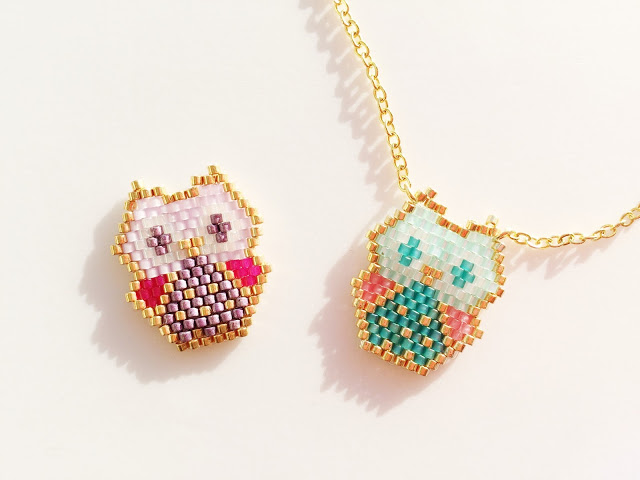
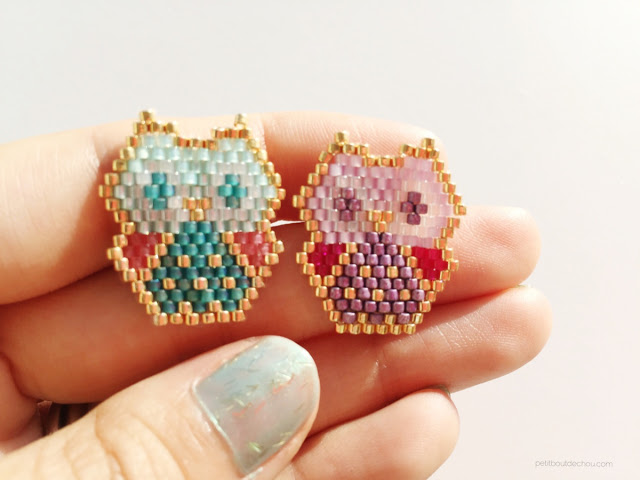
After seeing beautiful Miyuki beads creations on Pinterest, I was really curious about discovering this interesting beading technique to make pendants and brooches. The stitch used to make them is called brick stitch due to the offset of the alternative rows. This technique is great to create jewels in any shape you like.
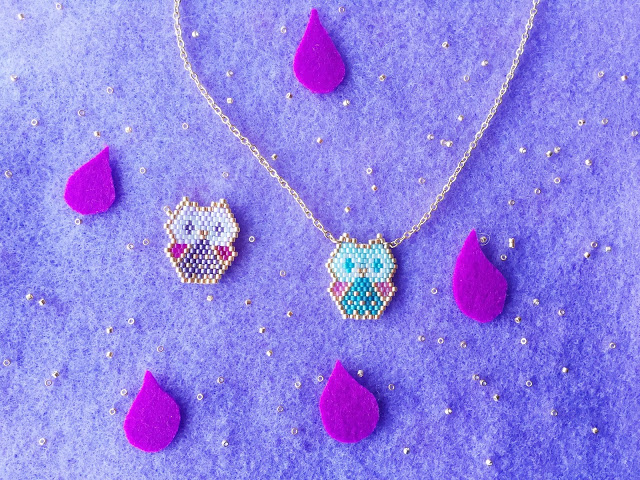
Update February 2018: I have launched a mini Miyuki starter kit to make these lovely baby owls. You can find it in my Etsy store. It will be the perfect project to start beading with Miyuki delica.
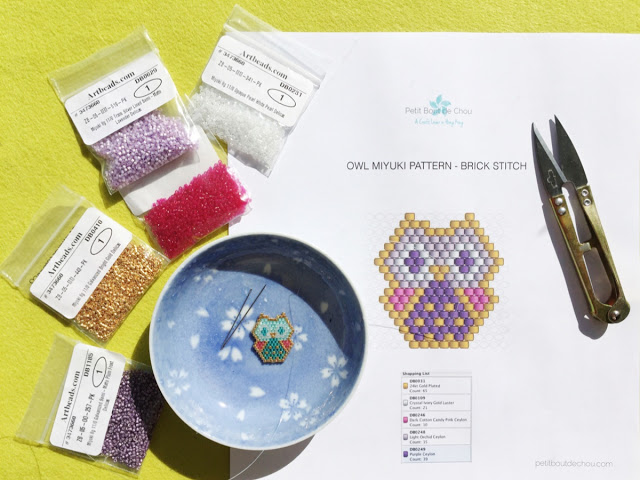
Supplies needed
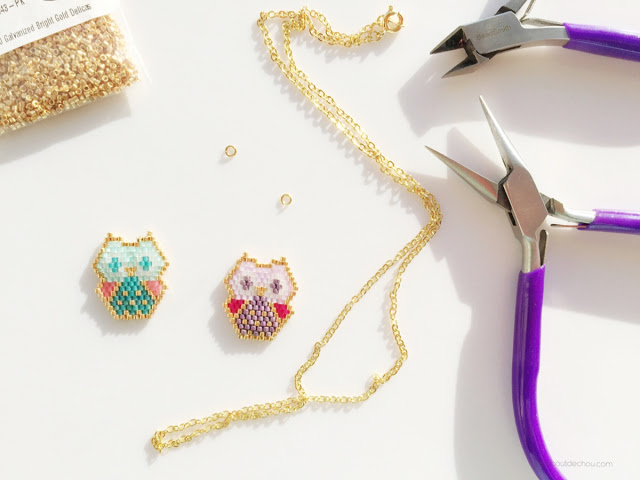
- Pliers
- 2 Nos. 4mm diameter gold plated rings
- 1 gold plated chain
- Scissors
- 2 fine needles
- 2m of beading thread Sono white
- Miyuki beads as per quantity and colours given on the pattern or any colours of your choice
- This free pattern made with a free software called easybeadpatterns.
DIY steps
I will guide you by explaining the main techniques of the brick stitch encountered through the pattern.
 |
| 1. First row |
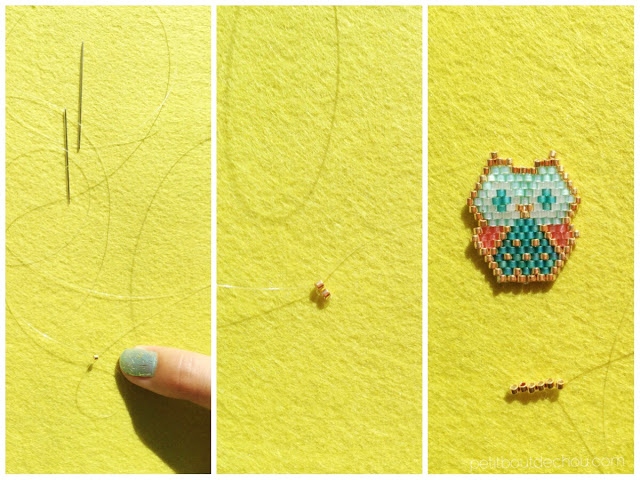
1. First row
Following the pattern, string on the first bead using one needle and go through it using the second needle and pull it up.
Repeat this step for the other 5 beads on the first row.
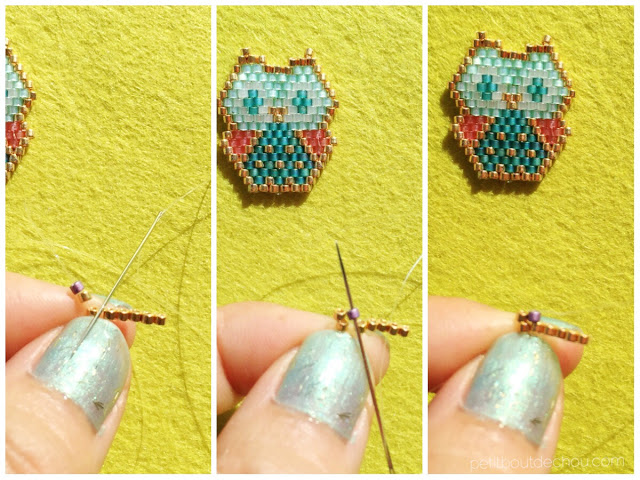
2. Increasing by one bead at the beginning of a row
 |
| 2. Increasing at the beginning of the row |
After the first row, you will need to increase by one bead at the beginning of the row.
This is done by stringing on the 2 first beads of the row together.
Then, slide the needle between the first and second beads of the previous row.
Pull the string fully and go through the second bead of the new row.
Pull the string and they should take their position nicely.
3. Make a normal stitch
String on your bead and slide the needle between the two beads of the previous row located directly below your bead.
Pull the string fully.
Repeat until you reach the end of the row.
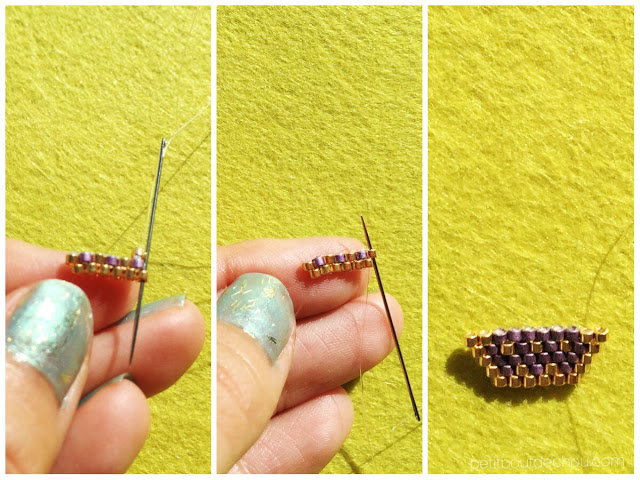
4. Increasing at the end of the row
 |
| 4. Increasing at the end of the row |
String on your last bead of the row.
Go through the last bead of the previous row and go through your last bead again.
It should find its position creating an increase at the end of the row.
Repeat the increasing rows until you reach the part where you need to start to decrease the number of beads per row.
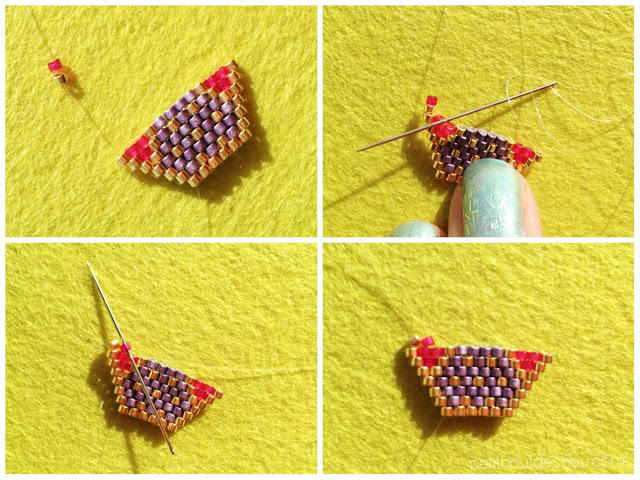
5. Decreasing at the beginning of the row
 |
| 5. Decreasing at the beginning of the row |
String on the 2 first beads of your row.
Then, slide the needle between the second and third beads of the previous row.
Pull the string fully and go through the second bead of the new row.
Pull the string. The first bead may not take its position yet but will do with the next rows.
Then, do the normal stitches until you reach the end of the row. No particular decreasing technique at the end of the row, just go through the last bead, pull the string and start your new row.
Follow the rest of the pattern decreases and increases.
6. Increasing at the end of the row (technique 2)
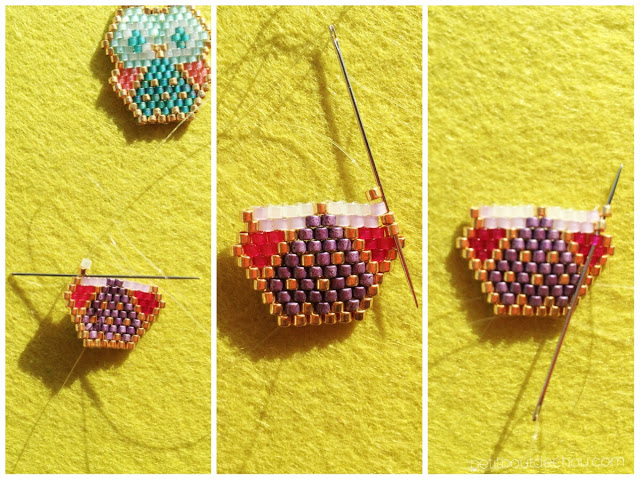 |
| 6. Increasing at the end of the row (technique 2) |
The first technique used has the disadvantage of leaving the string visible on the side of your work.
However, this one hides the string between the beads but requires to have beads on the same alignment of your last beads on the second to last row (which is not the case when decreasing).
7. First ear
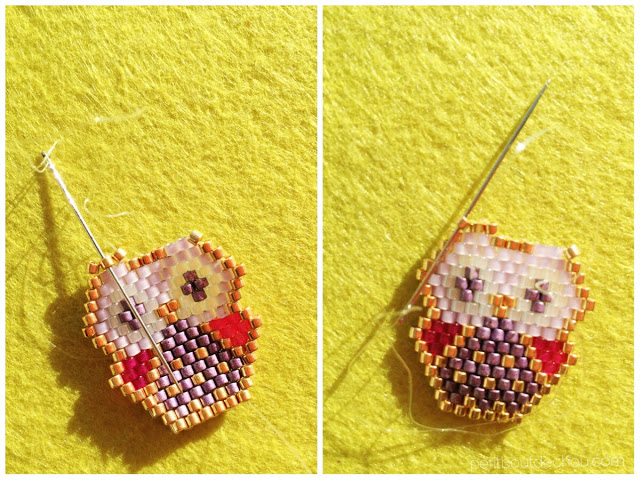 |
| 7. First ear |
For the first ear, decrease at the beginning of the row and stitch one more bead.
Then weave your way back to the first bead as shown above.
You can then string on one more bead, slide your needle between the first and second beads of the previous row, go through this bead and pull the string.
8. Second ear
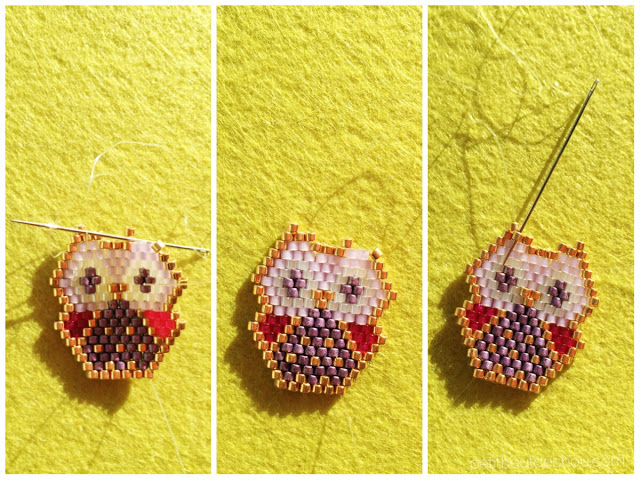 |
| 8. Second ear |
Weave your way to the other ear.
You can then stitch your 3 beads as normal and do the same as for the first ear to make the last bead:
string on one more bead, slide your needle between the last and second to last beads of the previous row, go through this bead and pull the string.
Weave both threads through the beadwork before cutting them to hide them.
For additional explanation on how to increase / decrease the number of beads per row, you can also follow this very clear tutorial from howdidyoumakethis.com.
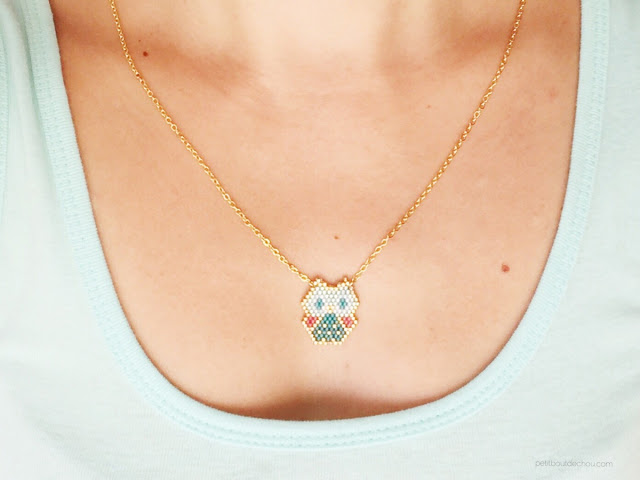
9. Fix your baby owl to the necklace to make a pendant
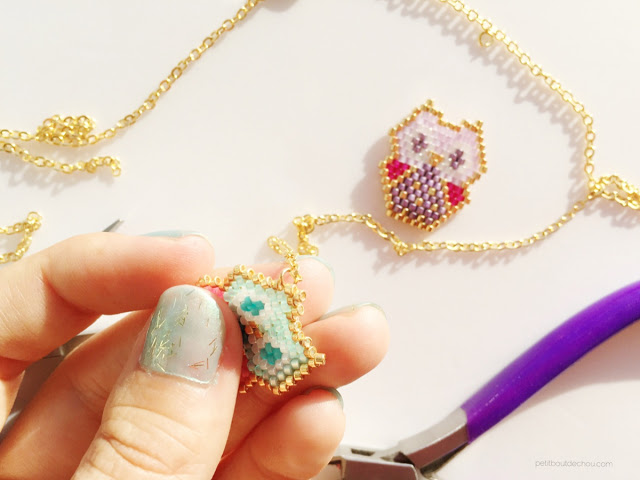
Using your pliers, cut one link of the necklace at the middle of the chain.
Open one of the rings and catch the top side of the owl. Close the ring.
Repeat on the other side.
Your pendant is done.
You can wear it now!
Happy beading everyone!
I hope you enjoyed this tutorial.
If you did, follow me on Pinterest, Instagram or Facebook for more craft supplies tips, DIYs and free printables!
You might also like:
You can also subscribe to Petit Bout de News my monthly newsletter.





6 Comments
These are so cute! It reminds me a bit of middle school when we loved making lizards out of those big pony beads. Pinning!
🙂 That’s exactly what I thought while making them! We used seed beads at my school and it was something I really enjoyed. Good memories. Thanks for stopping by Natasha.
hi i think they are ahsome is there books on making all differant kinds thanks for your patterns let me know .donn.aken@hotmail.com
Thanks Donna. Here is one to share with the other readers of the blog about the brick stitch technique: (it is in French though) https://www.perlesandco.co.uk/Je_decouvre_le_tissage_de_perles_Brick_Stitch_IN_FRENCH_by_Rose_Moustache-p-94555.html?affiliate_banner_id=1&ref=1003
Also once you know the technique and want to try other patterns, just type in “brick stitch miyuki” on Pinterest search and you will find many examples. I hope this helps.
Ohhhhh!!! Cuties!!!!!!
Thank you 🙂