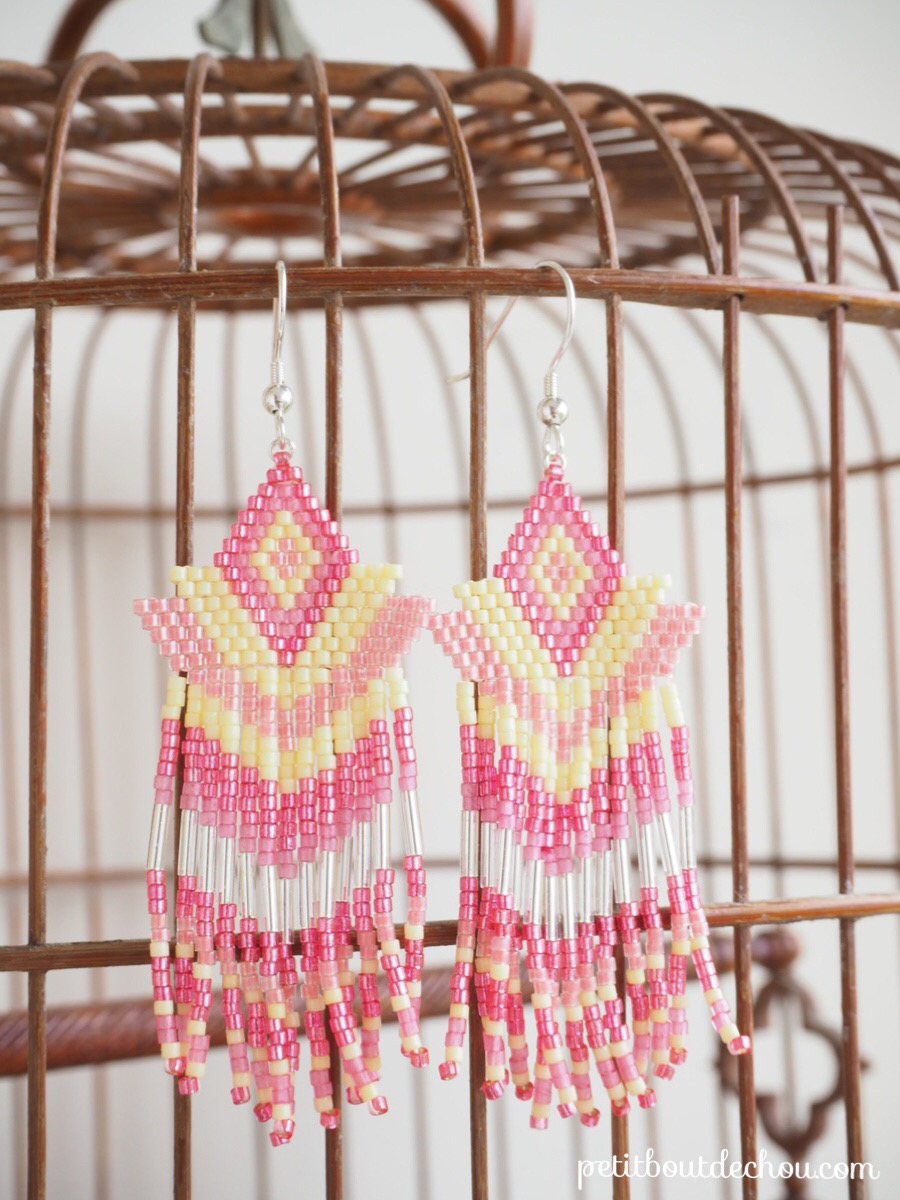
 I have spotted this kind of earrings some time ago on Pinterest and Instagram. They are so pretty and I totally love this dangling style mixing the brick stitch technique and the fringes. Here is my tutorial to make these Miyuki fringe earrings.
As usual, the pattern provided here is an original design by Petit Bout de Chou. It is only for personal use (no commercial use).
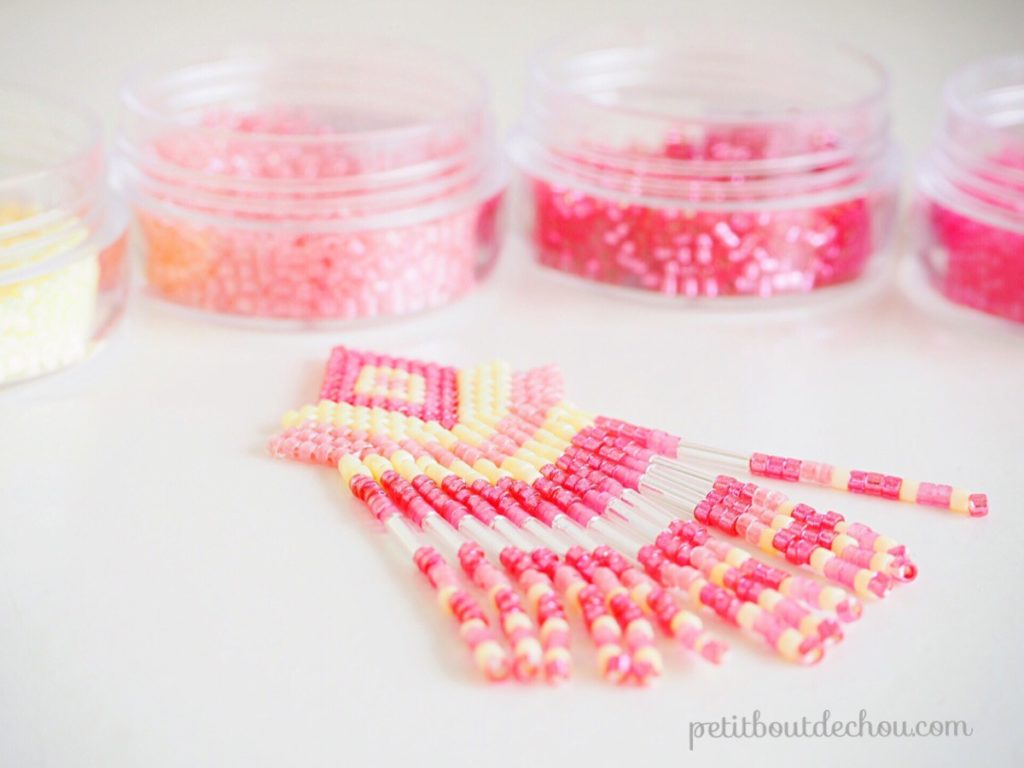
Supplies needed
- Miyuki bugles 6mm BGL 001 Crystal silver lined
- Scissors
- Silver 925 earwires
- Silver jump rings 0.5mm thick 2.5 mm dia.
- Miyuki Beading thread light pink
- Fine beading needle
- Jewellery pliers

DIY steps
1. Bead weaving in brick stitch
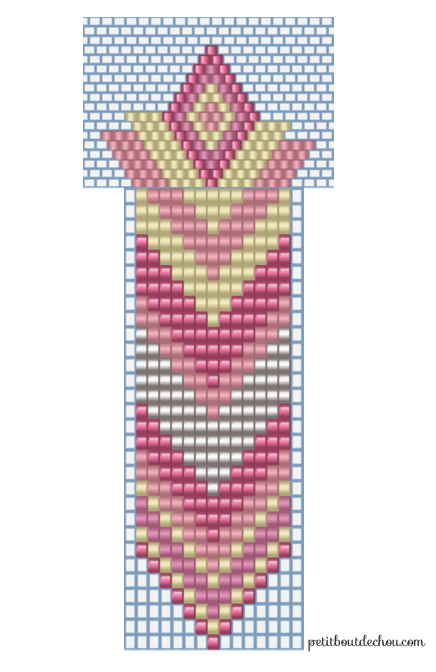
Use this pattern to make the top part of the earrings in brick stitch.
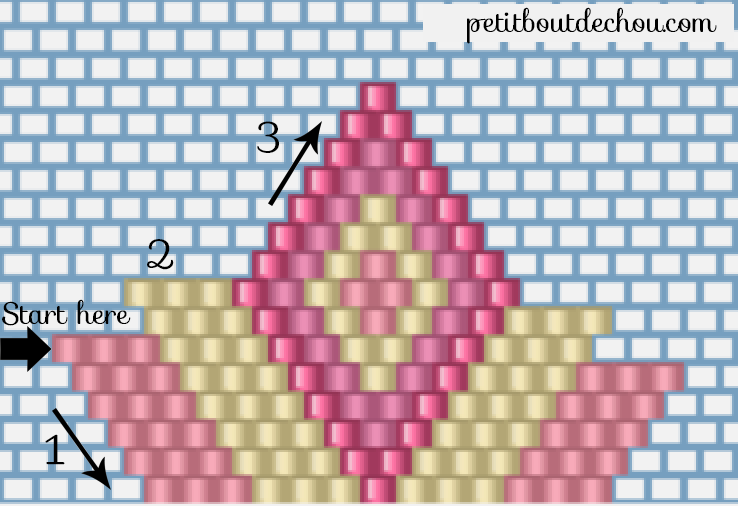
Start the first row in ladder stitch. See this previous post if you want to learn the basics of brick stitch.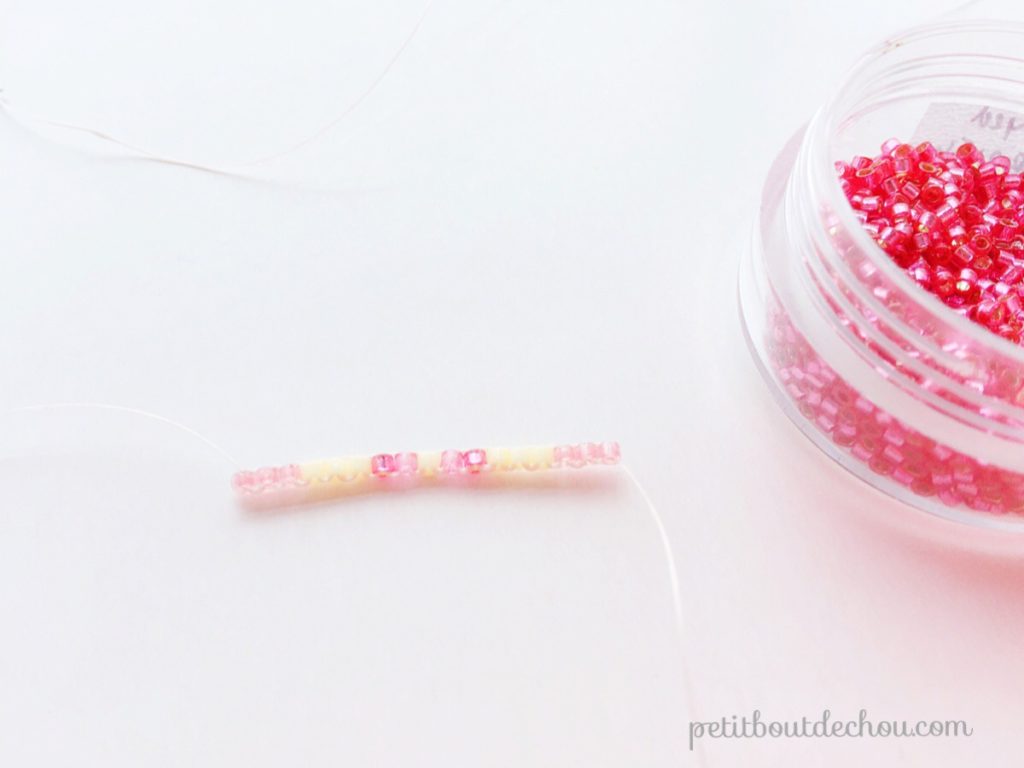
Then go downwards on the pattern using the decrease at the beginning of the row technique marked as (1) on the pattern.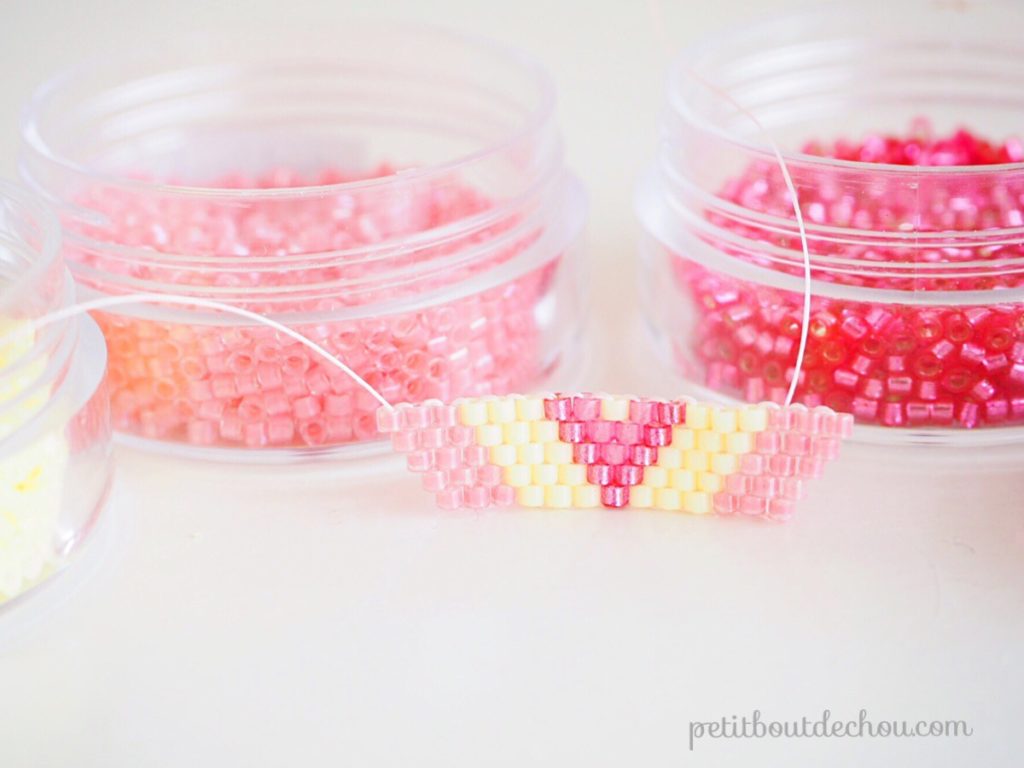
Weave through the beadwork to start from the third bead of the first row with a decrease at the beginning of the row (see above). 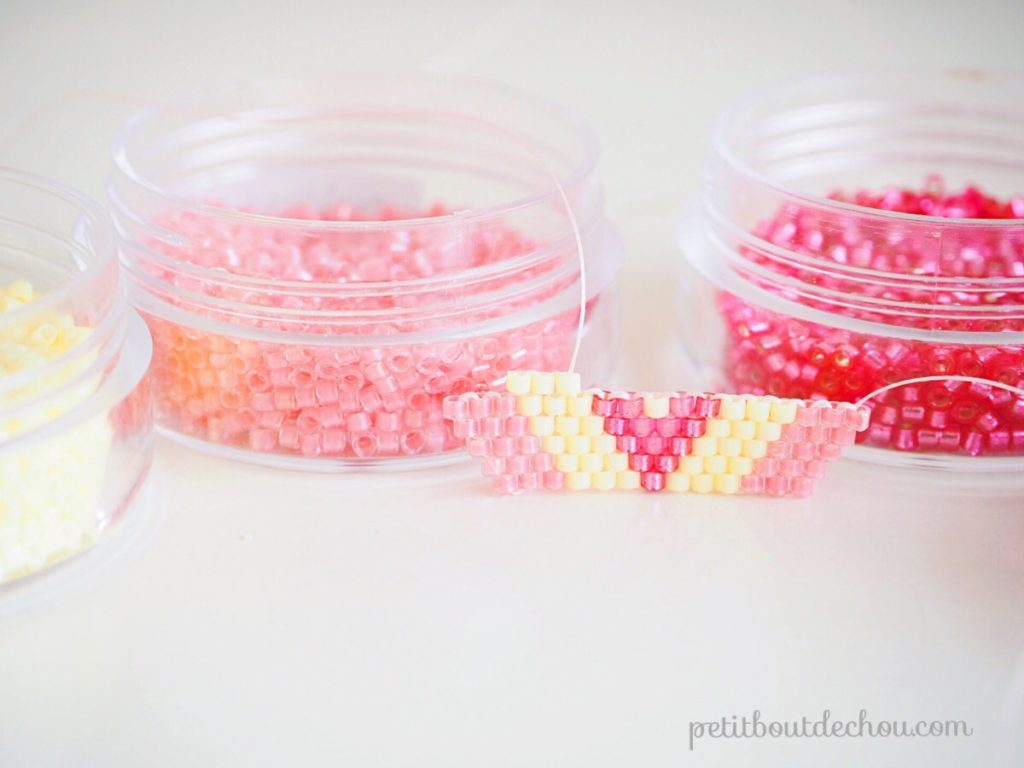
On the next row, start with an increase.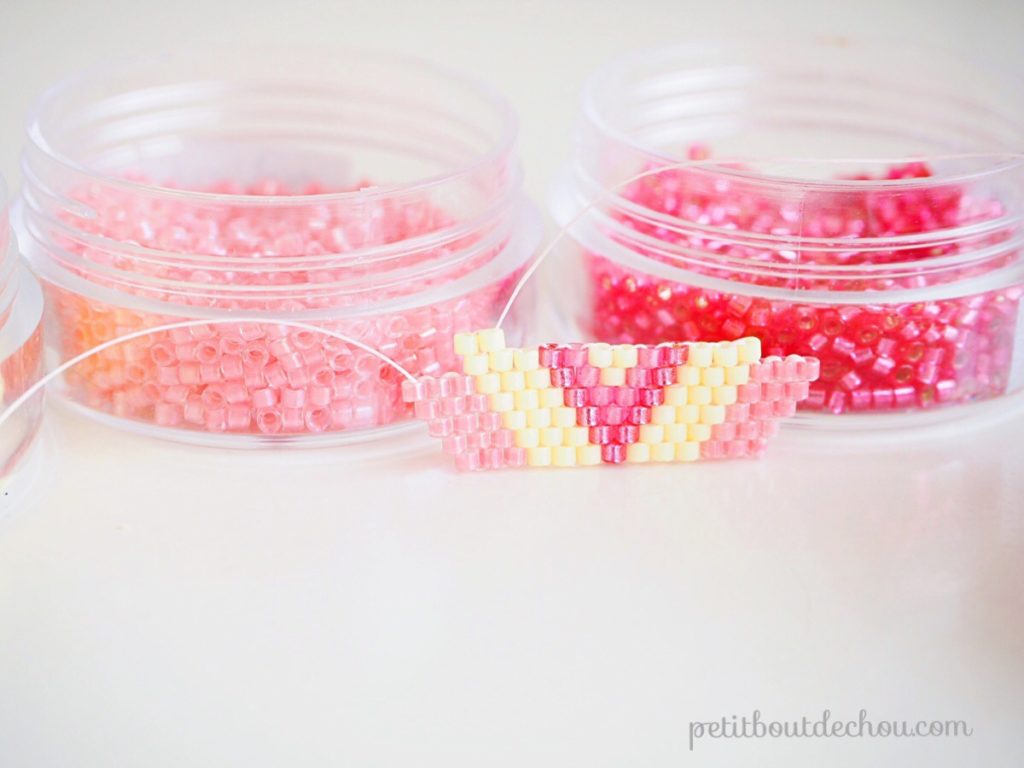
Then, weave back to the next to last bead of the row and make a decrease. Follow the pattern to the top of the pattern making a decrease at the beginning of each row shown as (3) on the pattern.
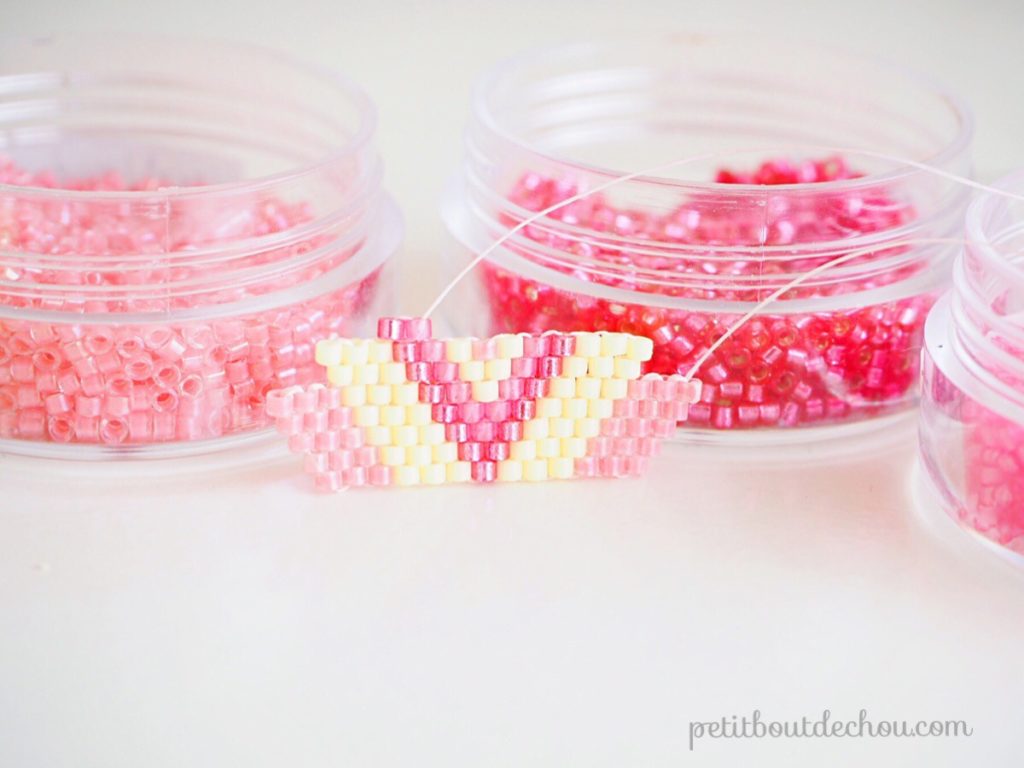
Place the last beads horizontally and go through it several times to hold it strongly.
Weave your way down to the bottom of the beadwork.
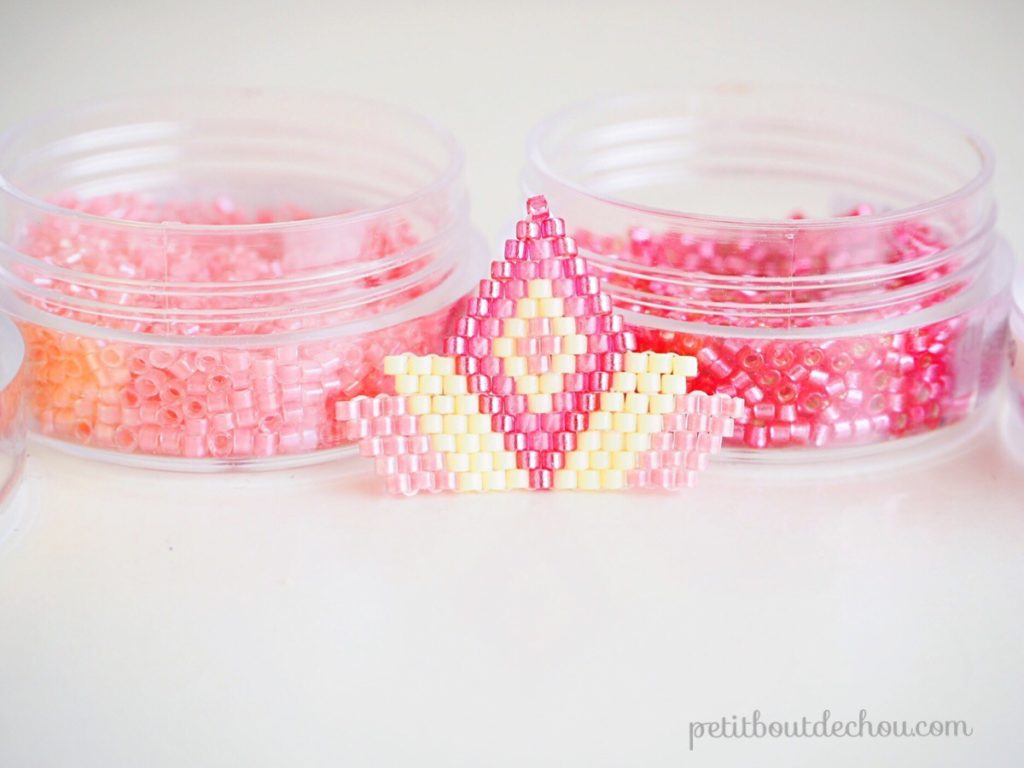
2. Bead threading to create fringes
Follow the pattern below by threading all the beads of the first column on your needle.
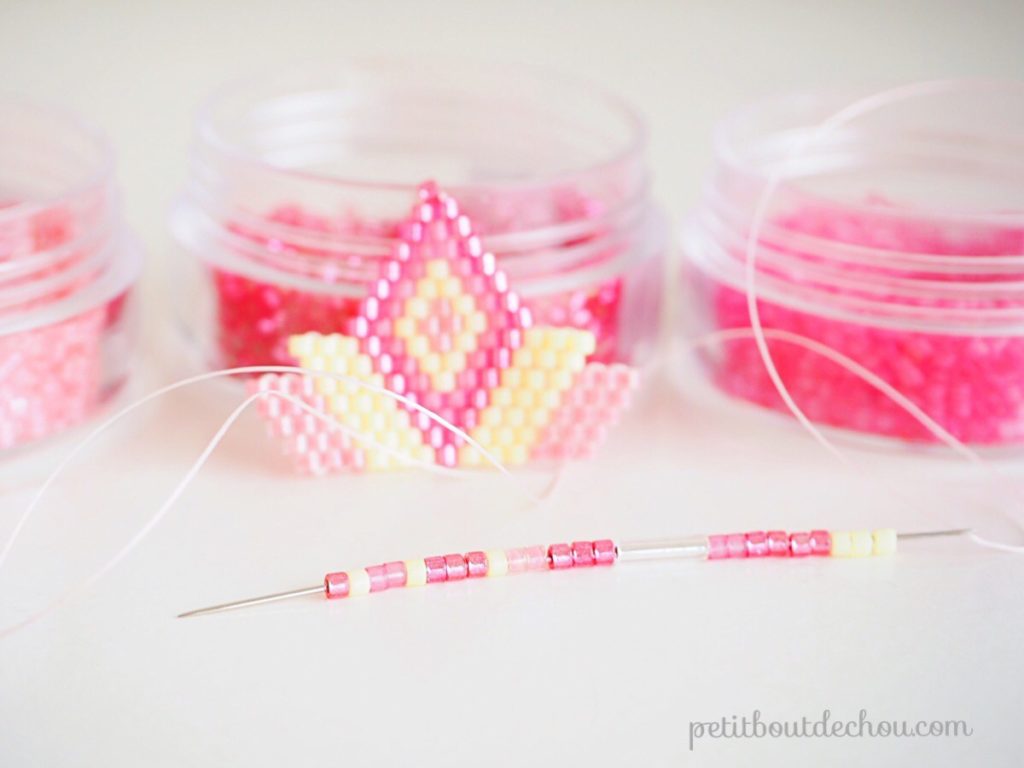 Then, go through all the beads again except the bottom one.
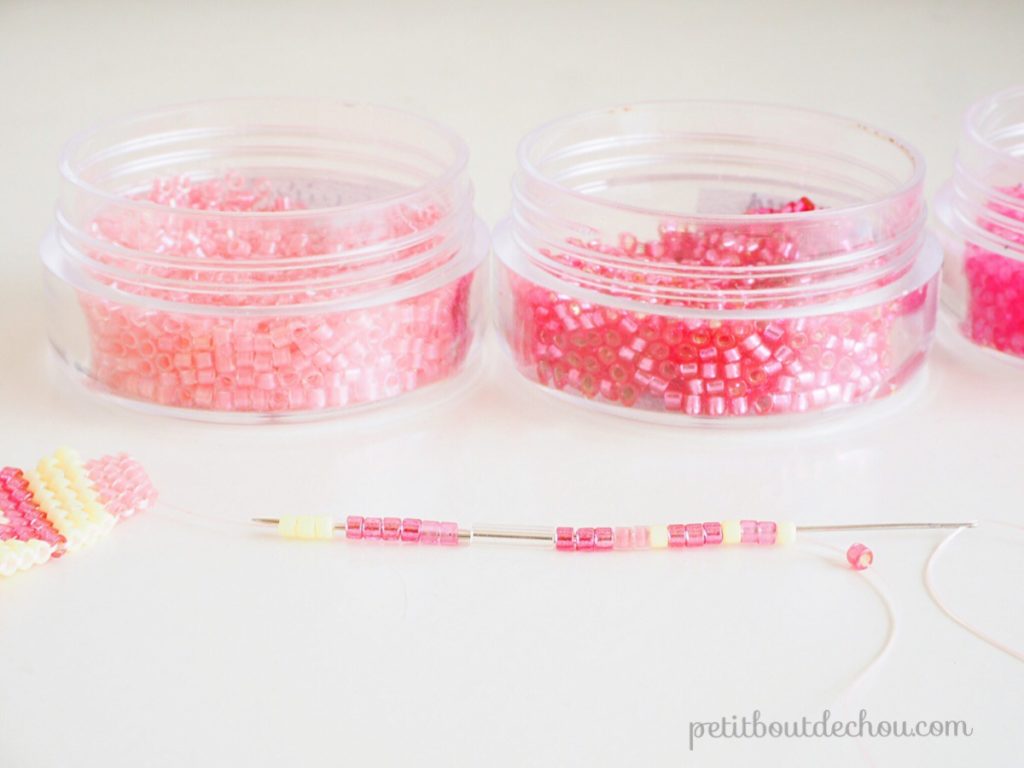
Pull the thread but do not tighten it too much to keep the dangling effect. Go through the first bead of the brick stitch again upwards.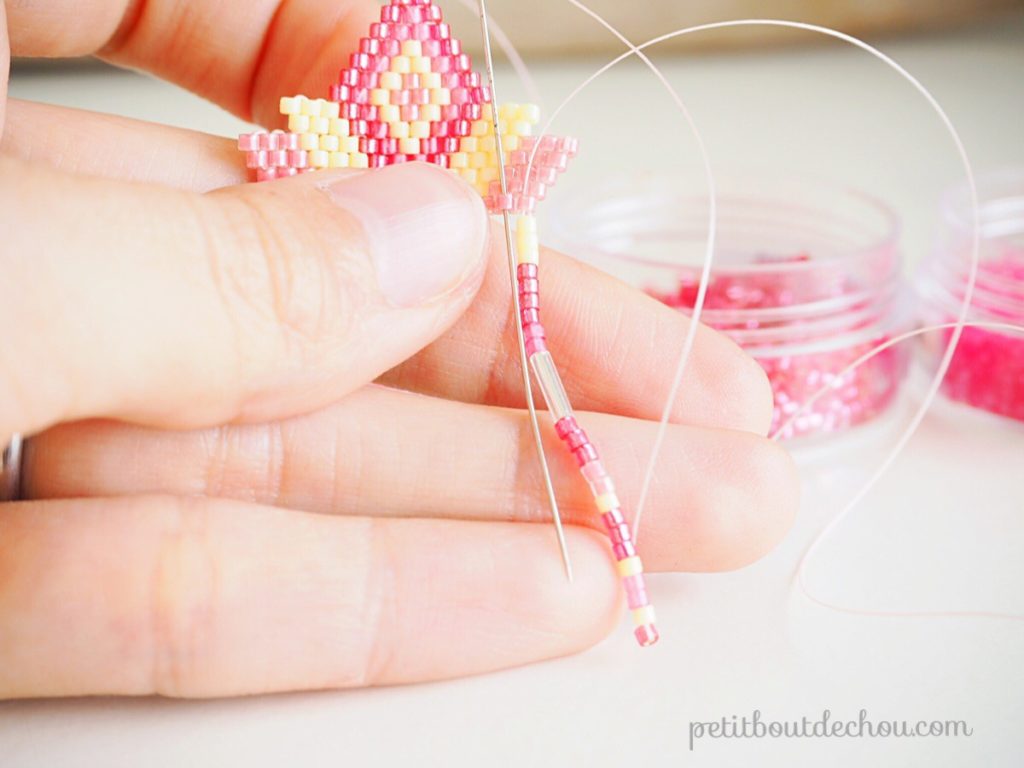
Then go downwards through the adjacent bead and repeat the operation to create all fringes as per the pattern.
3. Assembly
Open the jump ring with your pliers.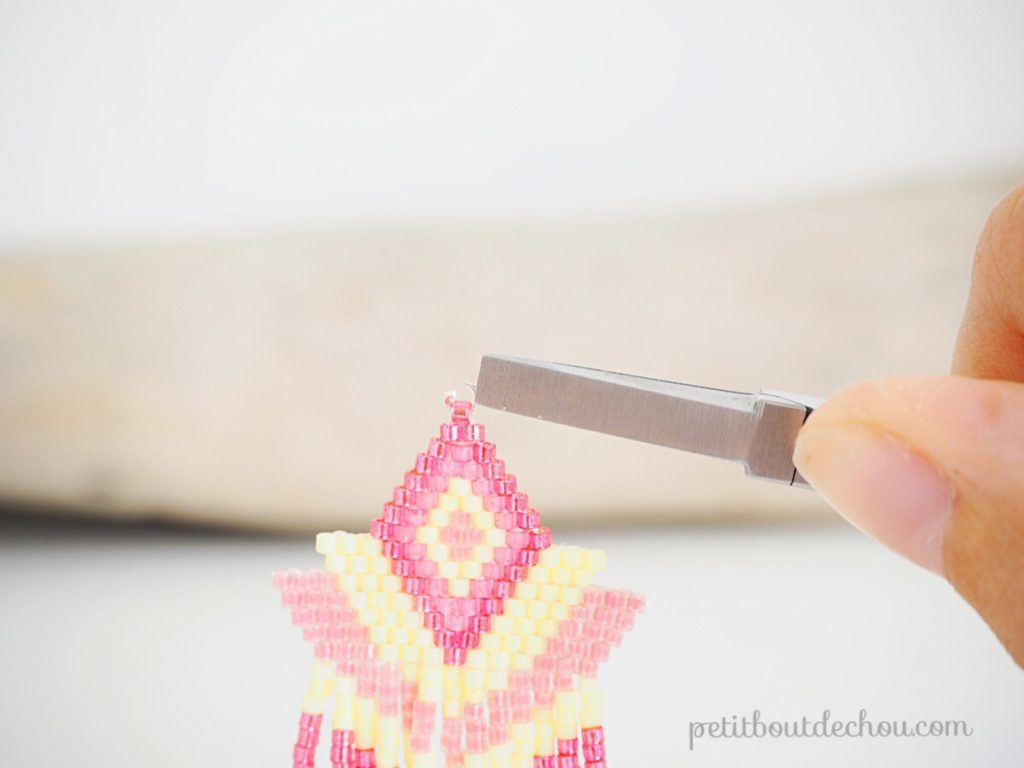
Place the ring inside the top bead and the earwire too.
Close the ring with your pliers.
 Repeat to create the second earring.
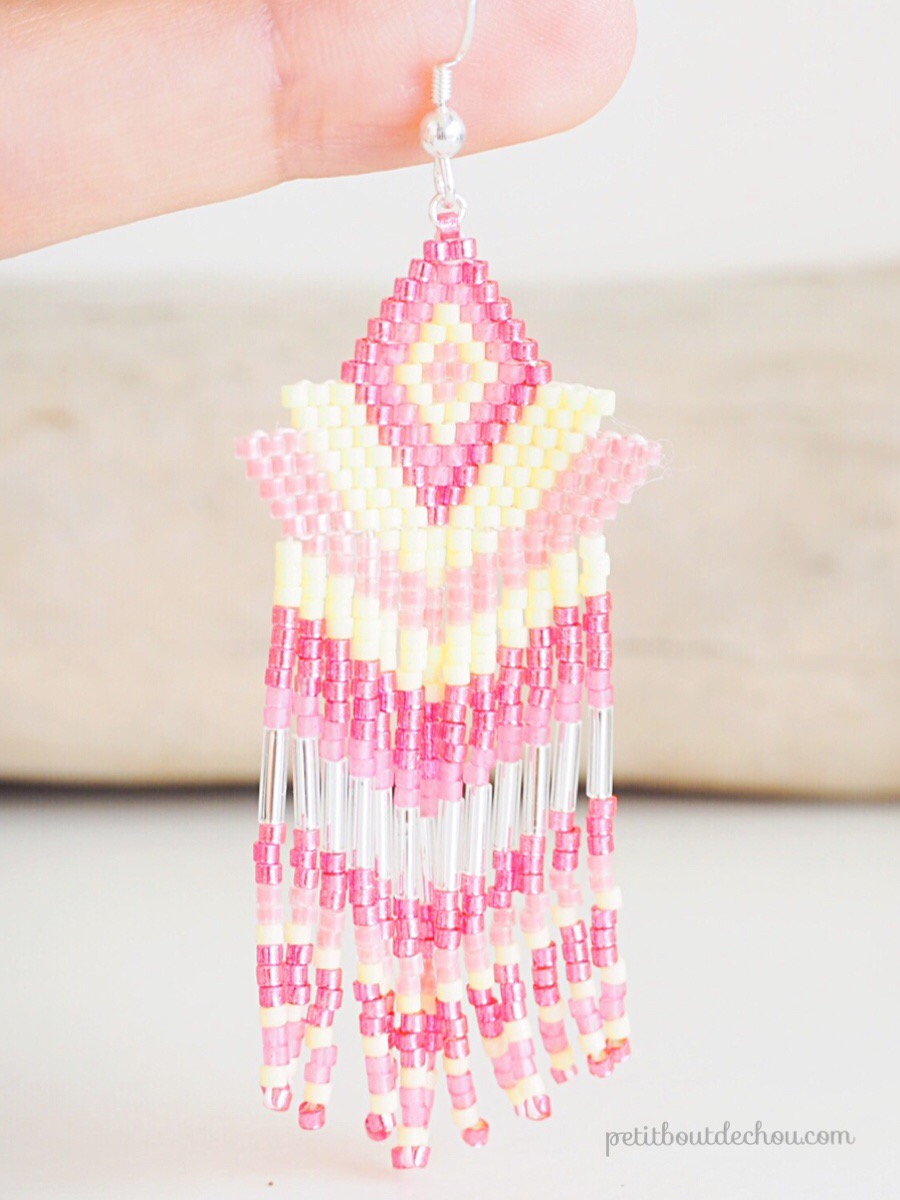
You are done! You can make many variations in design and colours, have some fun!
I hope you liked this tutorial.
You may also like:
- my little owls in brick stitch
- my Chinese New Year rooster and lanterns in brick stitch
- my Ginko leaf in brick stitch
- my origami elephant in brick stitch
Happy beading!


4 Comments
I just love it, i’ll give it try, thank you so much for the tuto ❤️
I am glad you like it Melina. Have a wonderful beading time 😉
I love the earrings BUT if you draw a line across where you say “start here” it is NOT correct at the end of the row…where are the other 3 pink beads????
Hello Alwina, yes indeed you are right. The pattern is wrong as there is a row offset. Sorry I did not get the time to update it so far but I think it is pretty obvious from the pictures as you have noticed. I do prepare these tutorials on my free time to share my passion and it can be late at night so I can make mistakes. I don’t think capital letters and so many question marks where necessary in your comment though.