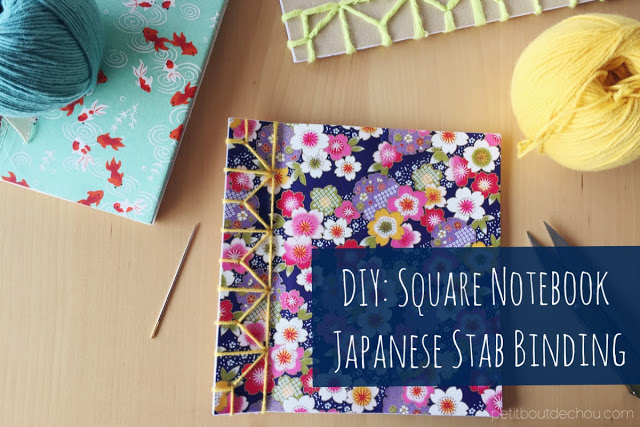
I have recently discovered a wonderful Japanese book binding technique on Pinterest called stab binding (as the holes used are going through all the pages at once). No gluing, nor special skills are required. I love the fact that this sophisticated look can actually be achieved easily as long as you follow the tutorial steps.
Of course I thought I could do it without following the steps. I tried but ended with some lines without thread at the back…
Then, I just took the time to understand the way it works and now I could do it without following the steps! I thought I could share these principles I have learned to avoid you the hassle. See my tips below in the DIY steps to understand this book binding method.
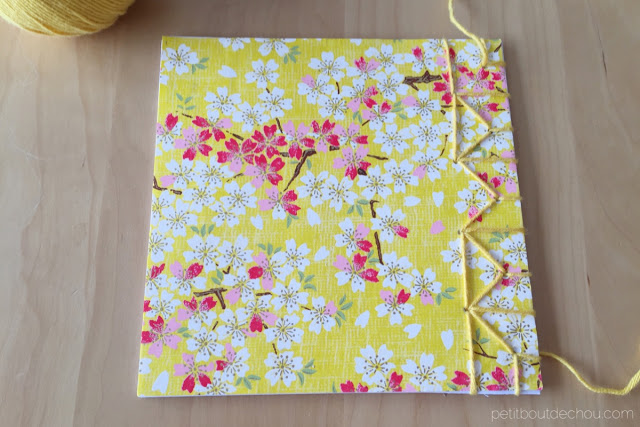
If you follow this blog, you may have noticed, I have a crush on Japanese crafts for their beauty and simplicity. The binding I have chosen for this tutorial is called Asa-No-Ha Toji (Hemp leaf binding). I find it both pretty and easy to make but you can find below a link to my Pinterest board: Japanese inspiration crafts and DIY with lots of other binding examples.
I have chosen to make a square notebook using origami paper format as I wanted to use these papers for the cover.
But there are so many variations that you could try:
- Use craft paper for the cover
- Use Canson paper inside to make a sketch book
- Use any beautiful textured paper you fancy inside like mulberry paper
Waou, I have been talking too much already.
Don’t worry it is really simple. Let’s start!
Supplies needed:
- This template
- 2 sheets of origami paper of your choice for the covers – I have used Chiyogami paper which I LOVE! See my post about envelope styling with Chiyogami paper where I give some more details on this paper and where to find some in Hong Kong.
- Textured paper, lined paper, simple plain paper cut at your origami paper format. The number actually depends on the paper you chose as it will impact the thickness of your notebook. I would say 40 sheets is fine for a small notebook. If you prefer more generous ones, go for 100 pages. The technique works for both.
- A cutting mat
- A ruler
- A cutter
- A pencil
- A tapestry needle
- A thick cotton thread – size 4 to 6 depending on the result you want
- Scissors
- A punch hole 1/8 inch, 3mm diameter
DIY steps:
1. Prepare the pages and covers
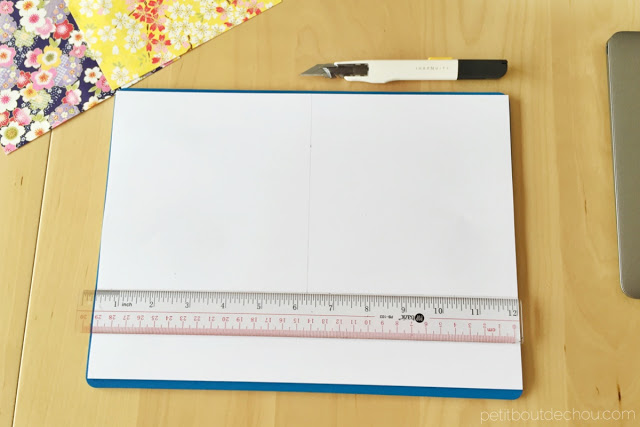
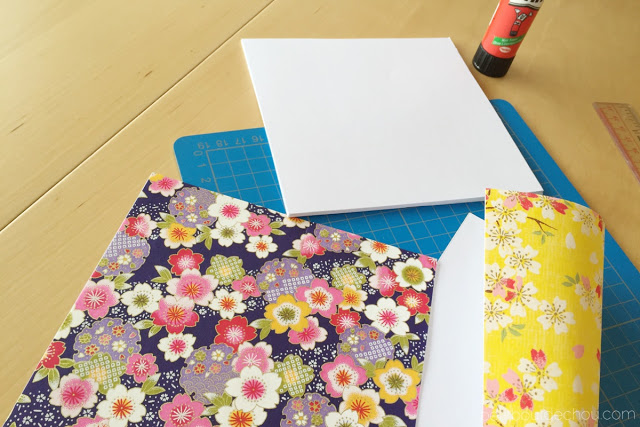
Cut your inner pages to the same format as your covers using a cutting mat and a cutter.
Glue the covers to one side of an inside sheet.
Repeat with the second cover.
2. Prepare the holes
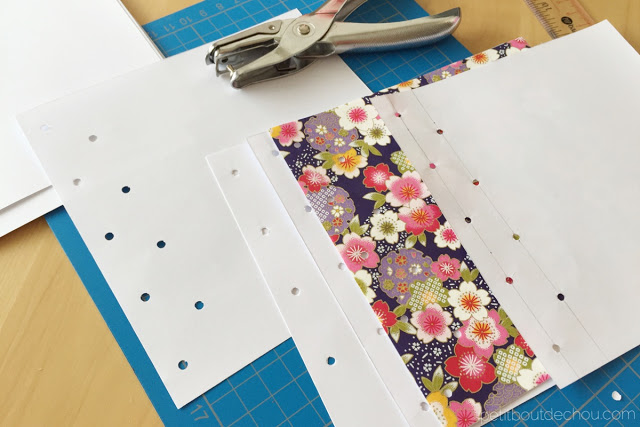
Depending on your punching tool, you can take a different amount of sheets at the same time. I would recommend a trial.
Start the first batch with your cover sheet.
Mark the holes position as per the template.
Punch holes following the marked holes.
For the next batches, use a few sheets from previous batch as a template to guide you to punch.
Once you have punched all the sheets and the other cover, make sure everything is well aligned. Cut any misaligned sheets.
3. Binding time
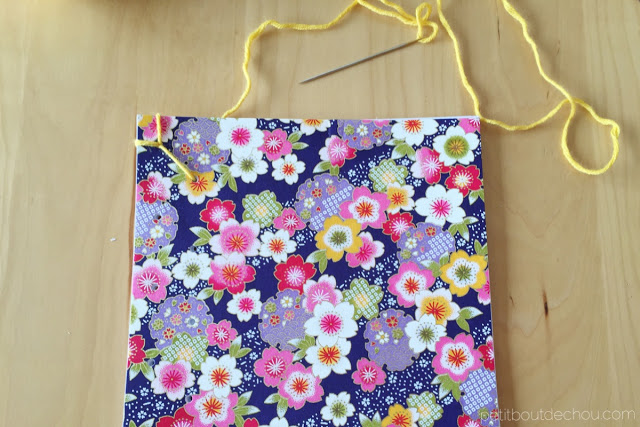
Place your thread in the needle hole.
The trick is that binding stitches can actually be separated in 4 types (as shown on the template):
- The top and bottom edge stitches
- The side edge stitches
- The outer line (some simple bindings have only one line)
- The inner line
Rule number one: the design appearing on the front cover should appear exactly the same on the back cover.
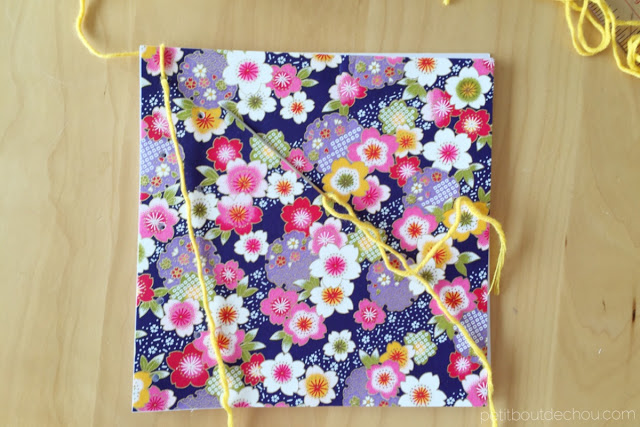
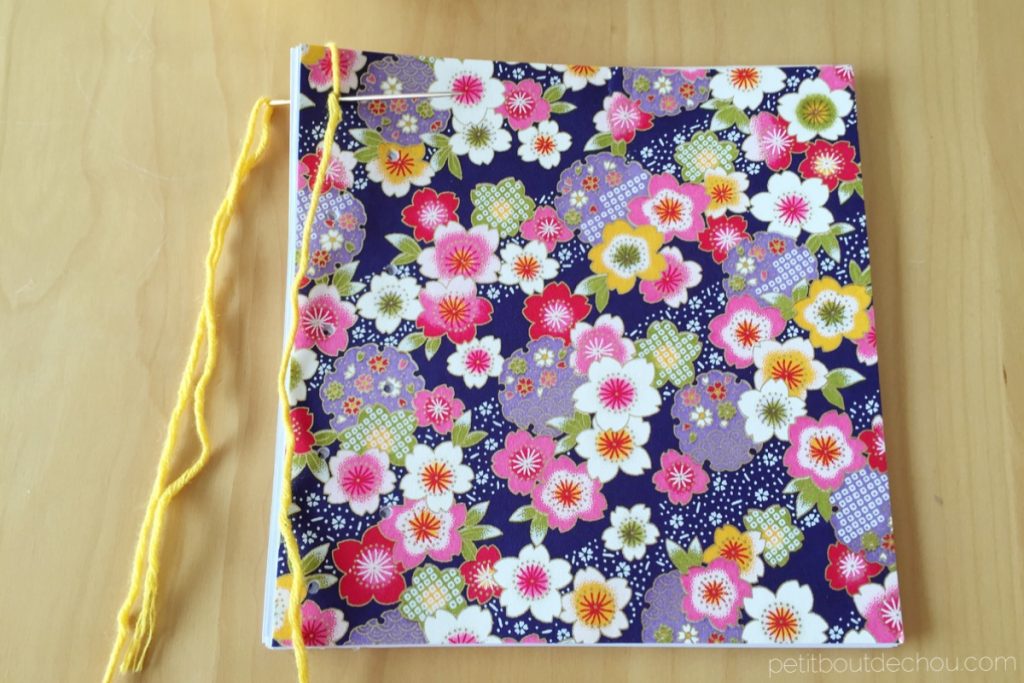
3.1.Start with the top edge stitch
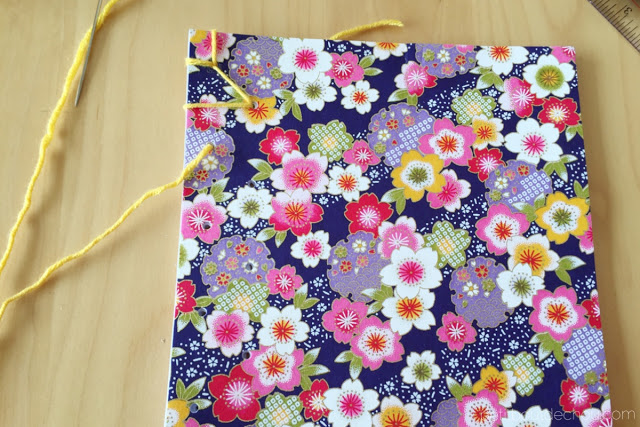
From the back take your thread through hole 1, leave 5cm of yarn.
Wrap around the top edge and go through hole 1 again from the back.
3.2 Start the first edge stitch through hole 1: wrap around the edge and go through hole 1 from the back
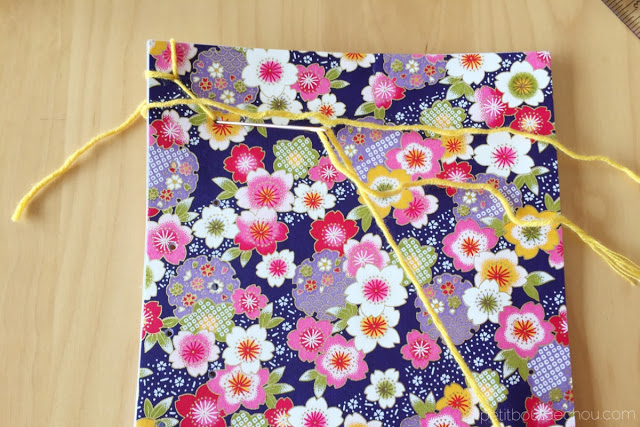
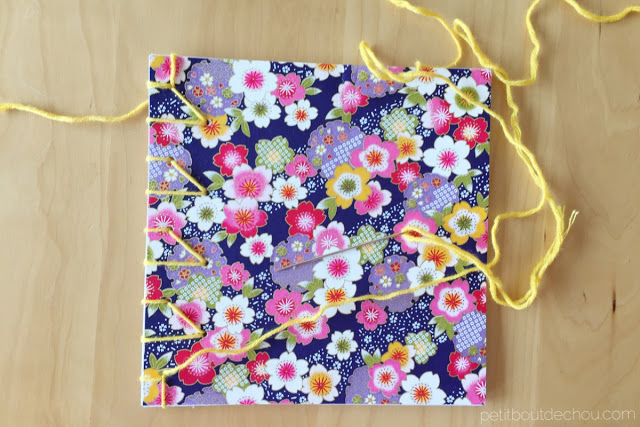
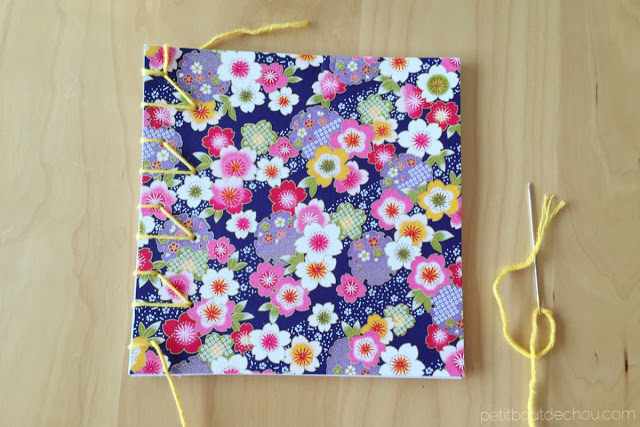
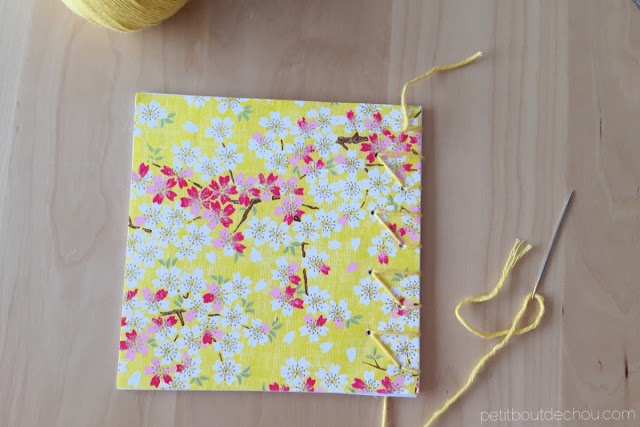
3.3 Start the first stitch of the outer line to join hole 2. This time you make a front stitch as your yarn is coming from the back at step 2.
3.4 Do the next side edge stitch at hole 2.
3.5 Do the next outer line stitch at the back this time.
3.6 Etc. until you reach the hole 9.
 |
| Front cover |
 |
| Back cover |
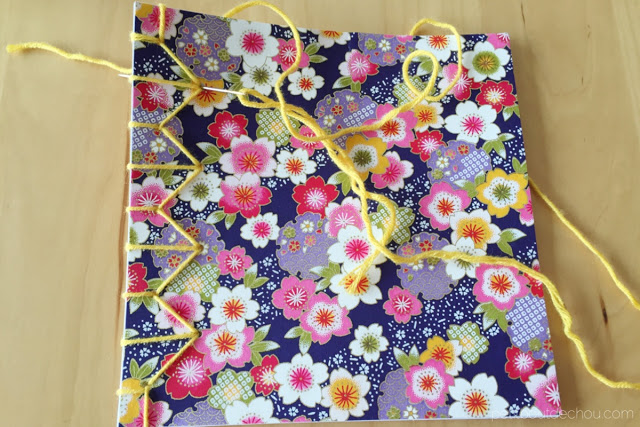
Then do the bottom edge stitch and move back up to finish the “complementary” inner line stitches.
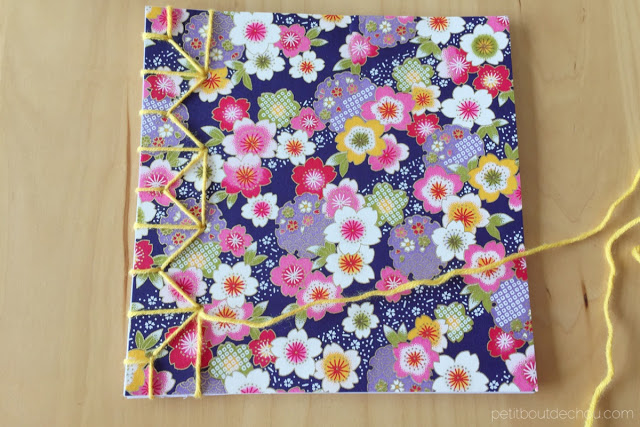
3.7 Start the inner line also alternating front and back stitches from top (hole 2) to bottom (hole 8).
 |
| Front cover |
 |
| Back cover |
Then finish the complementary stitches from bottom to top.
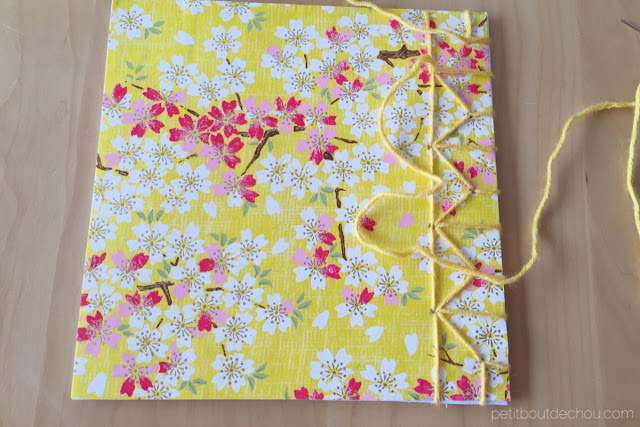
3.8 Tighten the thread with the remaining thread from the beginning and hide the knot inside the last hole (hole 2).
Make sure that you have achieved the same design on both sides of the notebook.
Congratulations, you are done! No so difficult, right?
I hope you enjoyed this tutorial, let me know if you found it easy or faced any difficulties in the comments below.
See my other posts:
Follow me and share your project pictures on my Facebook page.
Happy crafting everyone!

