
I have been recently studying new ways to schedule my posts for this blog more efficiently. An editorial calendar seems to be a must-do so I started looking for a great monthly planner on the web. The problem is that they are either too “crowded” or they have no charm at all…
That’s the reason why I decided to prepare this minimalist but pretty calendar to leave enough room for creativity but still be a good base that you just have to fill with your schedule.
And yes I know it is March already… but this year’s start was very very busy 😉
Is this planner only for bloggers?
Absolutely not! It is for everyone and for every lifestyle! We all need a bit of scheduling in our lives especially when it is so fun and easy to do.
So why do you suggest using washi tape?
1. Because it is so cute! Hum ok, but not only. What is great about washi tape is that is allows you to sort the different items you want to show on your planner: you can assign one type of washi to one type of activity.
List first the activities you want to show and associate one washi tape type to each of them.
2. Because you can still write on it with a fine marker the description of the activity.
3. Because washi tape is repositionable, so you can always re-arrange your schedule.
4. Because you can cover as many days as needed with washi tape to show activities which extend on several days such as holidays or seminars.
Supplies needed
- this free monthly planner printable
- a 30 pages clear book or a ring folder or any king of binding you like… maybe this Japanese stab binding technique from my square notebook post?
- washi tape – as many colors and prints as needed
- planning stickers
- a fine marker
DIY steps
Print the free monthly planner or find one that you prefer on the web.

Time to be creative: you can decorate each month as you like with washi tape or stickers.
I choose a fine washi tape to underline my November. This is a quick and easy way to customize your planner.

Place the pages in the clear sheet protectors or punch them to install in your ring folder.
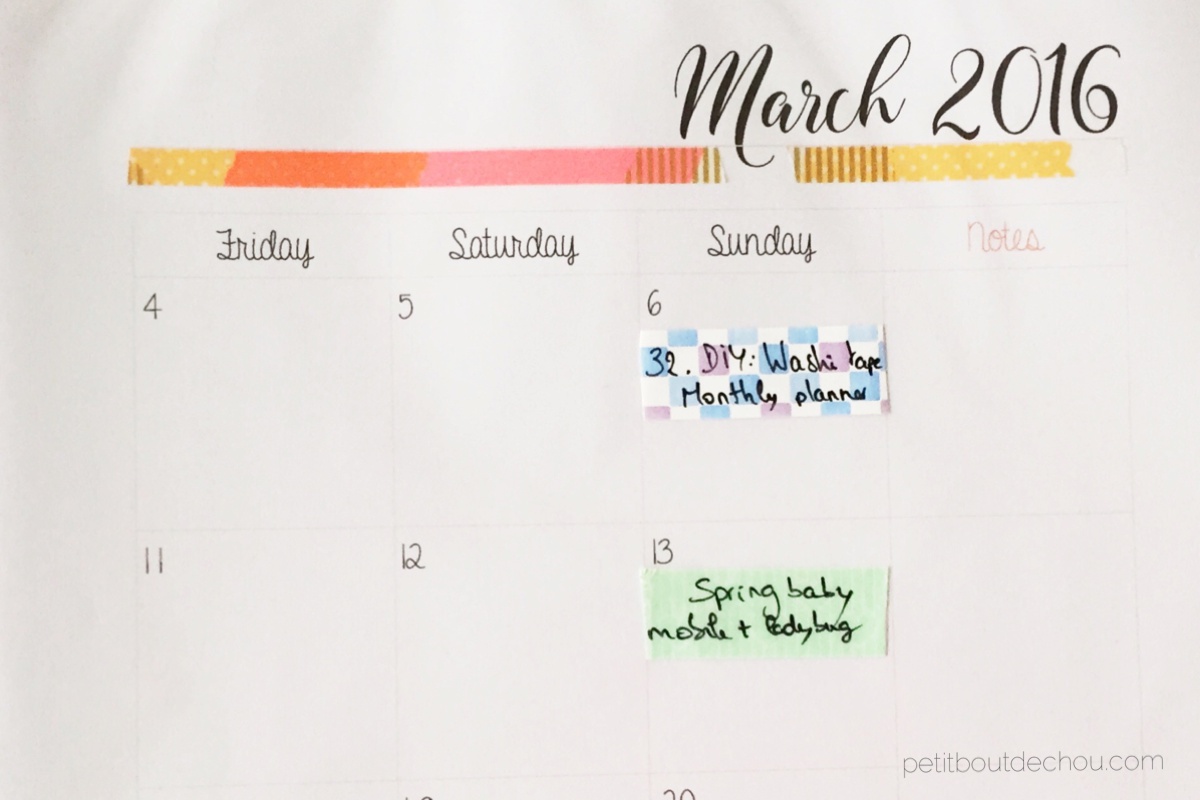
Then you just need to schedule your activities as per your code.
In my example below, I choose the mint washi for my scheduled posts, the yellow stripes for my holidays, the one with squares for pinterest review and so on…

You can see also some cute Japanese stickers I got from Log On shop.

That’s all there is to it, an easy and fun way to get a great customized monthly planner for a cheap price.
Do you use washi tape to keep organized? Do you have any tips about washi tape you would like to share? Please use the comments section below.
For more DIY, free printables and patterns, subscribe to my monthly newsletter Petit Bout de News.
Happy crafting everyone.


