
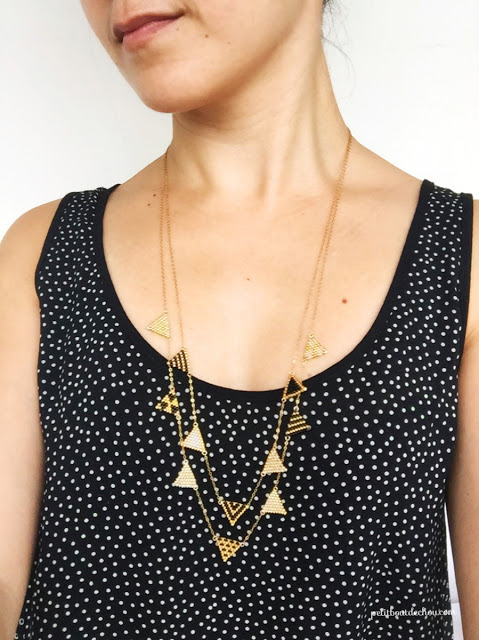
The end of the year is fast approaching and I wanted to make a festive jewel that you can wear to these special parties to style your outfit.
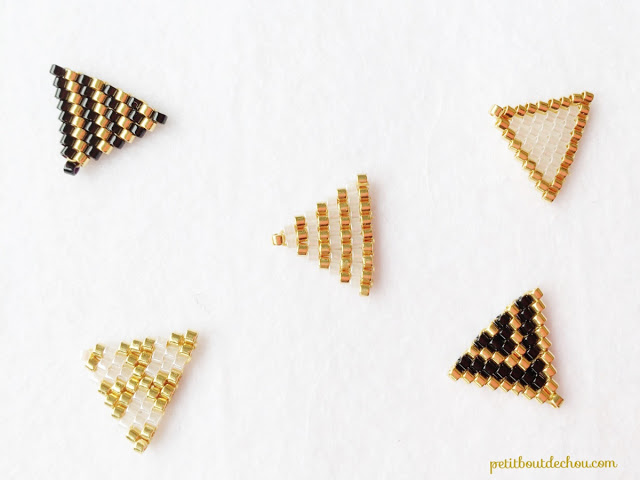
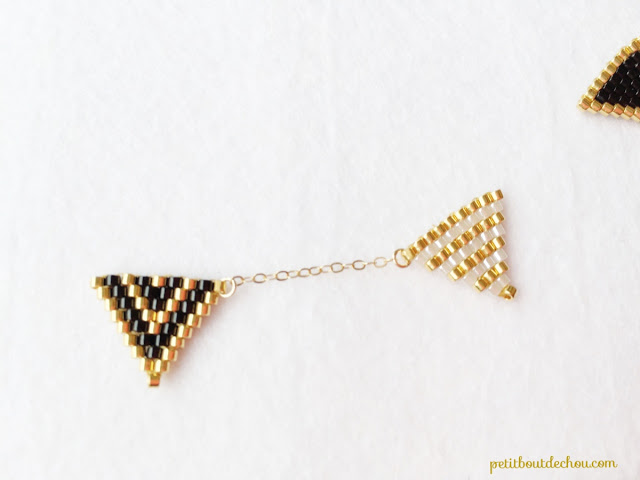
This long necklace is made of elegant beaded triangle flags in gold, black and white tones. These flags are made with Miyuki delica beads 11/0 using the brick stitch technique.
This post was prepared in collaboration with perlesandco.com
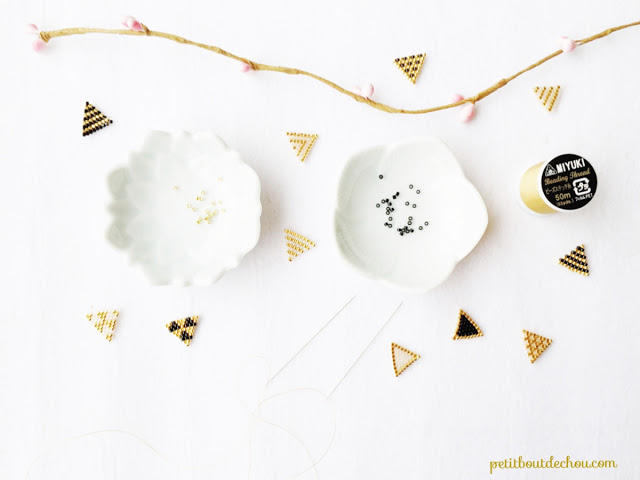
SUPPLIES NEEDED
- Beading thread in gold colour
- 2 fine beading needles
- Miyuki delica beads 11/0 in black DB 0010, white pearl DB 0031 & gold plated 24k DB 0231
- 2.5mm diameter jump rings gold plated x26
- jewellery pliers
- gold plated chain 1.5m
- 1 end chain gold plated
- 1 clasp gold plated
- scissors

DIY STEPS
1. Create your triangle flags
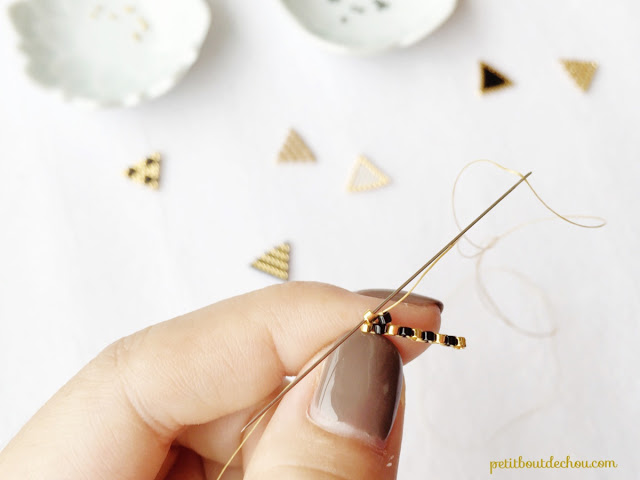
Start by cutting 1m of beading thread. Then, thread each end in one needle.
Please find below the 6 grids of the triangles I have prepared. You will have to prepare each in 2 colours (black and white) to have your 12 triangles.

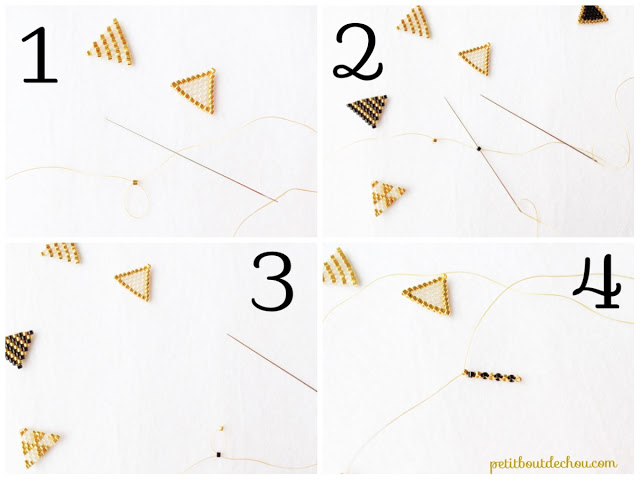
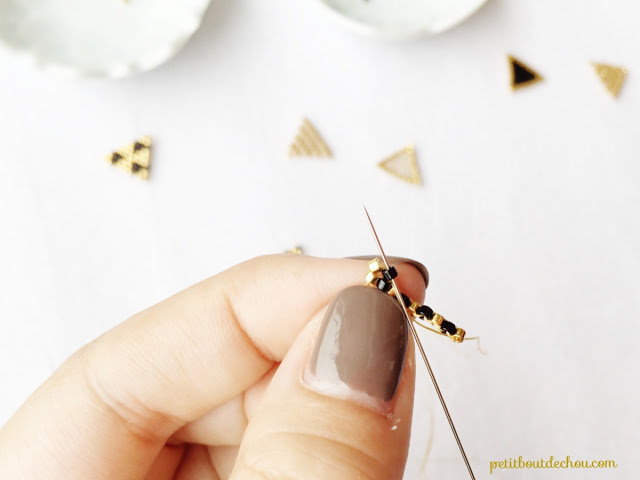
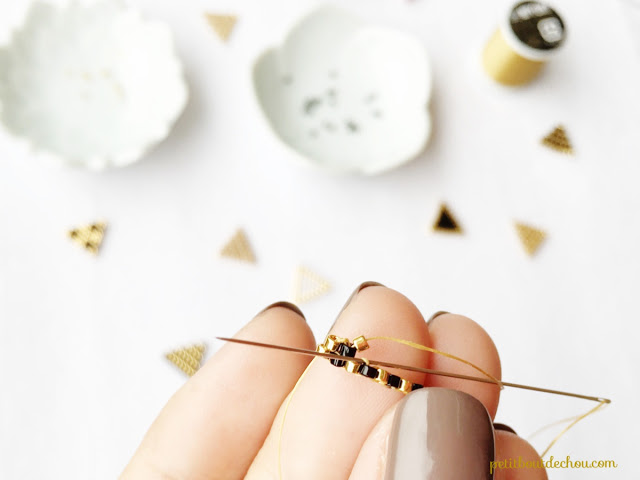
For the first row, following the pattern, string on the first bead using one needle and go through it using the second needle and pull it up (1).
Repeat these steps for the second bead on your pattern (2) & (3).
You have 9 beads at the end of your first row (4).
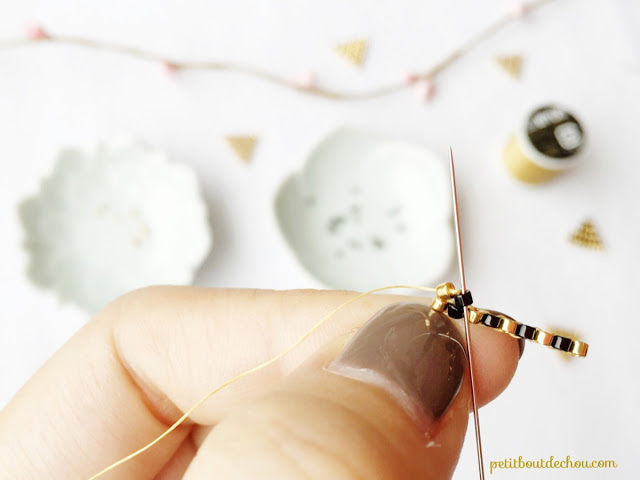
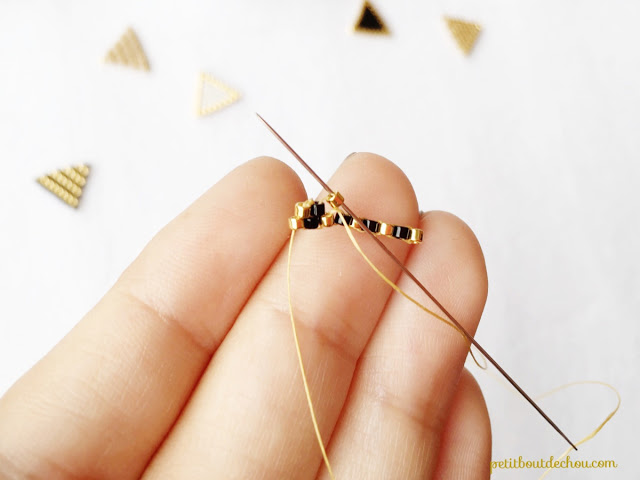
For the second row, we will reduce the number of beads. To do so, please follow the detailed steps below:
Start by stringing on the two first beads of this row following the pattern. Then, slide the needle between the second and third beads of the previous row.
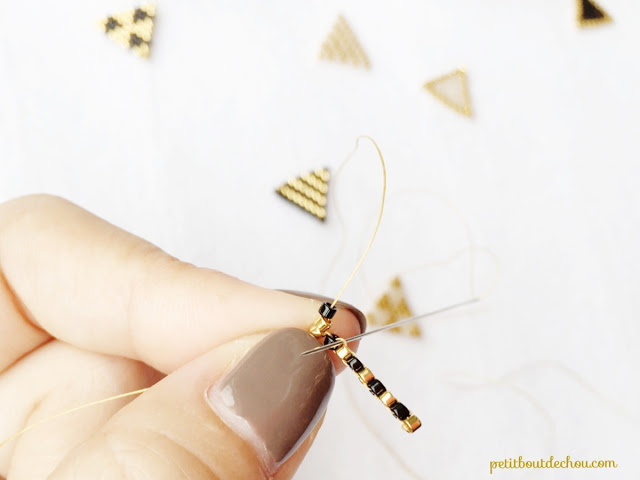
Pull the string fully and go through the second bead of the new row.
Pull the string.
Go through the first bead of the row from top to bottom. Pull the string.
Go through the second bead again from bottom to top. Pull the string.
The first two beads should now be well positioned. You have done a decrease at the beginning of the row.
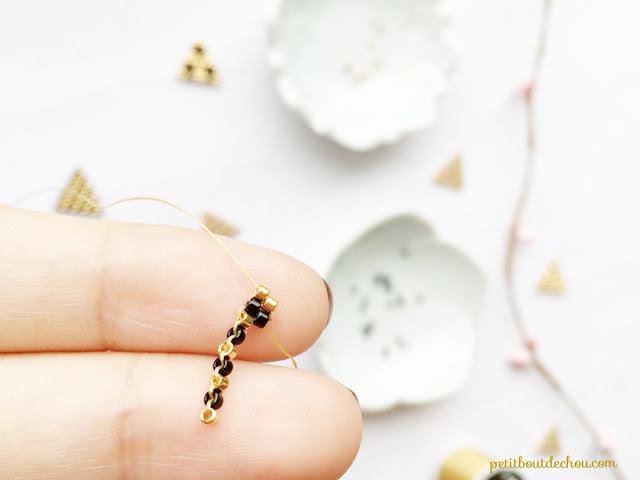
Continue following the pattern using normal stitches until the end of the row. For the normal stitch, just string on a new bead and slide your needle between the two beads of the previous row located just below.
Go through this bead and pull the string.
Continue following the pattern, starting with a decrease at each new row until you reach the last bead.

Hide your thread by weaving through the beadwork.

Prepare all 12 triangles.
2. Mounting your triangles on the chain
Arrange your 12 flags as you like in two groups that will be separated on 2 chains.

Use your pliers to open a jump ring and insert it in the top right bead of your triangle.
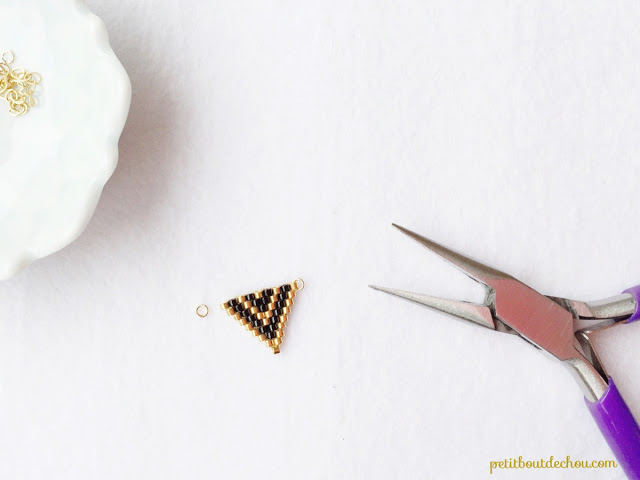
Insert the last ring of a 3cm chain in the ring too before closing it. Repeat with another jump ring to link the next flag to this chain.
Repeat the operation between all flags of each chain.
Then, adjust the main chains length as you like. Mine is 60cm long for the small chain and 70cm long for the long chain.
To finish, open a jump ring to link both chains on one side and add the end chain.
For the other side, open a jump ring to link both chains and add the clasp. You are done.

Now you are ready to party with your new necklace!

I hope you enjoyed this tutorial.
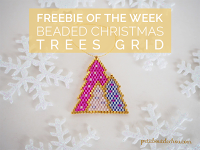
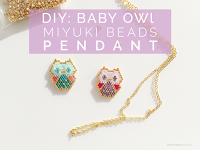
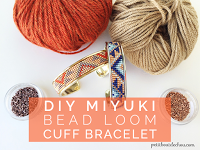
You might also like:

You can subscribe to Petit Bout de News my monthly newsletter to make sure you do not miss any post 😉


2 Comments
génial Estelle ! j’adore vraiment tes créations toute en finesse. Bravo et merci pour ce nouveau super tuto.
Merci beaucoup Marie pour ce message qui me touche. Je suis heureuse que tu apprécies le tuto.