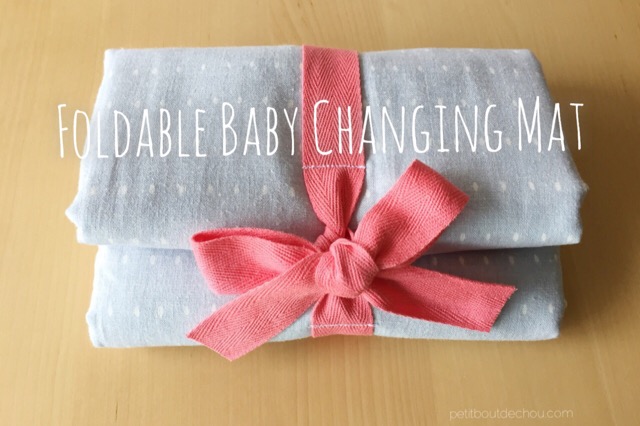
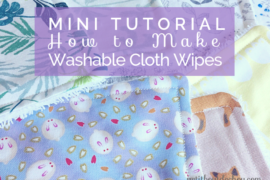
This month I am going back to France and visiting my family and friends. As my best friend just had a baby boy, my new project is a gift idea I wanted to share with you. I am sure you all know new mums that are always on the move and I am sure this would make the perfect gift!
I take the opportunity of this post to share the great news that my DIY patterns are now available on Craftsy, a useful platform for all craft lovers with many tutorials, classes and patterns!
You can have a look at my pattern store here.
Most of them are free to download as they are on my blog.
I am also starting my own Etsy shop. It is very new and not quite finalised but I am working on it 😉
Also you can still follow me on Pinterest:
https://www.pinterest.com/PetitBoutdeChou/
After this introduction, let’s sew!
Supplies needed:
- the full step by step tutorial in pdf you can download on my Etsy or Craftsy stores
- 1 sewing machine with thread
- 2 Nos. fat quarters 18”x21” or 45.7cmx53.3cm (here I have used beautiful Korean cotton from Dailylike)
- one is for the external side of the mat
- one is for the lining
- 1 towel 41cmx34cm
- 4 Nos. snap buttons
- 4 small plastic buttons
- 1m ribbon of your choice – I took a 2.5cm wide ribbon
- some quilt batting bought at Living Plaza (40cm x50cm minimum)
- an erasable fabric pen
- home made or already made bias tape – about 80cm for top and bottom edges of the towel only
DIY Steps:
1. Prepare the mat
Take the two fat quarters and place them back to back.
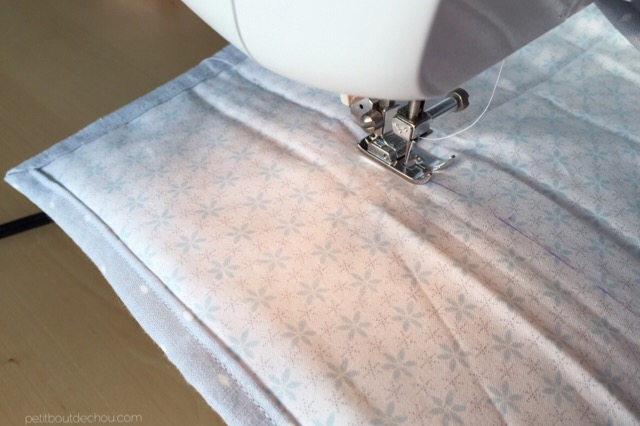
To sew the edge of the mat, we will make two folds of 1cm each towards the inner side of the mat.
Then, start by sewing the already pined edges as shown below at 2mm from the folding line.
2. Install the quilt batting
Cut your quilt batting to fit your seam dimension.
You can always adjust the height once you have it in place so I would recommend taking some margin on the height.
At 10 cm from the edges on both sides, I have made a seam through the 3 layers in order to:
- secure the quilt batting position => to avoid wrinkles
- to mark the final vertical folding position
3. Prepare the detachable towel part of the mat
This part of the mat is detachable for an easier cleaning. Or you can even prepare a second towel to replace it during the cleaning!
I have used for that a small towel and just reduced its length.
So I cut the top and bottom edges and replaced them by some home made bias tape.
You can learn how to make bias tape yourself in my post here about how to make a cute and easy baby bib.
Then, you need to sew 4 snap button male parts at the 4 corners on the back side of your towel.
To hide the seam of the snap buttons, I have made some fabric covered buttons using standard plastic buttons, some quilt batting and the same fabric as my bias tape.
Once the buttons are ready you just need to sew them in order to hide your snap button seam as shown in step 4.
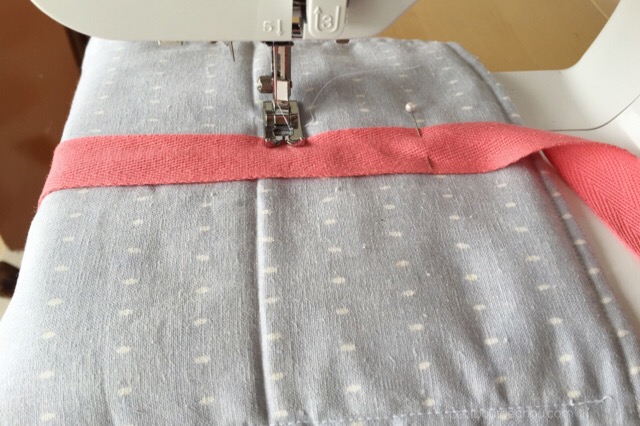
4. Install a ribbon to keep the mat folded
In order to transport the mat, just add a final touch by selecting a beautiful ribbon to keep the mat folded during transport.
You need to sew the ribbon at 10 cm from the bottom and 13 cm from the top keeping it centered.
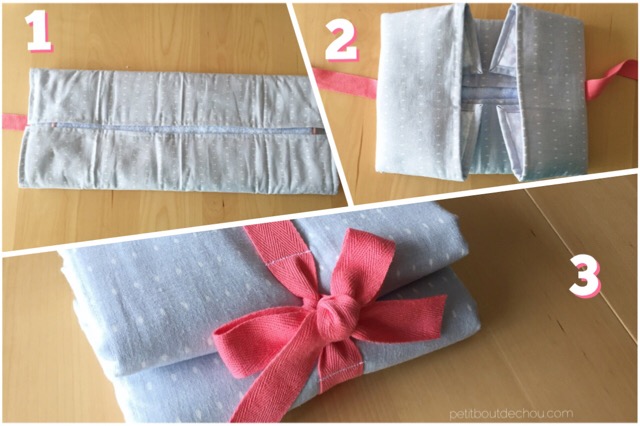
The mat is supposed to be folded:
- vertically along both seams already done through the 3 layers
- horizontally at one quarter and 3 quarter of the height (as shown in step2)
- horizontally again to attach the ribbon (as shown in step 3).
I hope you enjoyed this DIY. For the full step by step explanation, please visit my Craftsy or Etsy store to download the pdf file.
Happy sewing everyone and leave me some comments below if you liked the DIY !

