Following my first sea friends baby mobile done with amigurumi crochet technique, I came to the idea of making a new baby mobile for spring babies!
I will use several patterns related to spring theme and I have decided to start with my own kawaii amigurumi flower pattern that I am sharing with you below:
Supplies needed:
- Yarn in 3 colours 4mm
- Crochet hook 4mm
- Tapestry needle
- Small scissors
- Stitch markers
- Filling fibres – best is to take organic cotton fibres if you find some
Notes:
- Explanations between two stars ** shall be repeated the number of times indicated or until the end of the round.
- Flower center is crocheted in a spiral. Use a stitch marker at the beginning of each round.
- The number between brackets indicates the total number of stitches you should have at the end of each round.
Abbreviations:
If you are not familiar with these crochet abbreviations, check my Bobble stitch crochet basket post with some explanation links.
- Ss st: slip stitch
- Hdc: half double crochet
- Sc: single crochet
- Dc: double crochet
- Tc: treble crochet or triple crochet
- Inc: increase
- Dec: decrease
- St: stitch
- Rnd: round
- F/o: fasten off
DIY steps
1. Flower centre in colour A – make two
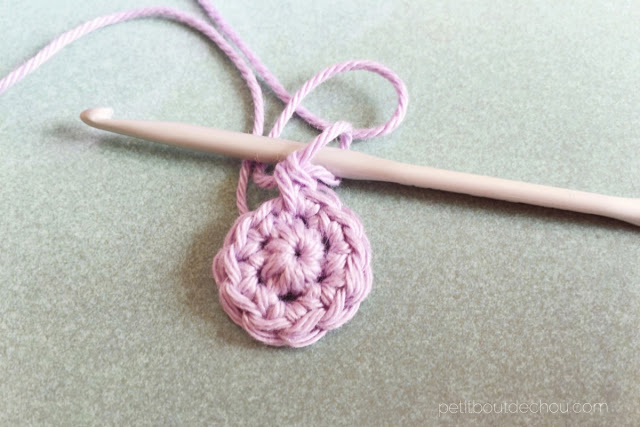
Make a magic ring
Rnd 1: 6 sc in the magic ring (6)
Rnd 2: *1inc* repeat 6 times (12)
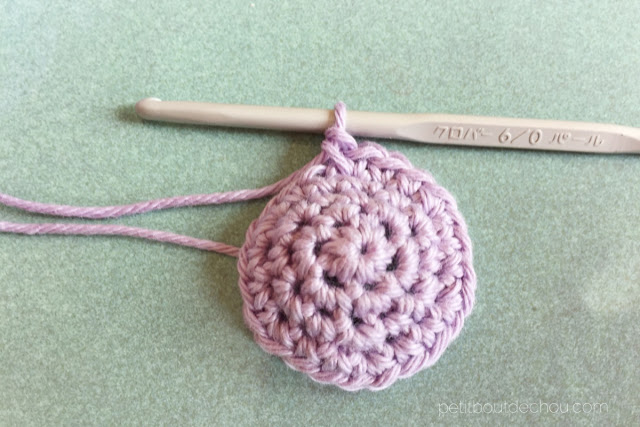
Rnd 3: *1sc, 1inc* repeat 6 times (18)
Rnd 4: *2sc, 1inc* repeat 6 times (24)
2. Flower petals in colour B crocheted on one flower centre part edge only
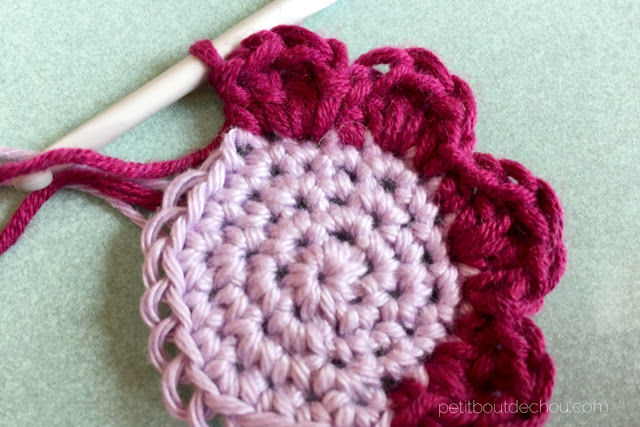
Change your yarn colour and continue on your first flower centre.
- 1sc, 1hdc in the first stitch
- 2 dc in the second stitch
- 1hdc in the third stitch
Then, repeat 7 times the following sequence
- *Ss st, hdc in the first stitch
- 1dc, 1tc, 1dc in the second stitch
- 1 hdc in the third stitch*
Finish by one slip stitch in the first stitch and f/o.
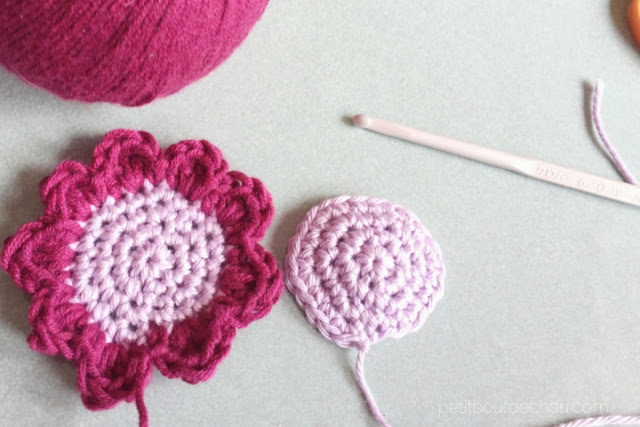
F/o the second flower centre. You have now these two elements ready:
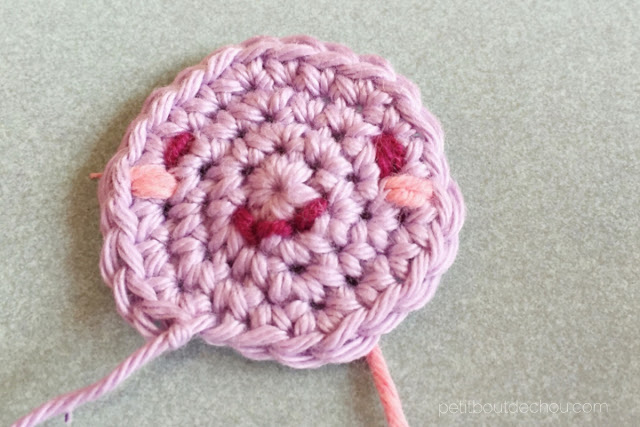
3. Make the face
I choose to make the face on the second flower centre.
Take a yarn from the colour of your choice. I took colour B but you can use black as well to make the two eyes between third and fourth row. The mouth is made of two stitches between 1st and 2nd row.
I added also some blush on the cheeks with a third colour.
4. Finishes
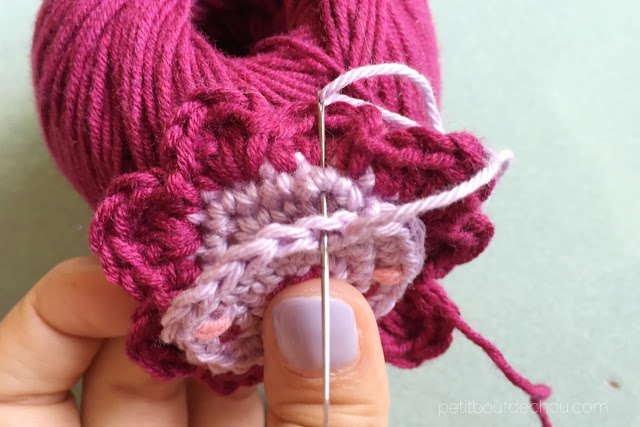
Then I joined both flower centres by stitching the outer loops of the second part to the first part as shown on the picture below. I stopped at about 2 cm from the end to keep enough space for stuffing.
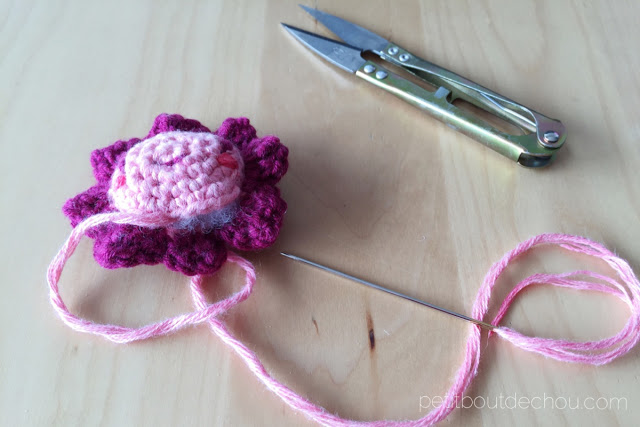
Stuff with your filling fibers well.
Then finish off by stitching the last centimetres and fasten off.
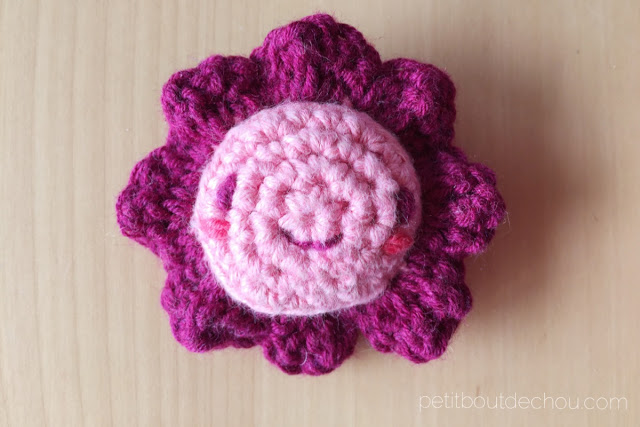
Congrats! Your cute kawaii amigurumi flower is done.
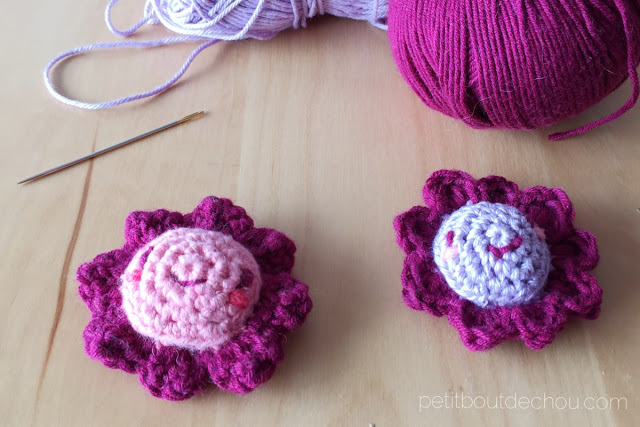
One more tip: depending on which side of the flower center with petals you stitch the face you can obtain the two different styles of flower below, which one do you like best: pink or purple face style?
Let me know in the comments below.
This is an original pattern by Petit Bout de Chou – February 2016. Please link back to this pattern but do not copy this pattern on your site. You may use the pattern for your personal use but you may not sell it. Inform me in case you would like to sell items made from this pattern and credit Petit Bout de Chou. Thank you for your understanding.
You can also find this free pattern on my craftsy pattern store and on ravelry as well as many of my other crochet and sewing patterns.
I hope you enjoyed following this pattern. I hope finishing my new baby mobile soon to show you the result! In the meantime, I will prepare some new patterns to share with you!
If you want to print this pattern, you can also download the pdf pattern here.
See my other posts about crochet:


