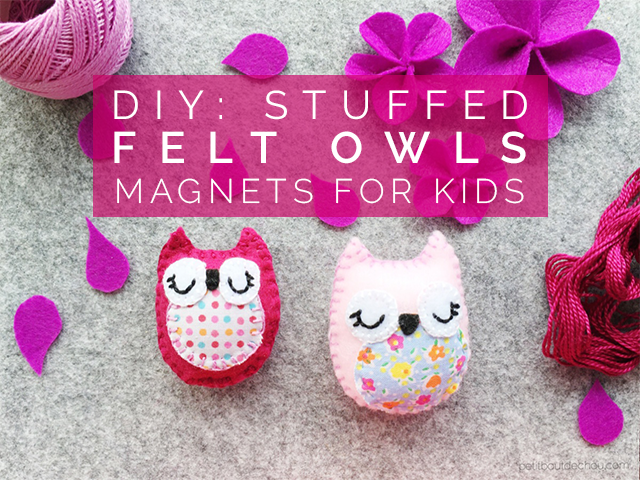
I wanted to make some cute animals as a birthday gift for my friend’s daughter. I know she likes owls so I prepared these little stuffed felt magnets so she can play with them as well on her whiteboard to tell stories. Felt stuffed animals make great soft toys and can be customized in so many ways with a little embroidery.
When I say embroidery, there is no need to be an expert to have gorgeous results. The basic stitches are enough as I describe below.
So let’s start making these cuties.
Supplies needed
- Felt sheets of different colours
- Fabric of your choice
- Fabric scissors
- Pins
- Cotton embroidery thread of matching colours
- Embroidery needle
- Flat magnets
- Glue
- Stuffing fibers
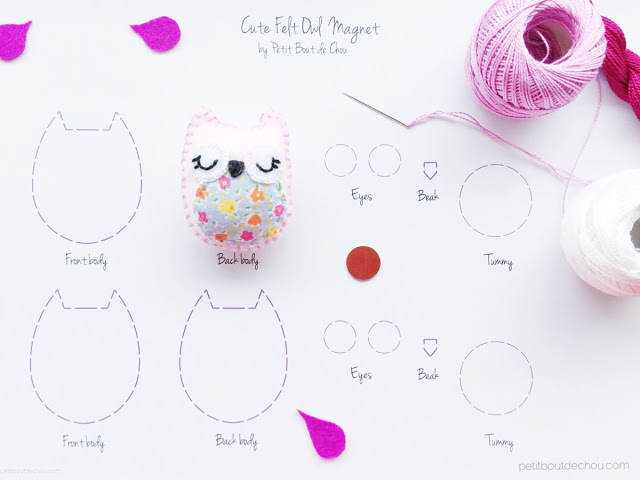
- This free pattern to print
DIY steps
1. Print and cut the pattern shapes
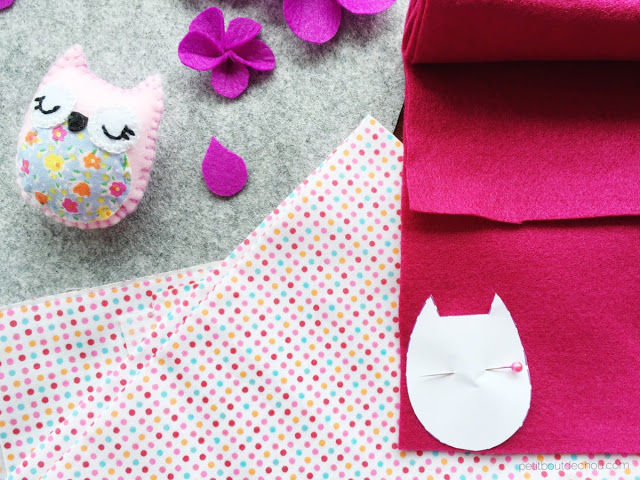
On the pattern there are two complete owls patterns in case you want to pin two owls at a time and cut everything at once.
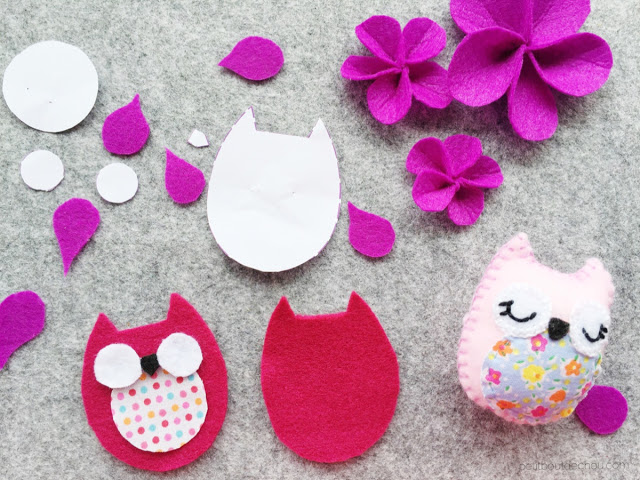
Once you have cut the different parts:
- Cut the front and back body in the same felt sheet.
- Cut the eyes in white felt.
- Cut the beak in black or orange felt
- Cut the tummy in your chosen fabric
Then, you have all your parts ready.
2. Embroidery time
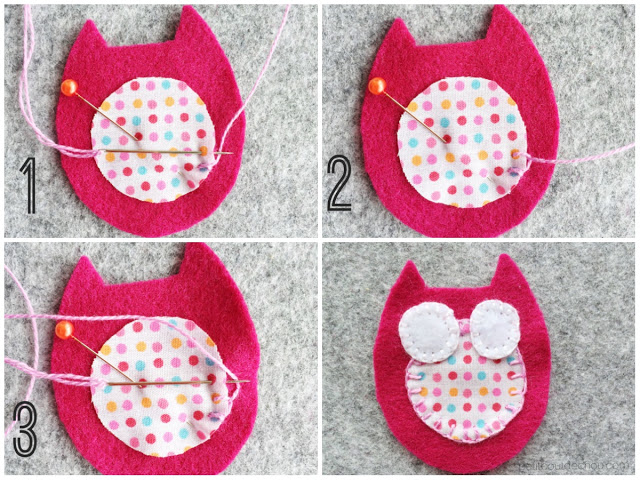
Use the blanket stitch as illustrated below to stitch the tummy to the front body.
This stitch is really easy. Don’t be afraid to give it a try. Use a cotton thread matching your fabric colours.
Then, stitch the eyes with a white cotton thread with blanket stitch.
Stitch the beak with a matching thread colour.
Take some black thread to make the eyelashes with back stitches. This stitch is also very basic and extremely useful, so well worth trying.
3. Magnet installation and stuffing time
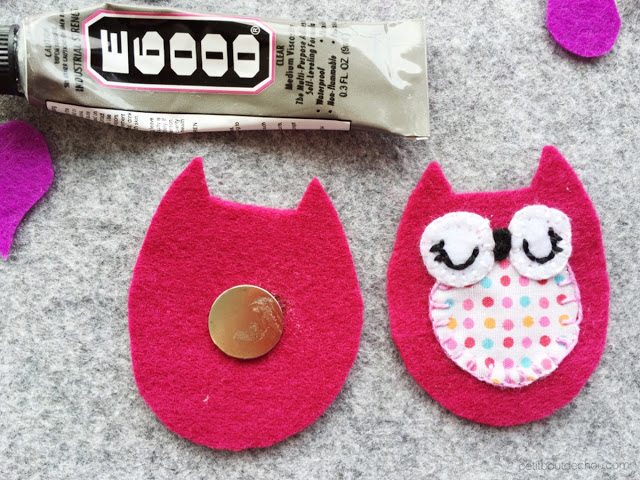
Use some glue to stick the magnet on the internal side of the back body.
Then place the front body on top and start sewing them together using the blanket stitch and a thread matching the body colour.
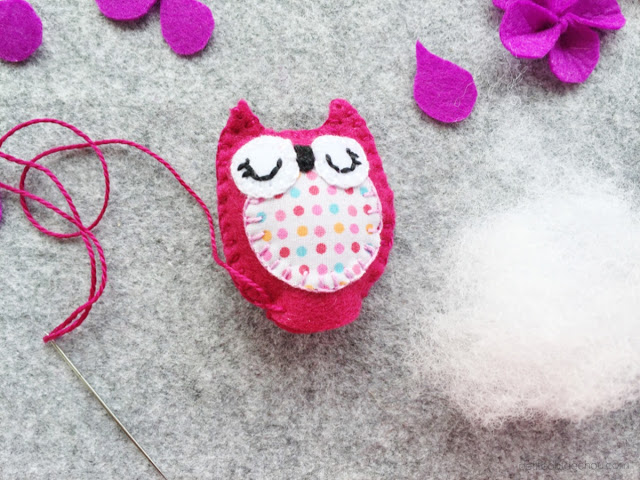
Try to start at 5 o’clock position, go counterclockwise and stop at 7 o’clock.
This leaves some room for the stuffing. Make sure your owl well stuffed (not too hard but not too soft either) and finish the stitching to close the body.
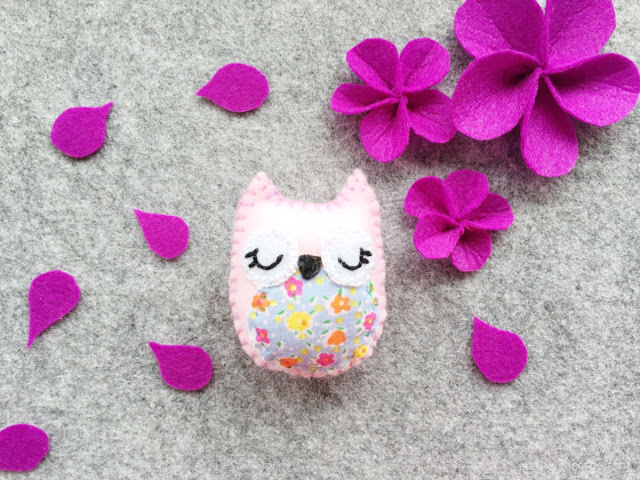
You are done! It’s time to play.
I hope you enjoyed this tutorial.
If you did, follow me on Pinterest, Instagram or Facebook for more craft supplies tips, DIYs and free printables!
You might also like:
You can also subscribe to Petit Bout de News my monthly newsletter.




4 Comments
These are adorable. Love them so much 🙂
Thank you Emma. Making gifts for my friends or their little ones is always a great source of inspiration and creativity! 🙂
I just made a couple sets of these as gifts – they are so cute!
Thank you so much for making this pattern!
Would it be okay if I made these to sell?
Hi Leah, I am glad you like the pattern, Thanks! I am sorry but I do not authorise reproduction for any commercial purpose.