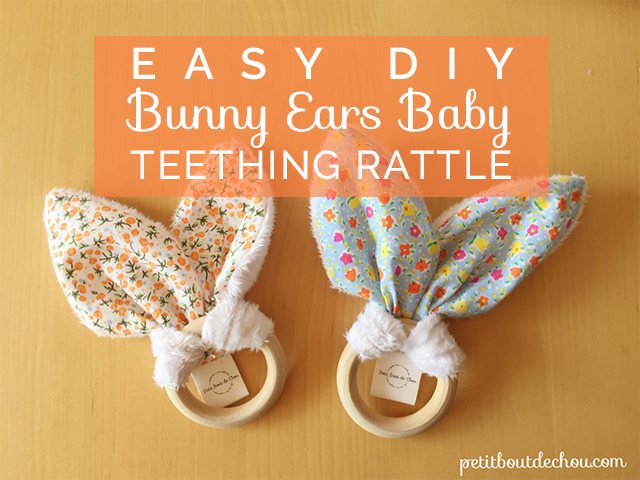
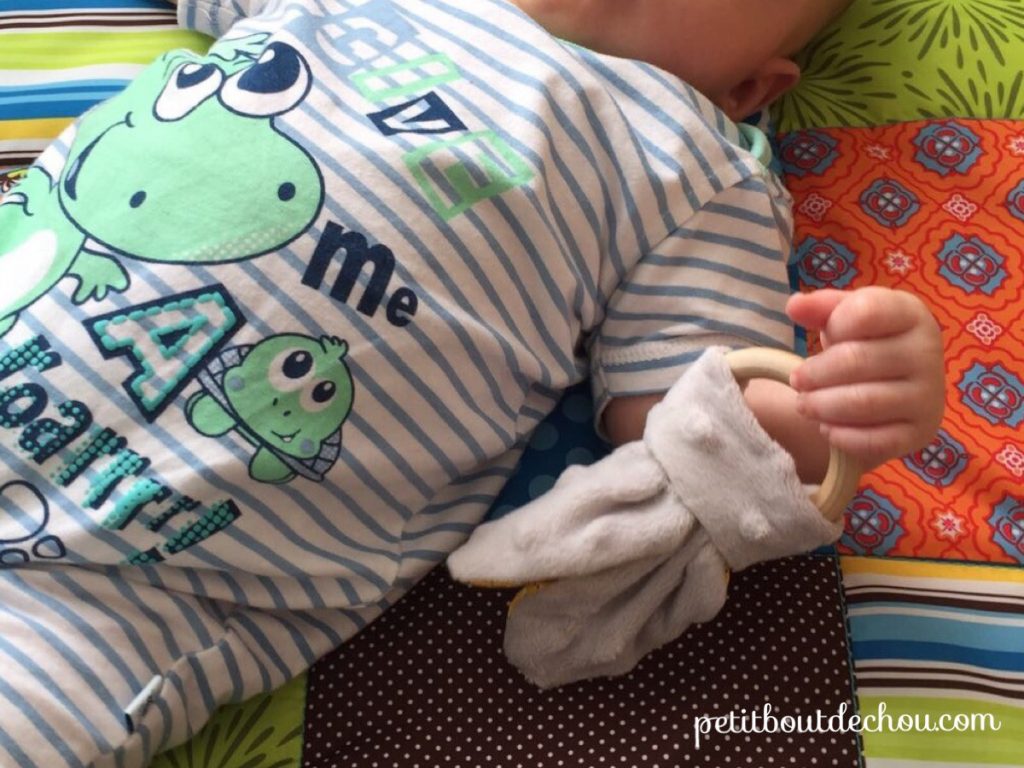
 Happy Easter everyone! Here is an easy sewing DIY for this week-end: the bunny ears baby teething rattle. Follow these simple steps to create your own baby toy using soft minky fabric and cotton. I made this as a gift for my friend’s baby and he seems to like it so far 😉
Supplies needed:
-
- Non-treated wooden ring 5cm diameter
- Minky fabric – a fat quarter size (A4) piece is enough
- Cotton fabric – a fat quarter size (A4) piece is enough
- Pins
- Fabric scissors
- Sewing Machine
- Matching colour thread
- Needle
- Fabric erasable pen
- This free printable bunny ears pattern
DIY steps
Cut your fabric
Print the pattern and cut it.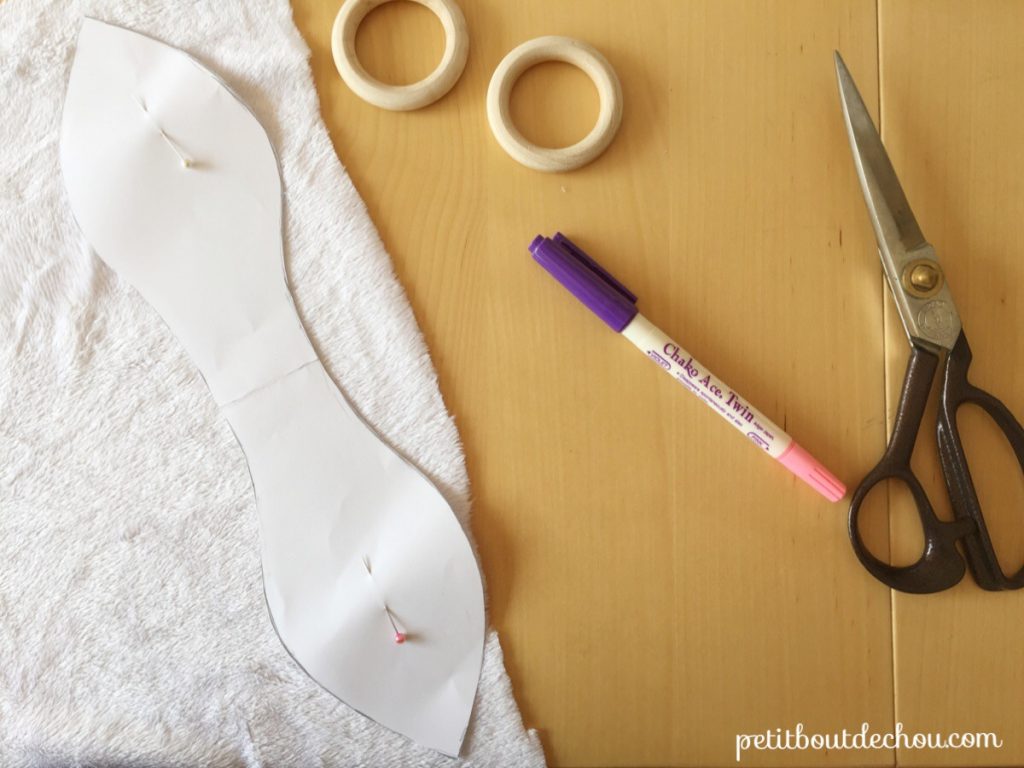
Place it on the minky fabric and pin it. Mark the contour with your erasable pen and remove the pattern.
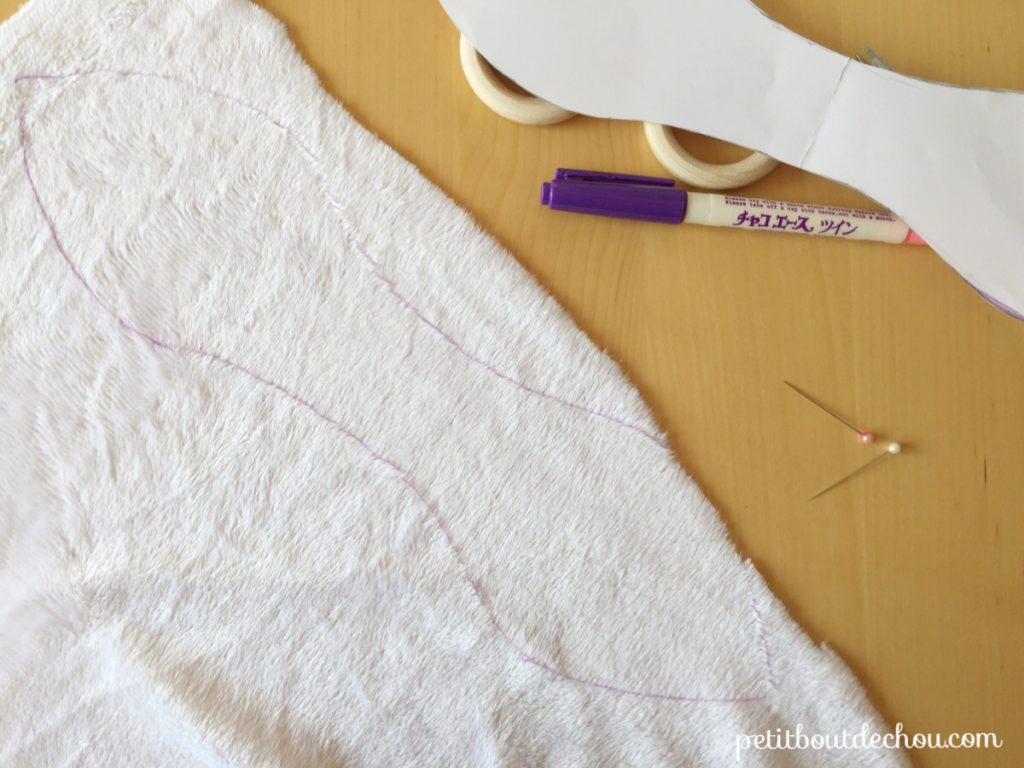
Repeat the operation on the cotton fabric.

Cut the two pieces using your scissors. You now have a piece of minky and a piece of cotton.
Sewing work
Place the two pieces back to back and pin them.
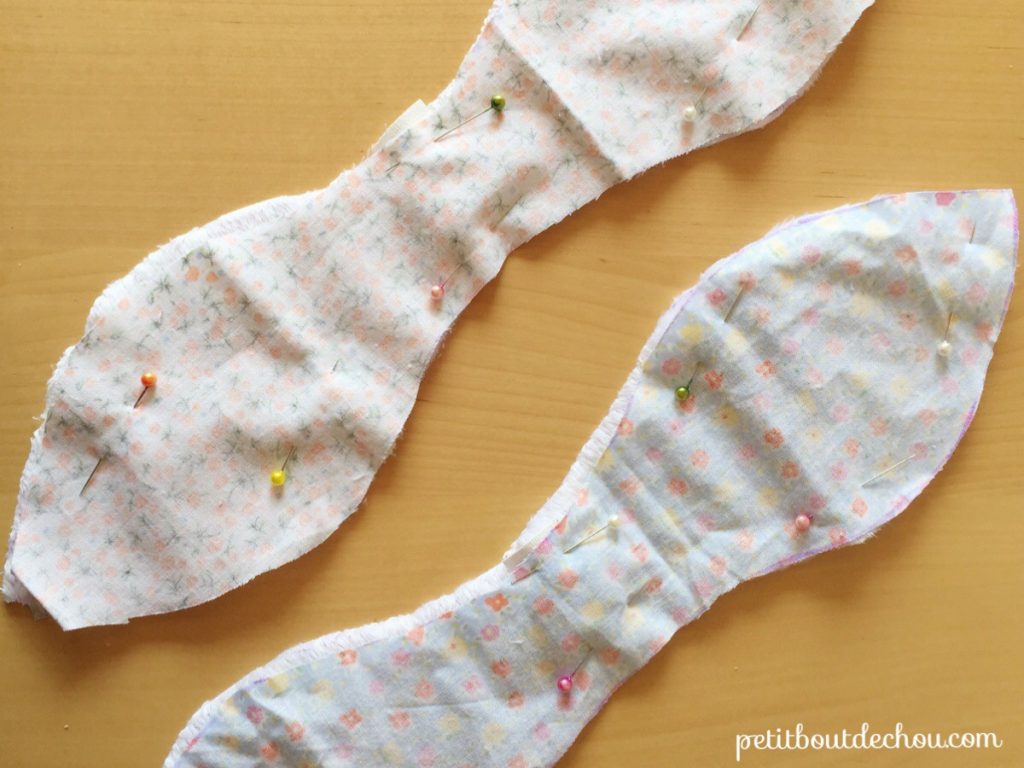
Use your sewing machine to sew them together at 0.5cm from the edge all around except on 6cm long where you will keep a hole to turn your work.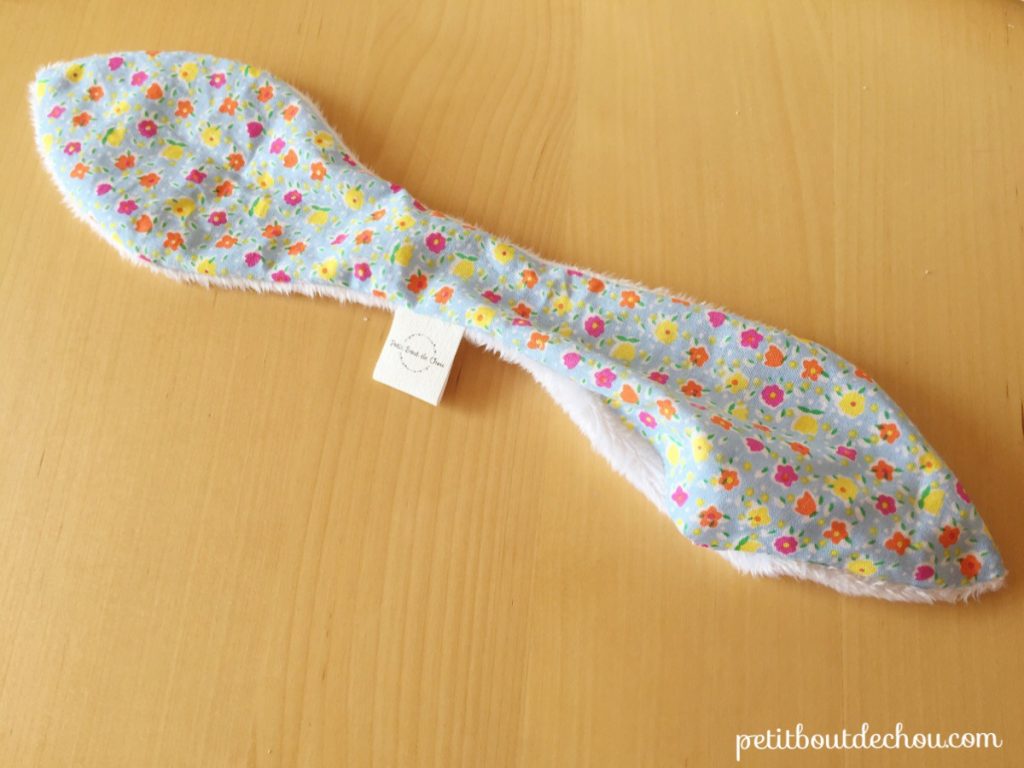
Turn the work upside down through this hole and sew the remaining part by hand using the invisible stitch. See this very clear explanation if you do not know this stitch already.
Assembly
You are now ready to assemble the ears and the ring. To do so, you just need to fold the fabric piece in two.
Place the loop over one side of the ring. Fold the ears around the ring and insert them between the ring and the fabric to create a knot.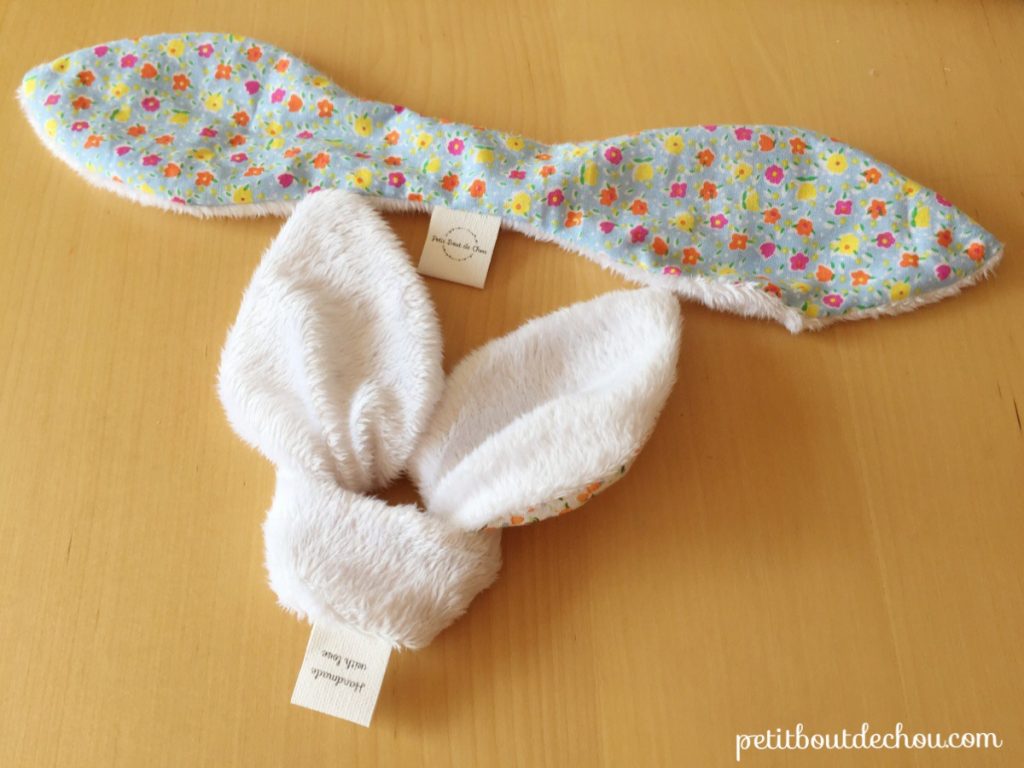
Pull the crossing part upwards to block the knot and arrange the ears nicely.
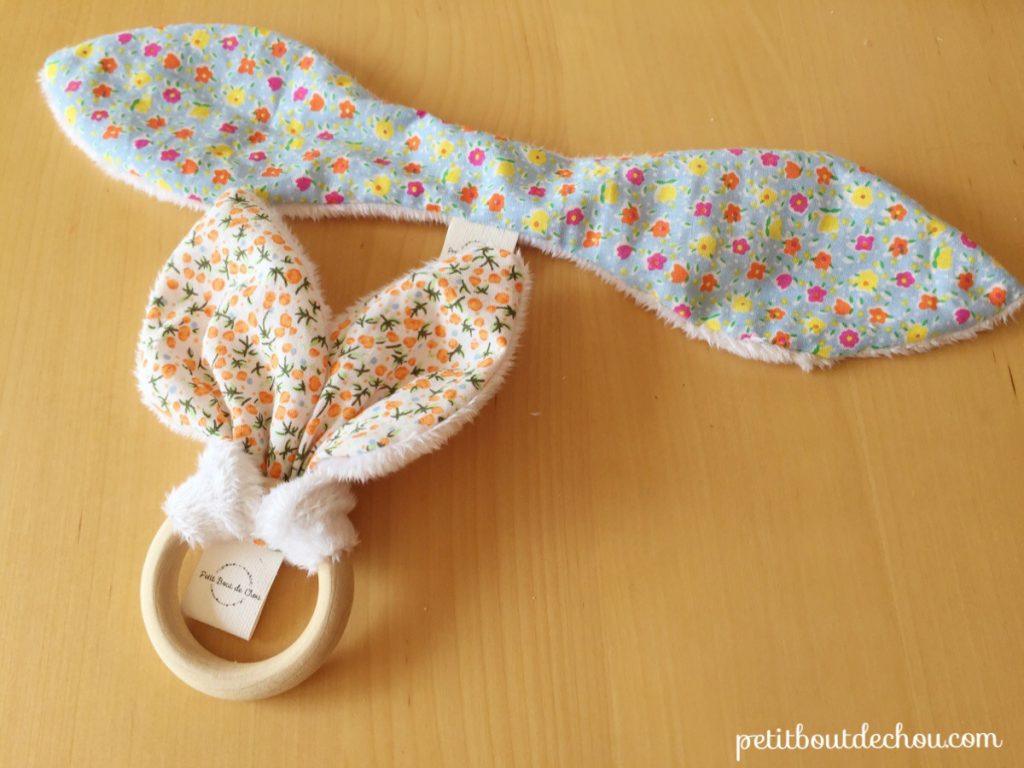
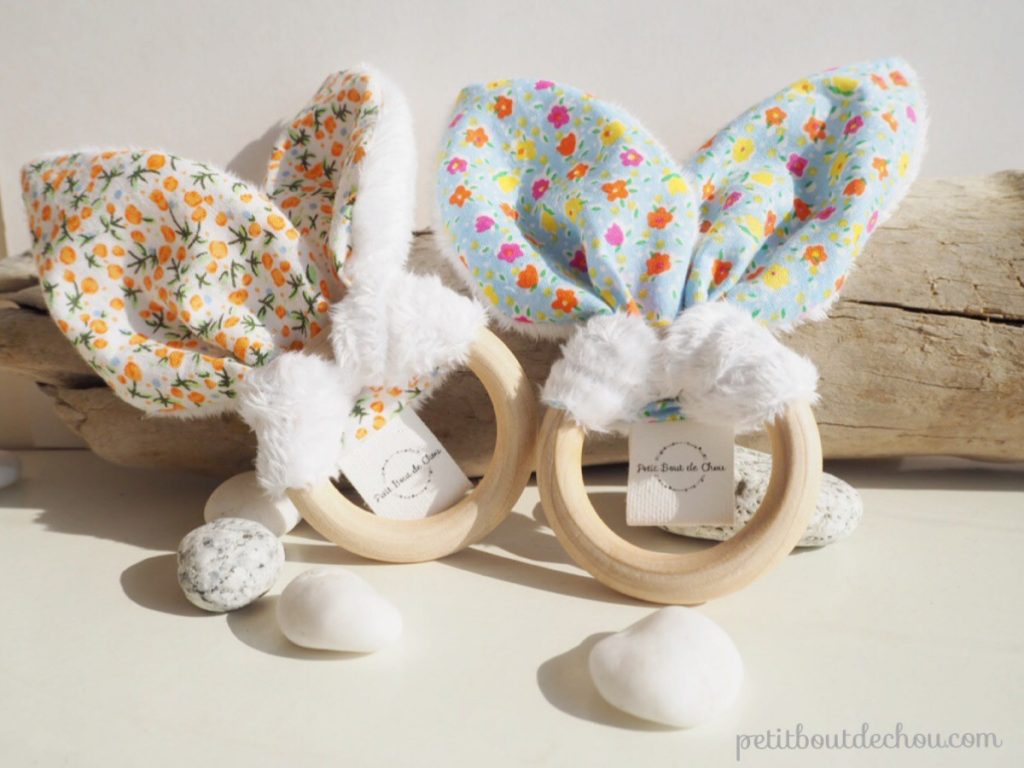
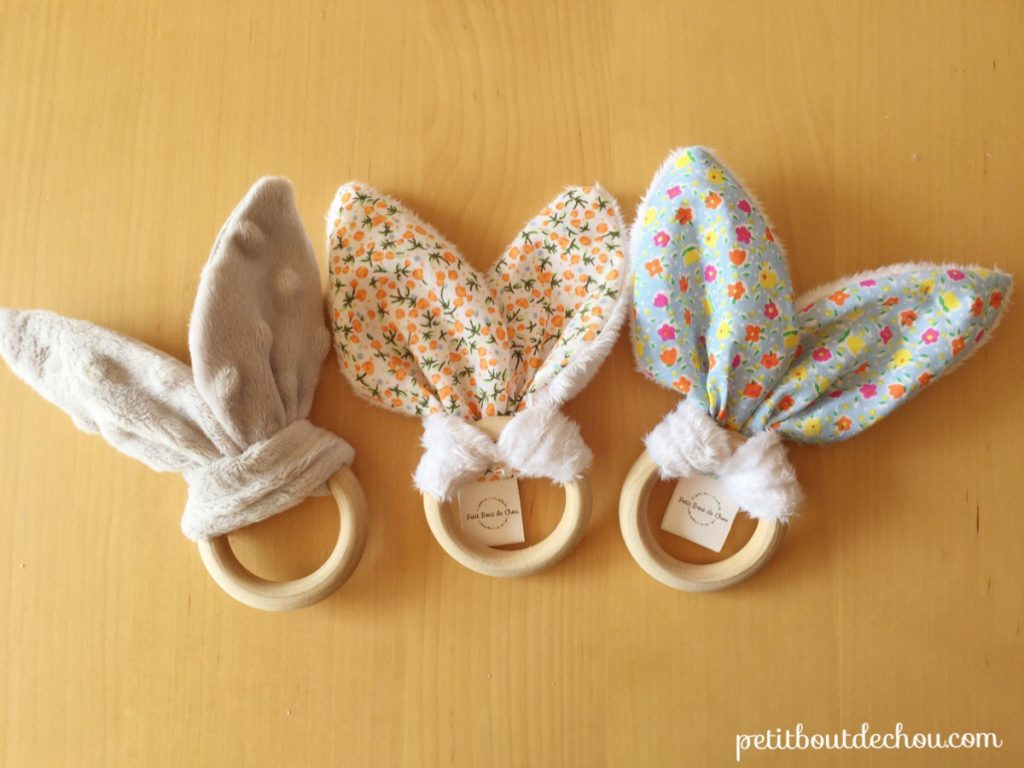
You are done! You can try many different types of minky fabric and cotton patterns.
I hope you enjoyed this tutorial. Browse the sewing category for more tutorials and free patterns.
Follow me on Instagram @petit_bout_de_chou_hk to know what is happening behind the scenes.
Happy sewing!
Estelle


