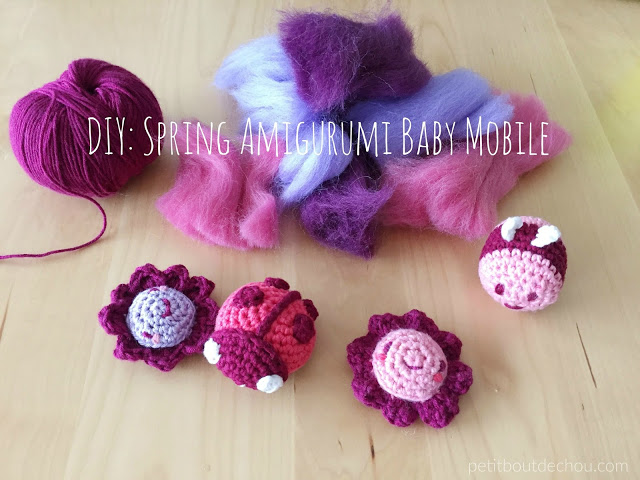
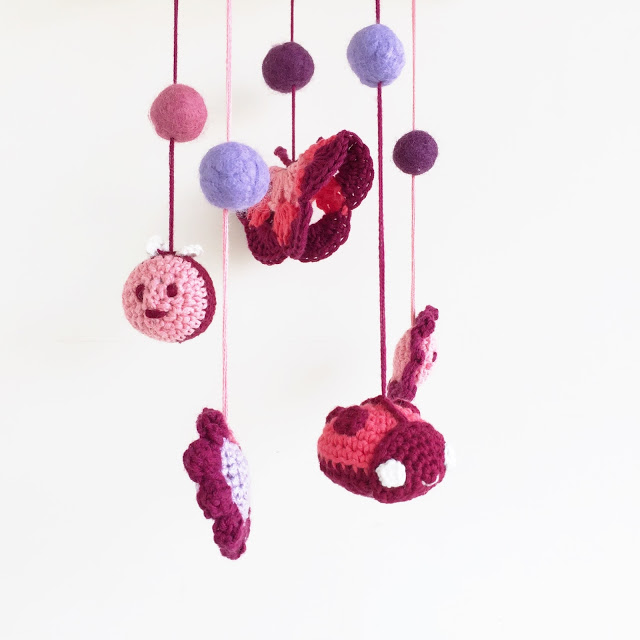
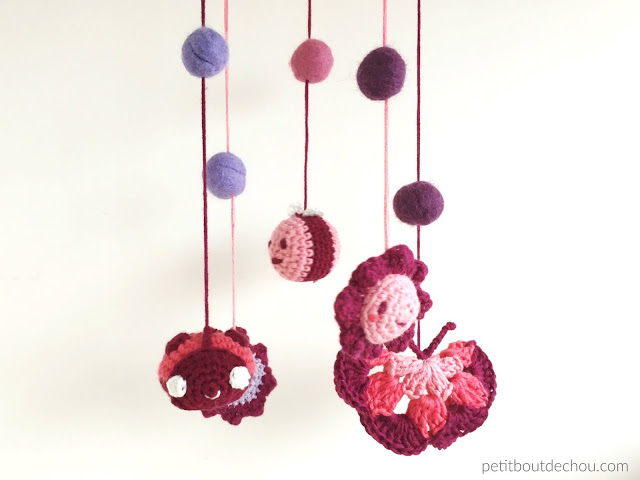
As mentionned in my previous post on these adorable kawaii amigurumi flowers, I am finally done with my spring amigurumi baby mobile and pretty happy about the result! If you want to make one, follow my tutorial below.
I have used several patterns to make all these cute amigurumis:
- My kawaii amigurumi flower pattern
- The butterflies pattern from Planet Penny
- The kawaii bee pattern from Mohu
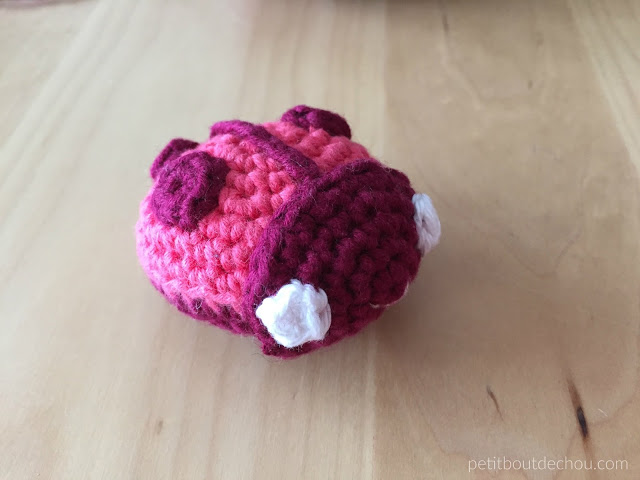
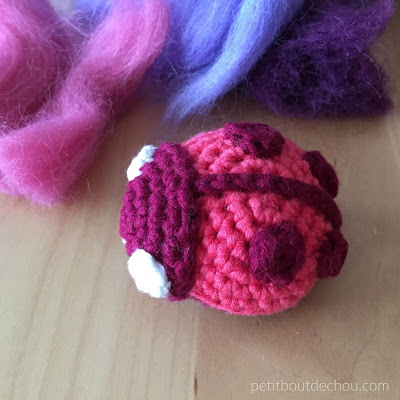
- And my kawaii amigurumi ladybug pattern that is described below:
Kawaii Amigurumi Ladybug
Supplies needed:
- Yarn in 3 colors 4mm ( color A, B of your choice and white)
- Crochet hook 4mm
- Tapestry needle
- Small scissors
- Stitch marker
- Filling fibers – best is to take organic cotton fibers if you find some
Abbreviations:
Ss st: slip stitch
Hdc: half double crochet
Dc: double crochet
Sc: single crochet
Dc: double crochet
Tc: treble crochet or triple crochet
Inc: increase
Dec: decrease
St: stitch
Rnd: round
F/o: fasten off
1. Body
Make a magic ring with color A to make the upper part of the ladybug body.
Rnd 1: 6 sc in the magic ring – 6 st
Rnd 2: [1inc] repeat 6 times – 12 st
Rnd 3: [1sc, 1inc] repeat 6 times – 18 st
Rnd 4: [2sc, 1inc] repeat 6 times – 24 st
Rnd 5: [3sc, 1inc] repeat 6 times – 30 st
Rnd 6 & 7: 30 sc – 30 st
Ss to close the upper body.
(adsbygoogle = window.adsbygoogle || []).push({});
Rnd 8: use color B to make the bottom part of the ladybug body. Continue with 30 sc in the back loops only – 30 st.
Rnd 9: [3sc, 1dec] repeat 6 times – 24 st
Rnd 10: [2sc, 1dec] repeat 6 times – 18 st
Rnd 11: [1sc, 1dec] repeat 6 times – 12 st
2. Make dots and line
For the dots and line, use color B.
The big dots are done starting with a magic ring.
Then, make 5 sc in the magic ring, f/o.
Make 4 dots of this size.
The small dots are done starting with a magic ring.
Then, make 4sc in the magic ring, f/o.
Make 2 dots of this size.
For the line, ch 16, f/o.
3. Face
Use color B for the face.
The face is done starting with a magic ring.
Rnd 1: 5 sc in the magic ring – 5 st
Rnd 2: [1inc] repeat 5 times – 10 st
Rnd 3: [1sc, 1inc] repeat 5 times – 15 st
Rnd 4: [2sc, 1inc] repeat 5 times – 20 st
Rnd 5: [3sc, 1inc] repeat 5 times – 25 st
4. Eyes
Use white color for the eyes.
The eyes are done starting with a magic ring.
Then, make 4sc in the magic ring, f/o.
Make 2 eyes.
5. Assembly and body finishes
Use your tapestry needle and color B yarn to sew the face on the front of the body.
Then fix the line at the center and the dots on the upper body side on each side of the line. Fix the small dots for the back side of the upper body using color B as well.
Finish by using white color to fix the eyes.
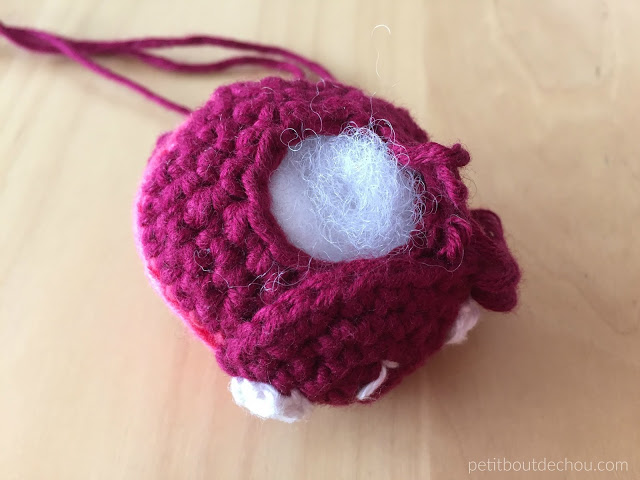
Now you can stuff the body with filling.
Rnd 12: [1dec] repeat 6 times – 6 st
Fasten off.
Congrats! You have finished your ladybug!
This is an original pattern by Petit Bout de Chou – February 2016. Please link back to this pattern but do not copy this pattern on your site. You may use the pattern for your personal use but you may not sell it. Inform me in case you would like to sell items made from this pattern and credit Petit Bout de Chou. Thank you for your understanding.
My favourite part is when everything comes together! Take some yarn used for your amigurumis and make a knot at the end. Then go through your amigurumi and through one ball of felt.
I like using embroidery hoops as a mobile ring because it gives an extra safety on your knots by squeezing them between the two rings.
So fasten the yarn to the inner ring of your embroidery hoop keeping the knots on the outside. Repeat this operation for all your amigurumi playing with the colours of the yarn and the amigurumi but also with the height of the different elements.
Once all the yarn skeins are attached to the ring, fasten 3 skeins at the top to suspend the mobile.
Make sure it is well balanced. Then place the outer ring of the embroidery hoop and fasten it.
You are done!
To make the coloured felt balls, I have also used wool fibers with warm water and a little bit of soap.
There are already various tutorials on the web for this so I will not detail the procedure here unless some of you are interested?
I hope you liked making this mobile and these fun spring flowers and insects. If you did, follow me on Pinterest, Instagram or Facebook. You can also subscribe to Petit Bout de News my monthly newsletter.
See my other posts about crochet:
Happy crafting everyone!

