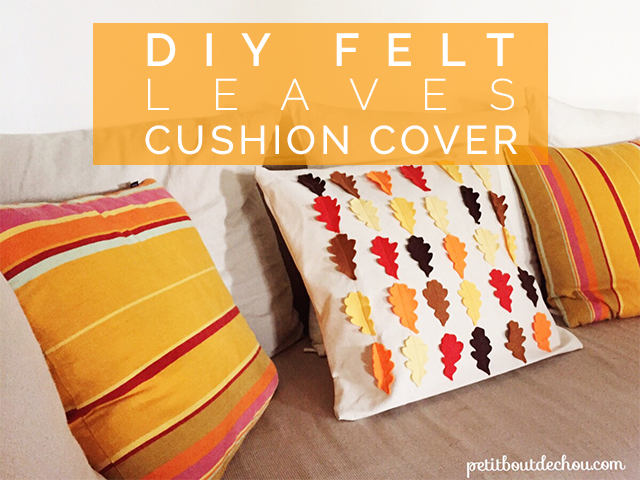
Autumn is one of my favourite season of the year. Lovely colours outside and a great opportunity to make crafts indoors! Ok, I know, here in Hong Kong the temperature is still above 25 degrees Celsius so I must admit I miss a little bit the atmosphere of this beautiful season. This is one of the reasons why I chose to write this tutorial today and also because it has been a while since I used my sewing machine for the last time.
For this tutorial, I am using felt sheets in autumnal colours. Felt is a wonderful material to work with as you can cut and it doesn’t fray! If you like using felt, you can check my previous DIYs using felt:
- Cute baby owl felt magnet – with free pattern
- Flower shaped felt baskets – with free pattern
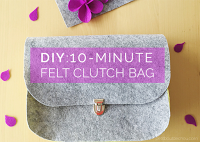
- Easy felt clutch bag – with free pattern
- Under the sea quiet book with felt
Supplies needed:

- Felt sheets in autumnal colours of your choice
- Sewing thread – I choose an orange colour
- Sewing machine
- Fabric in plain colour of your choice – I chose a neutral tone so that the leaves stand out
- Pins
- Scissors
- This free pattern
DIY steps:
1. Prepare the envelope style cushion cover
Don’t worry this is a simple & easy way to make a cushion cover for beginners.

First, cut your fabric which should cover twice the cushion height + 15 cm in height (1). For the width it should be your cushion’s width + 10 cm.
Fold twice the short edges towards the “back” side of your fabric. Use pins to keep the folds (2) and sew the hem.
Check the front part limits by folding the cover so that the back of the cover is made of two layers of fabric overlapping on about 15 cm (5). Put some pins to mark the limits of the front square area.
2. Prepare your leaves
Print the pattern. Chose a size for your leaves.
Cut the contour of all the leaves. Then, pin them to the felt. Use a washable marker to transfer the contour on the felt.

To speed up the process, cut a few layers of felt at the same time. I have used 30 leaves in total with the small size leaf and 6 colours. You can adjust the number depending on your leaf size.


3. Sew the leaves to the cover
This is the easiest part. Pin your leaves on the future front part of your cushion cover.

Sew straight lines using your shimmery thread following the centreline of each leaf.

4. Finish off your cushion cover.

Now that the leaves are in place, turn your work upside down and adjust the fabric as checked in step 1 to form the front square of the cushion (1). Sew both sides of the square (2) – we are still on the back side of the cushion.
Turn the cover inside out through the opening. Push the corners to form a nice square and insert your cushion.
The cover is done!

Thanks for following this tutorial. I hope you enjoyed it.
Follow me on Pinterest, Instagram or Facebook for more craft supplies tips, DIYs and free printables!
You might also like:

You can subscribe to Petit Bout de News my monthly newsletter to make sure you do not miss any post 😉


