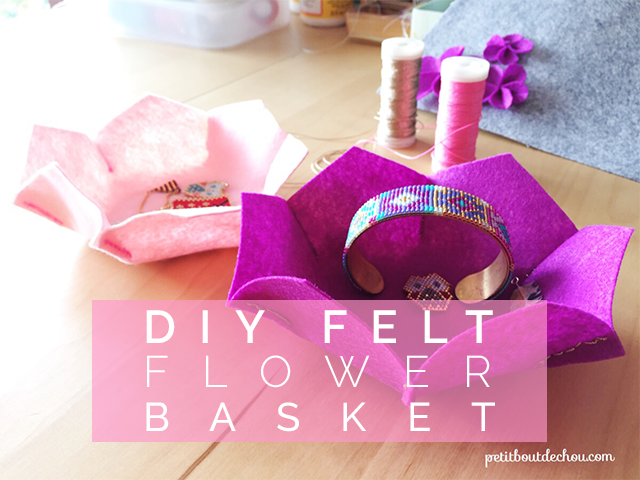
Felt is one of my favourite material to work with as you can give it any shape you like and it doesn’t fray. Follow me in this easy and quick DIY to learn how to make these pretty felt flower shaped baskets with scissors and a few stitches! You can use them to store with style your jewellery or any small items from your desk for example. I am sure you will find them many other functions.
Supplies needed:
- A rather rigid felt sheet in the colour of your choice
- Embroidery needle
- Embroidery thread of your choice
- Scissors
- Pins
- This free pattern
DIY steps:
Print the pattern. You can scale it to make a bigger basket if you like. This one is about 20 cm when printed on an A4 Paper.
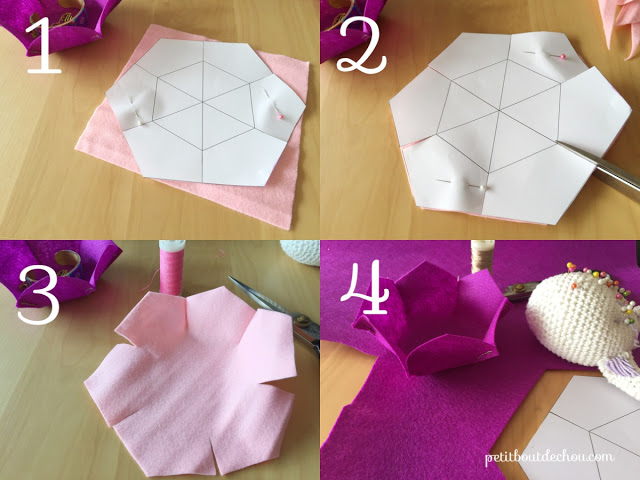
Pin the pattern on the felt (1).
Cut the outline (2).
Cut the line between petals (2, 3).
Remove the pins.
You can prepare pins for the next steps to shape your flower (3, 4).
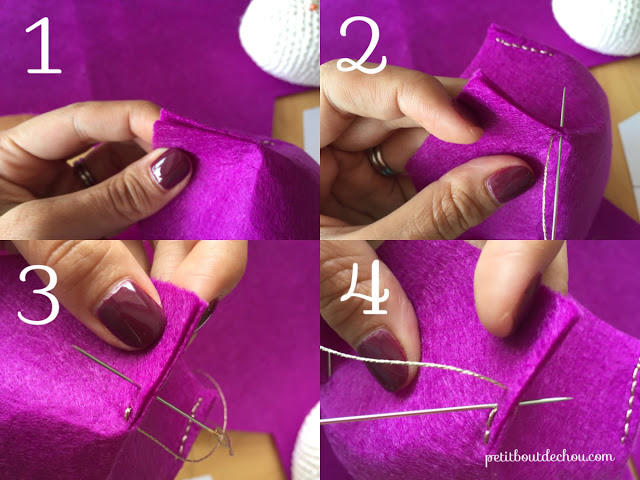
Or you can directly take two petal edges inner side facing each other (1).
Make knot on your thread.
Using your needle and thread start stitching the edges of two petals together (2) forming a back stitch.(3) (4) Once you have reached the edge, make a knot and cut your thread.
Repeat the stitching on all other 5 connections around the base.
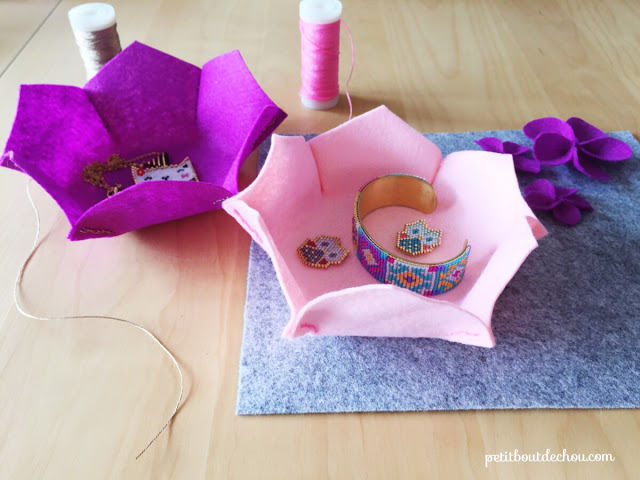
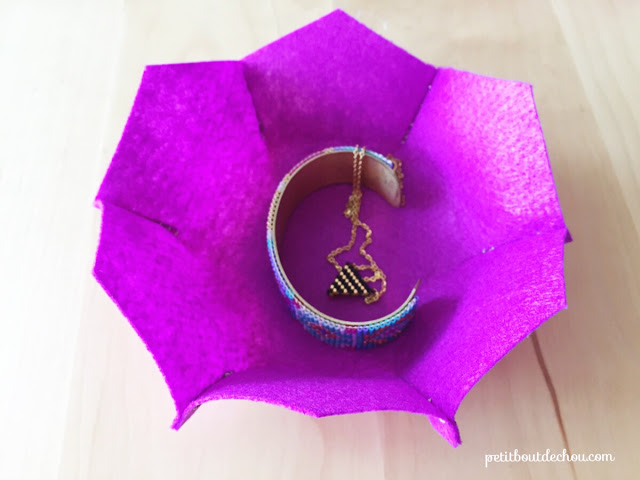
This is how it looks like from the top:
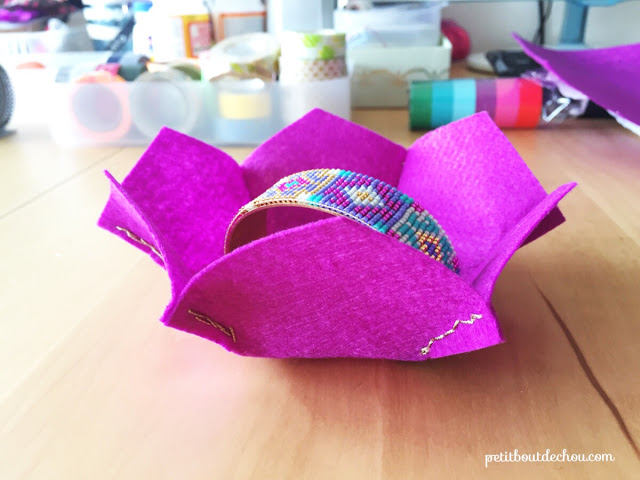
That is all there is to it. Simple, right?
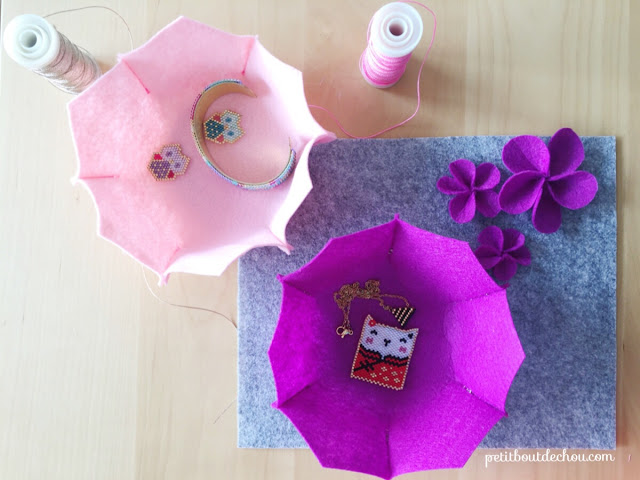
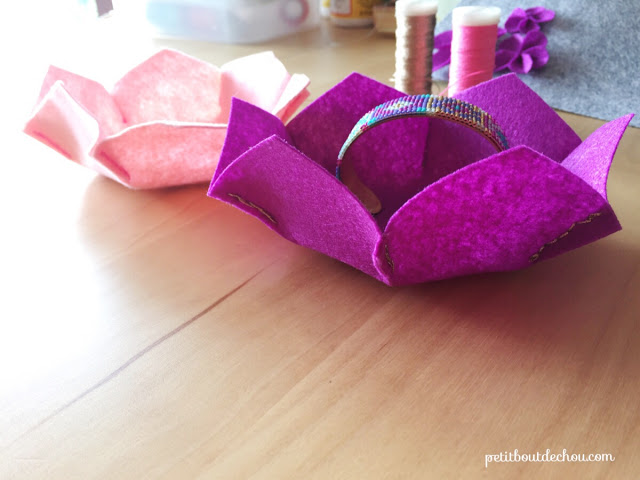
You can make variations of this basket using different colours, making different sizes.
They will be great additions to your home decoration and to store your favourite jewellery!
I hope you enjoyed this DIY and it will inspire you to make beautiful handcrafted baskets too.
Follow me on Pinterest, Instagram or Facebook for more craft supplies tips, DIYs and free printables!
You might also like:
You can subscribe to Petit Bout de News my monthly newsletter to make sure you do not miss any post 😉



1 Comment
Very nice guide – Thanks for sharing!!!